Celebrations are imminent
This post is brought to you by the number 20–because that is exactly the amount of minutes I’m giving myself to complete it.
Ready.
Go.
So–remember that one felly smish day? Yes. Stink.stank.stunk.
[Blissfully me thinketh there is no stinketh at the present moment. Celebrations are imminent.]
Quickly moving on–
I wanted to make some Olliblocks.
[My niece created several sets. She made it sound like the project would be simple. I believed her. You should believe her. In fact, believe me believing her–that would work.]
The instructions on the site (this one–just to make sure you realize where the art came from) are easy to follow.
The materials:
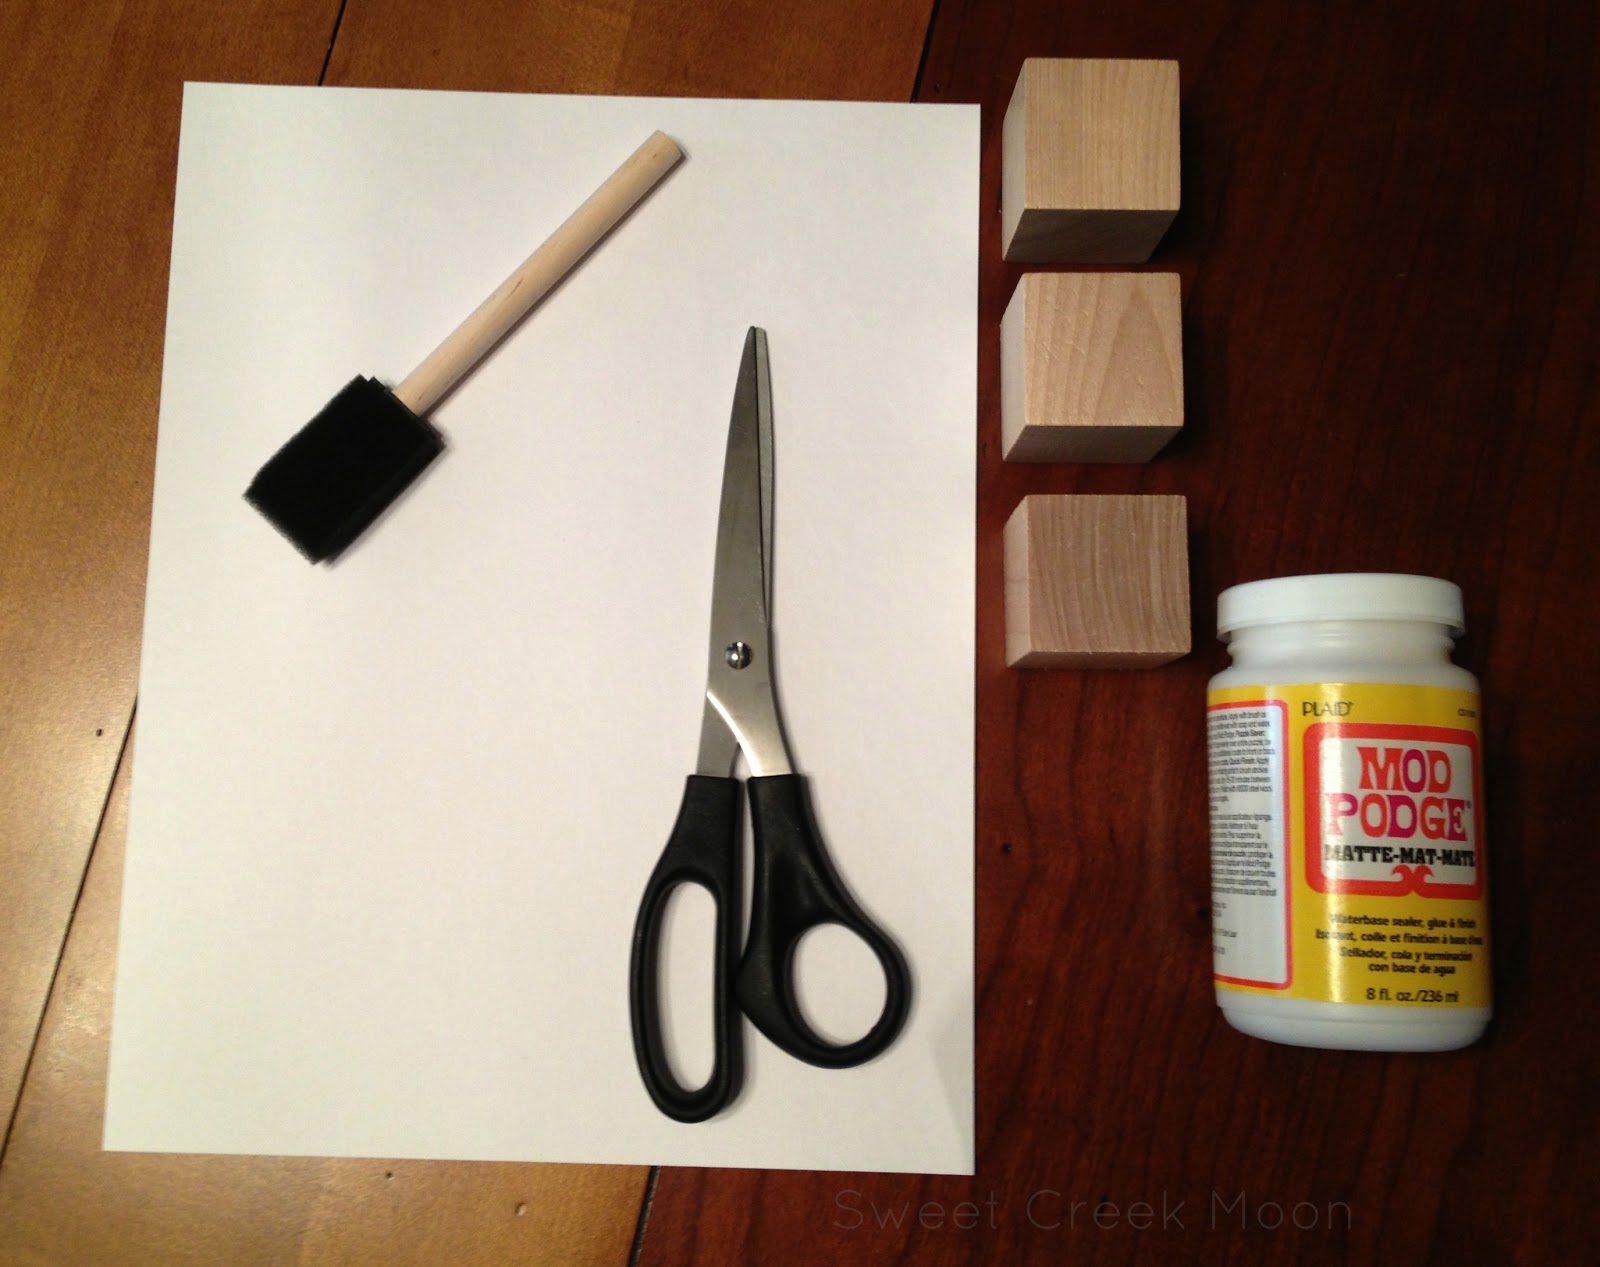
1 sheet of white cardstock
3 wooden cubes (1 1/2″ square)
scissors
1 foam paintbrush
Mod Podge
That much of everything (except for the Mod Podge) will be enough for one of the sets.
That much Mod Podge will cover an isle of cereal boxes.
I exaggerate.
And digress.
The Ollibird site sells a set of girl illustrations, a set of animal illustrations, and a set of boy illustrations for $5 each.
Or (and this is what I opted for) all three sets for $12.
If you purchased all three sets, you would need 3 sheets of white cardstock, 9 cubes and 2 foam paintbrushes they get a little raggedy after a while).
And the same container of Mod Podge.
[They sell the illustrations in two different sizes–one to fit 1 1/2″ blocks, and one to fit 2″ blocks. My $12 paid for a set of each size–in color–and the permission to give some away as gifts. No permission–and this is reasonable, true and right–to sell your finished products.]
Also–you do not need a new pair of scissors for each sheet of white cardstock.
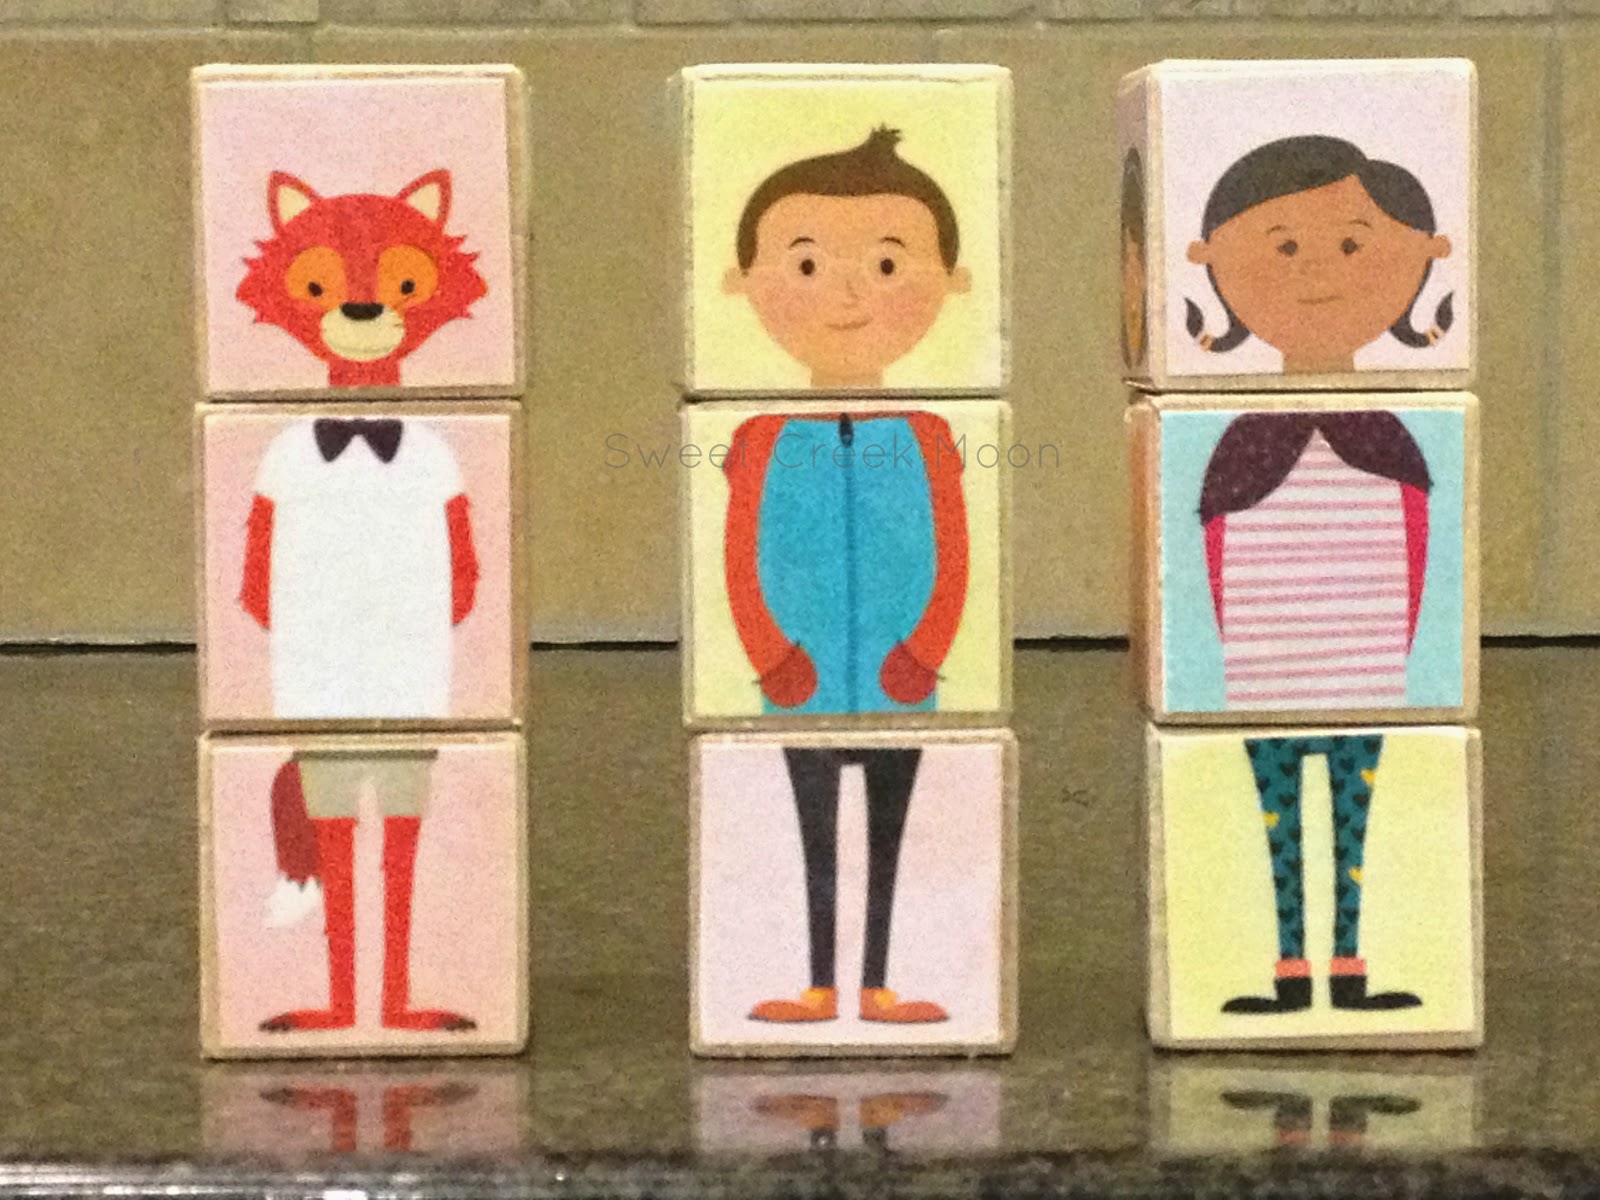
I purchased the illustration sets–this is the animal set.

–printed the illustration sets.
–cut them apart (the scissors worked really well–I’m not a fan of bringing out the super sharp blade of an exacto knife if the scissors are efficient and sufficient enough)
–glued
FYI
The first set of blocks I swiped the back of the paper image with glue, placed it on the block, and then swiped another thin layer of glue on the top. That was too much glue. It moistened the paper just enough to slightly affect the ink. Boo.
The second and third set of blocks I simply swiped the back of the paper image, placed it on the block, and allowed it to dry. After the blocks were dry, I put another layer of glue over the surface. Splendid.
It didn’t take very long for the individual blocks to dry.
Reading the instructions they give you with your purchase is a good thing.
Make sure you read the instructions before you begin your project.
Cut and glue one set of illustrations at a time.
Instructions rock.
~grin~
Here’s a pic of my three sets (the colors are more vivid in the real and true world of my eyes).
I’m going to eventually make a set using the 2″ cubes because I am the boss of me.
-ding-
Time’s up.
Happy Block-tober 29th.

what do you think?