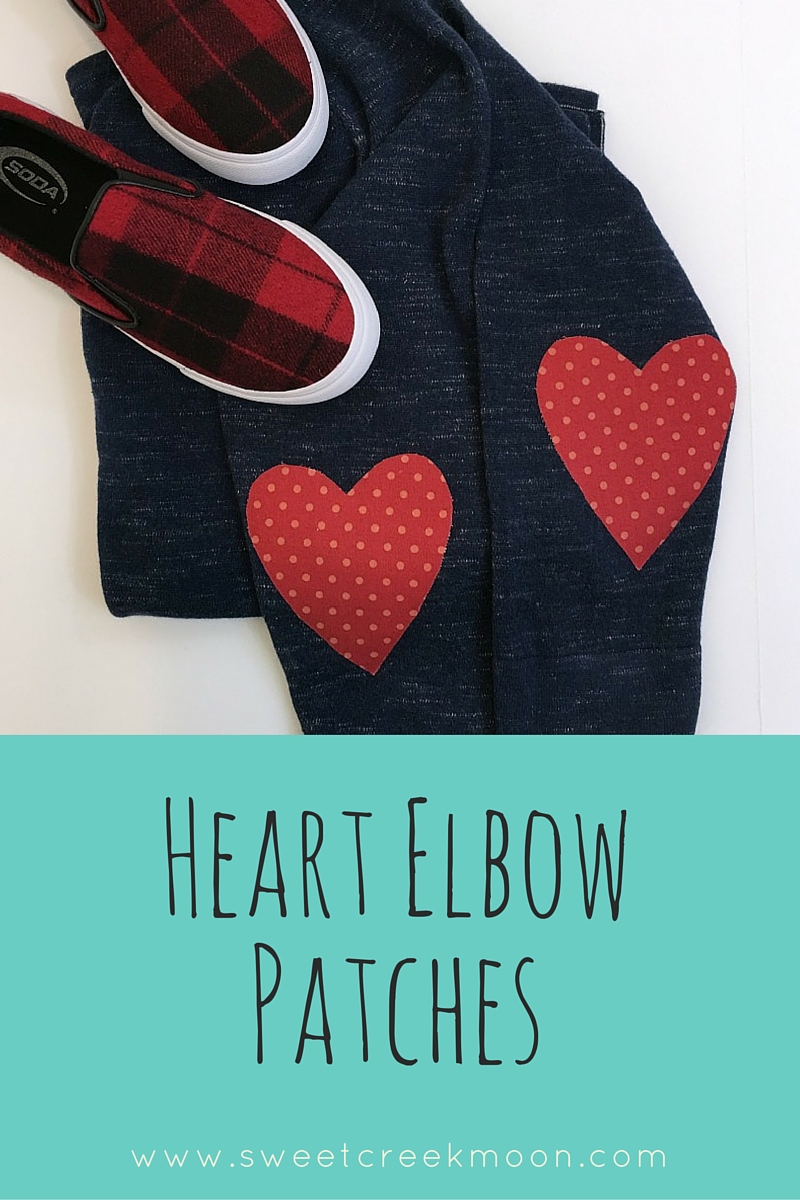
Heart elbow patches simple application
Heart elbow patches
Heart elbow patches are true. That’s pretty much all I need to say about that — except for this — I love to dress up [L O V E it] but there are weeks of days when I’d like to be cute but so very low on the maintenance scale. I’m not saying that heart elbow patches are the only answer to that particular fashion quandary because they aren’t. However — they were the just right thing for today.
Fashion fix-up.
Is there anything more comfortable than a pair of slip on shoes, a comfy sweatshirt and skinnies OR leggings if that is your calling in this life?
I submit that there is not.
And it’s adorable.
I mixed it up a bit by adding the elbow patches to a Gap sweatshirt I already had.
That’s awesome and you know it.
This is quite delightfully a 10 – minutes or less project.
Heart Elbow Patches
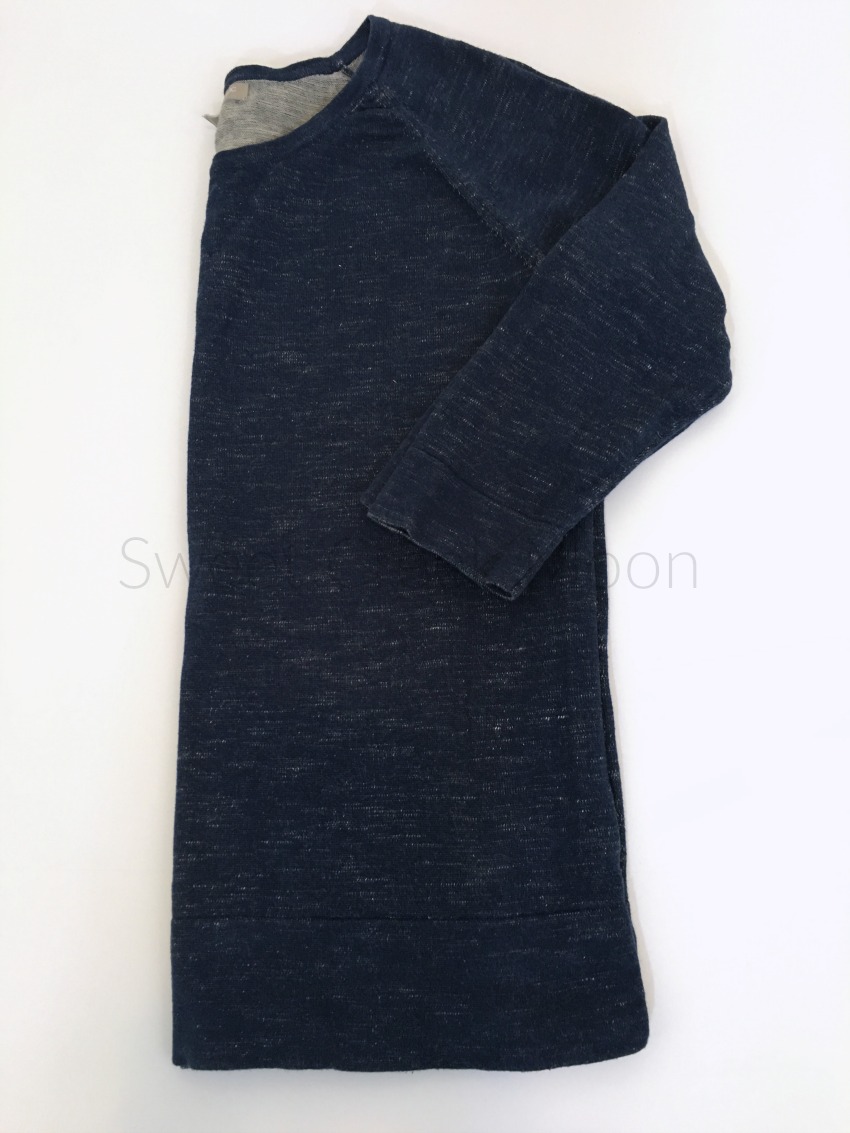
1 — a sweatshirt/hoodie/top that you love BUT that isn’t so loved that it’s already falling apart
Mine happened to be a beloved Gap 3/4 sleeve sweatshirt. [~swoon~ to the 3/4 sleeves]
2 — fabric for the patches
You won’t need very much because the hearts aren’t going to be huge. A 10″ x 10″ piece will work fabulously. It certainly doesn’t have to be red. I had some cute ADORNit fabric scraps from previous projects to choose from.
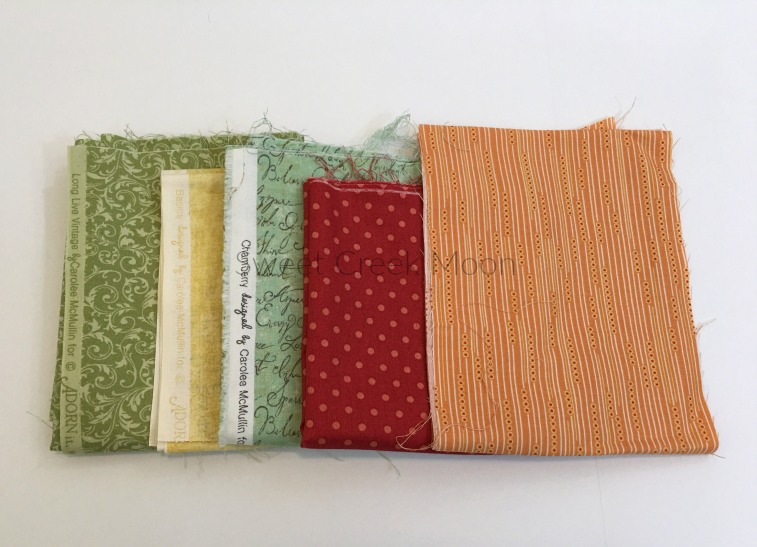
I opted for the polka dots which will surprise exactly none of you.
3 — a heart pattern
Decide how big and what shape. Use a cookie cutter or the old fashioned method of folding a piece of paper in half and cutting shapes until you love one.
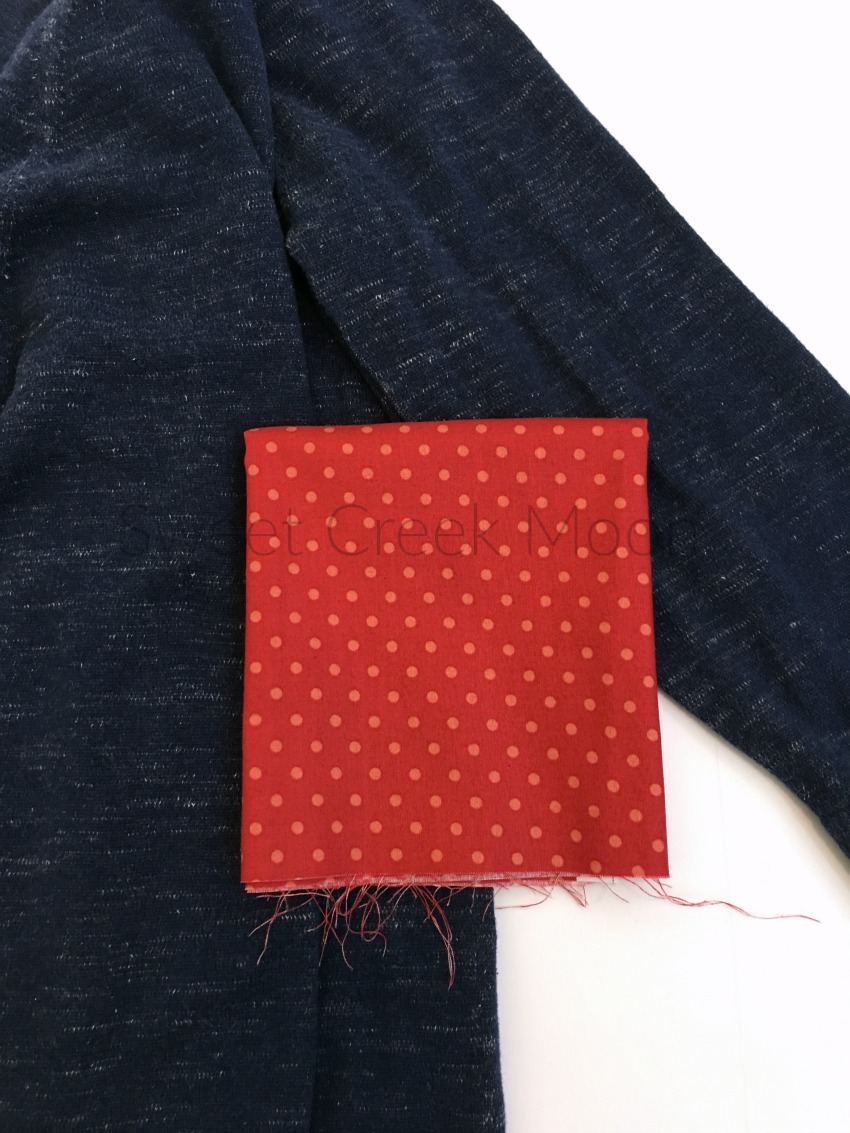
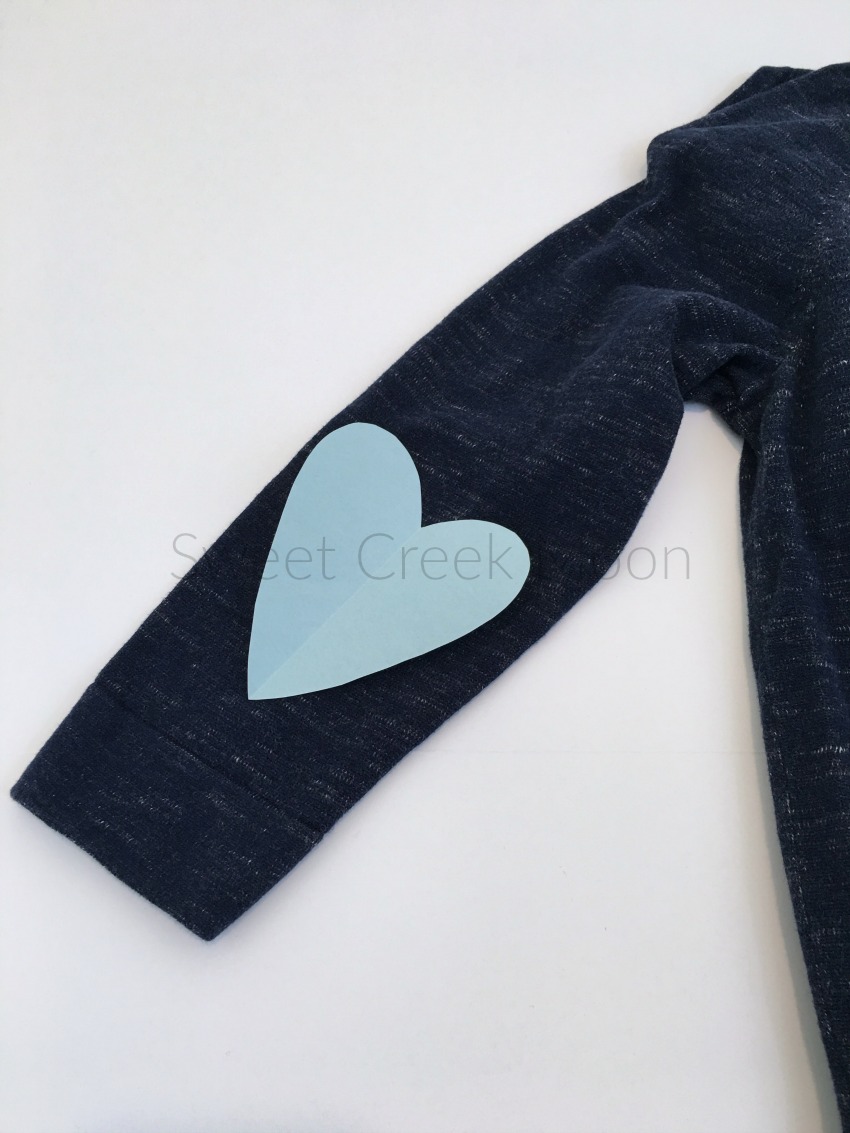
Lay the shape on the sweatshirt sleeve to ‘see’ what it will look like.
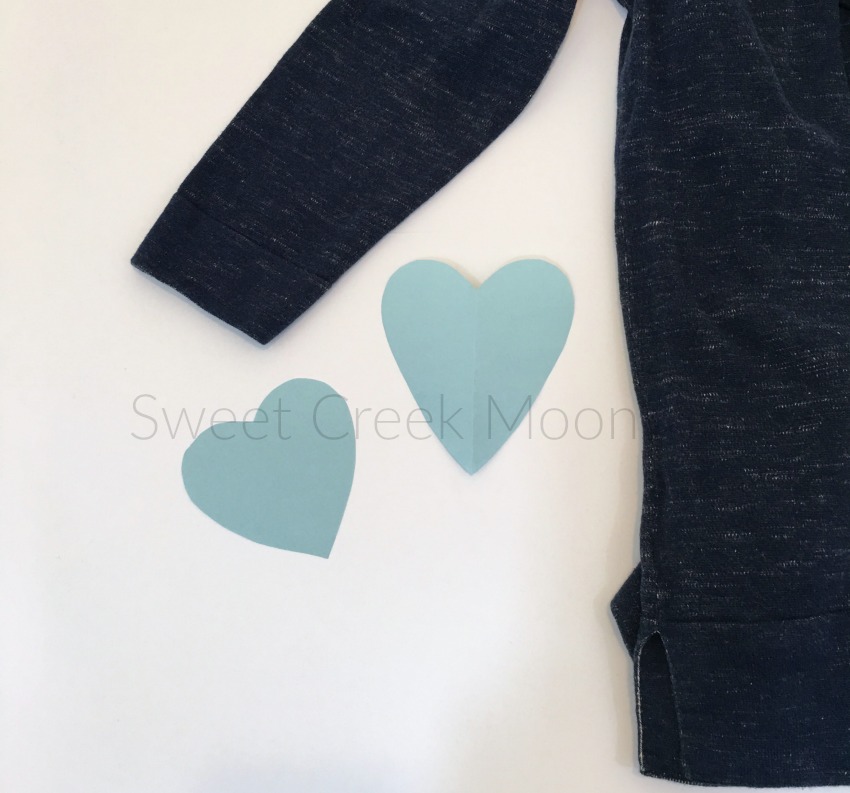
The lightly elongated one filled the space nicely.
4 — Heat n Bond
I use this stuff all of the time which is why I buy this much when it comes times to restock my crafting closet. ~grin~
It’s like a miracle. No sewing required unless it’s something you want to do for a border or something. You’ll only need enough to attach your two hearts for this project.
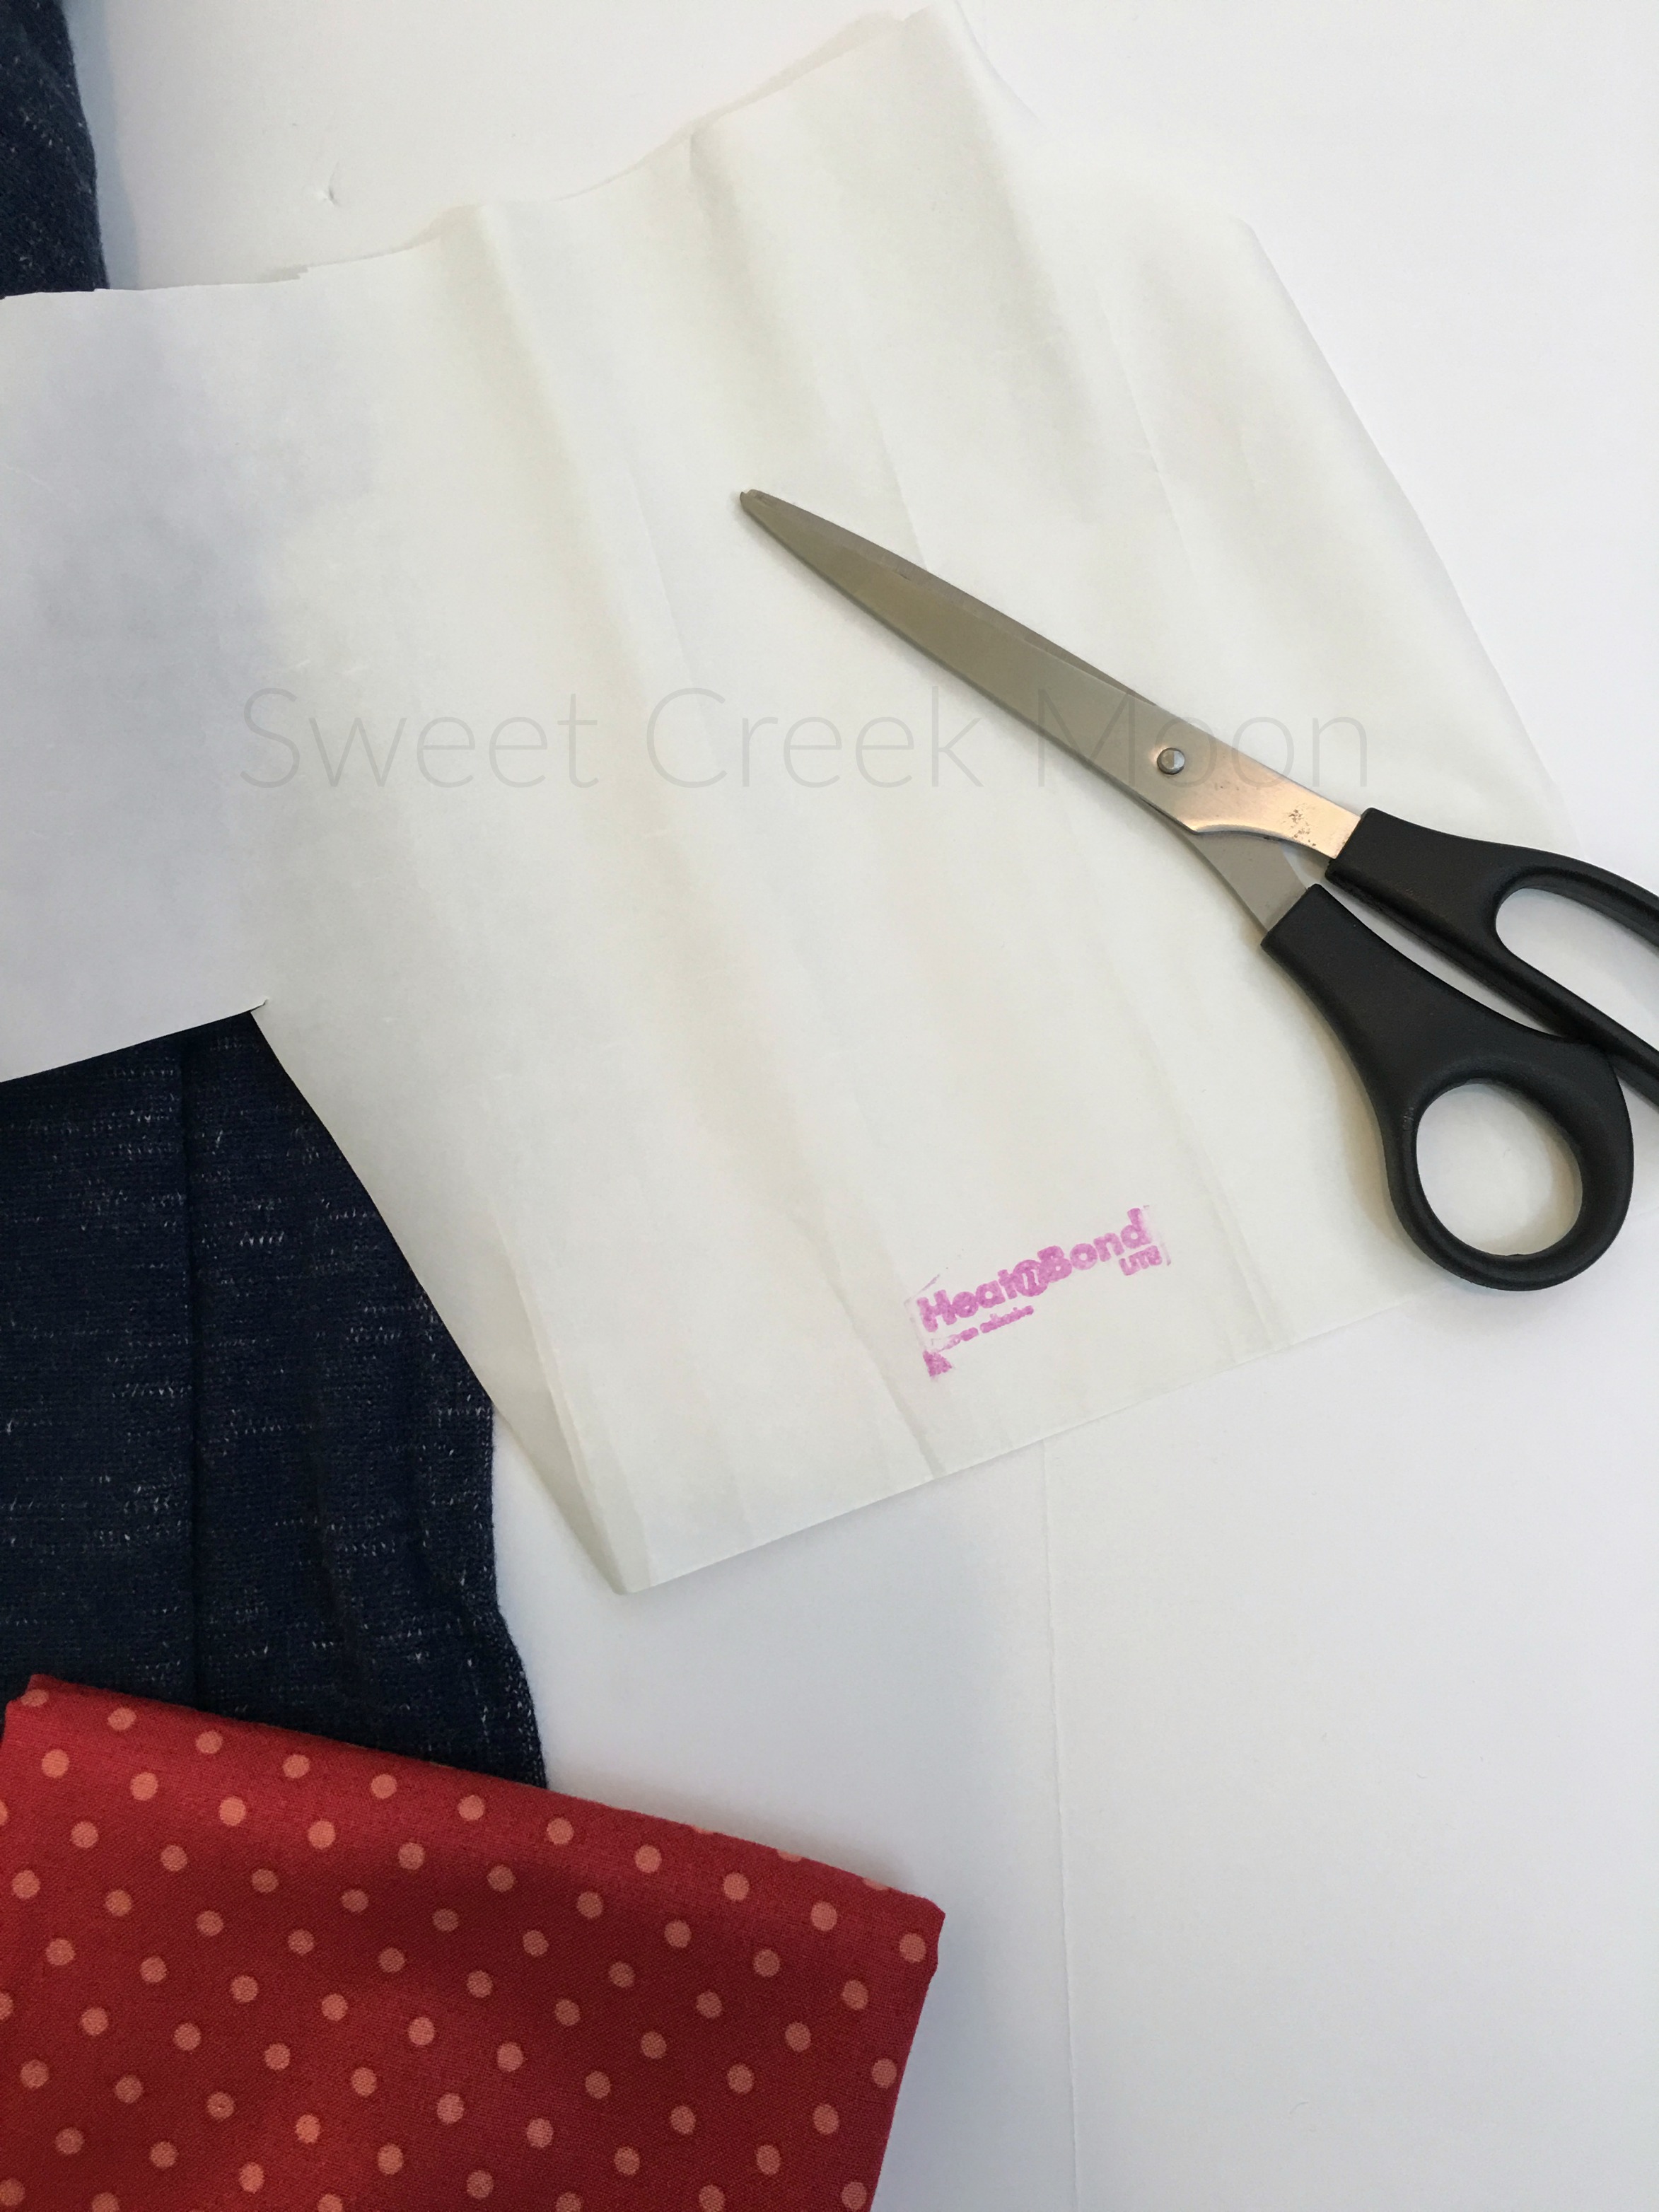
5 — scissors
[If you’re an Amazon Prime member — and I just learned this today — there are certain items you simply “add-on” to your shopping cart when it reaches the minimum $25 dollar range for free shipping. This pair of scissors [I’m a Fiskars fan for many of my crafting projects] is a grand total of $4.99 as an “add-on.” That is all kinds of awesome.]
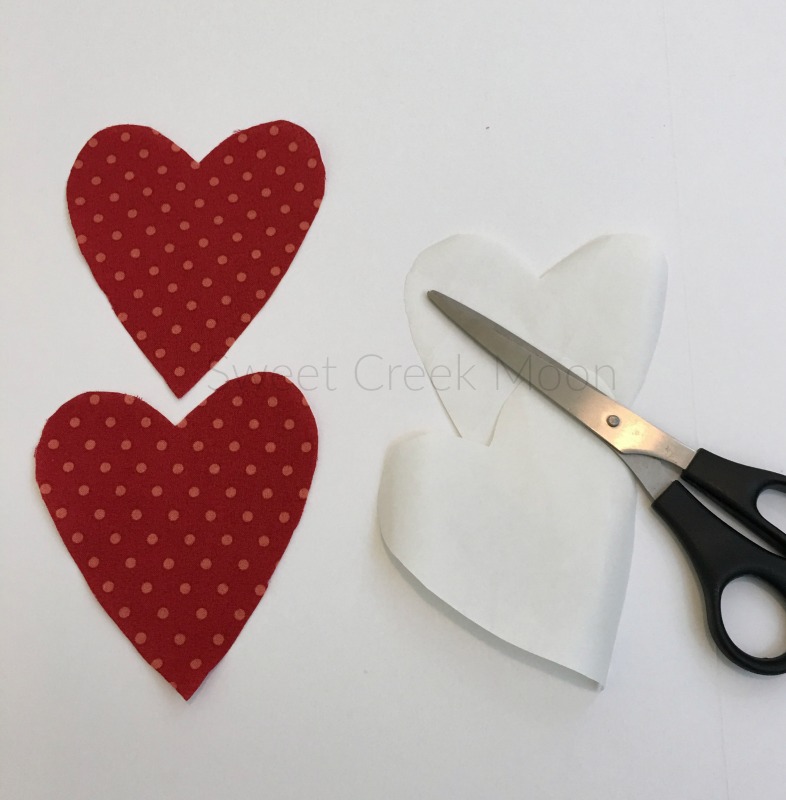
Cut out two fabric hearts using the pattern you decided you want to use.
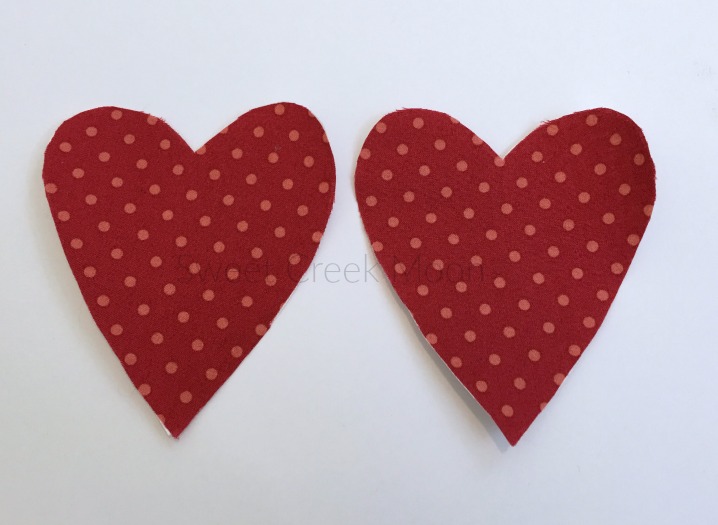
Cut out two Heat n Bond hearts using the same pattern.
[Just so you know — some will opt to cut out two rectangular pieces of fabric and two rectangular pieces of Heat n Bond. They’ll bind those together and then cut out the heart pattern. Either way works effectively.]
6 — Following package instructions carefully, attach the fabric hearts to the Heat n Bond.
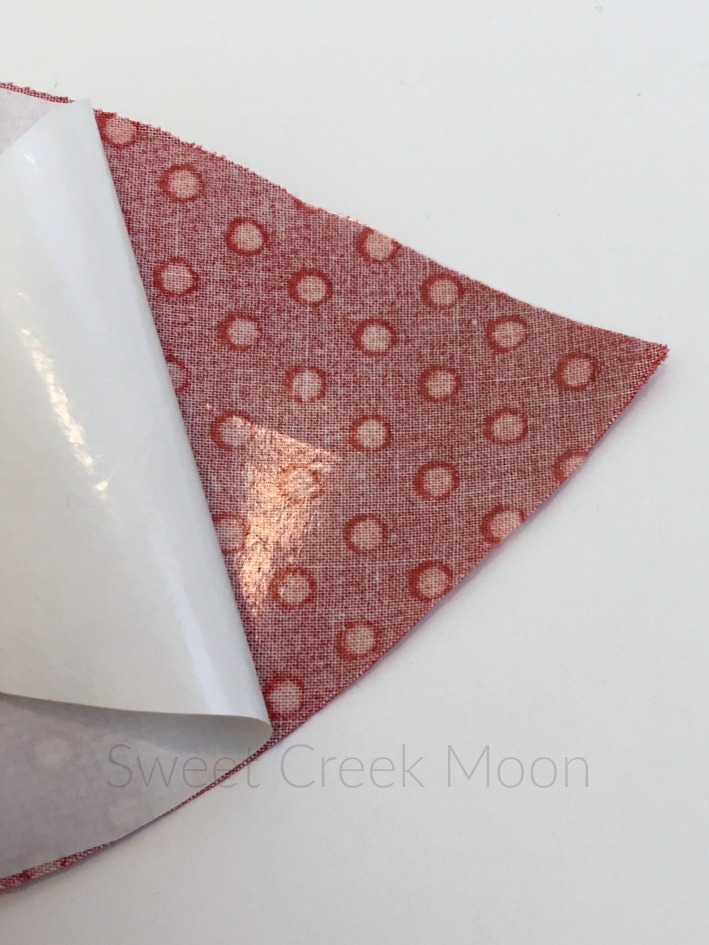
That shiny spot on the wrong side of the fabric means I did it correctly. Yeh-yeh.
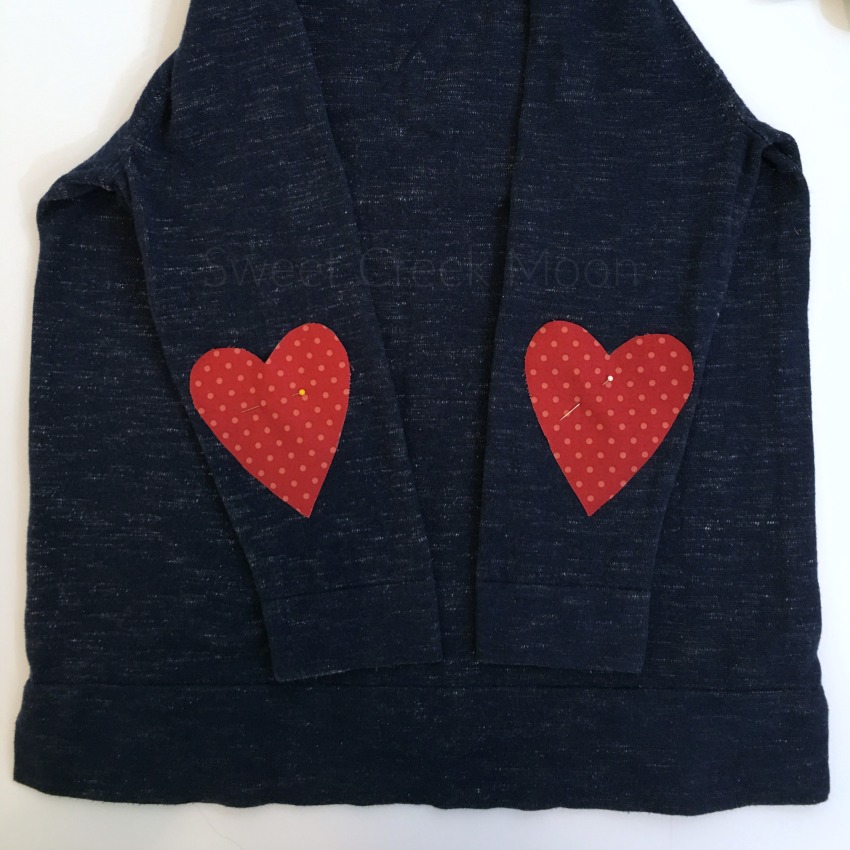
7 — Place the heart patches where you’d like them to go and pin ’em.
If you’re good at sighting exactly where you’d like them to go, bravo. If not, put that adorable arm of yours into the sleeve and make sure you know where you want the patch to go.
8 — Following package instructions, adhere the patches right smack dab onto each sleeve.
Step back and admire your work that took less than 10 minutes to complete.
If you want, go ahead and run a zigzag stitch around the heart.

And that’s exactly how simple it is.
Now, pair that newly adorable sweatshirt with a pair of super cute slip ons and ta-da!
Cute.
Low maintenance cute.
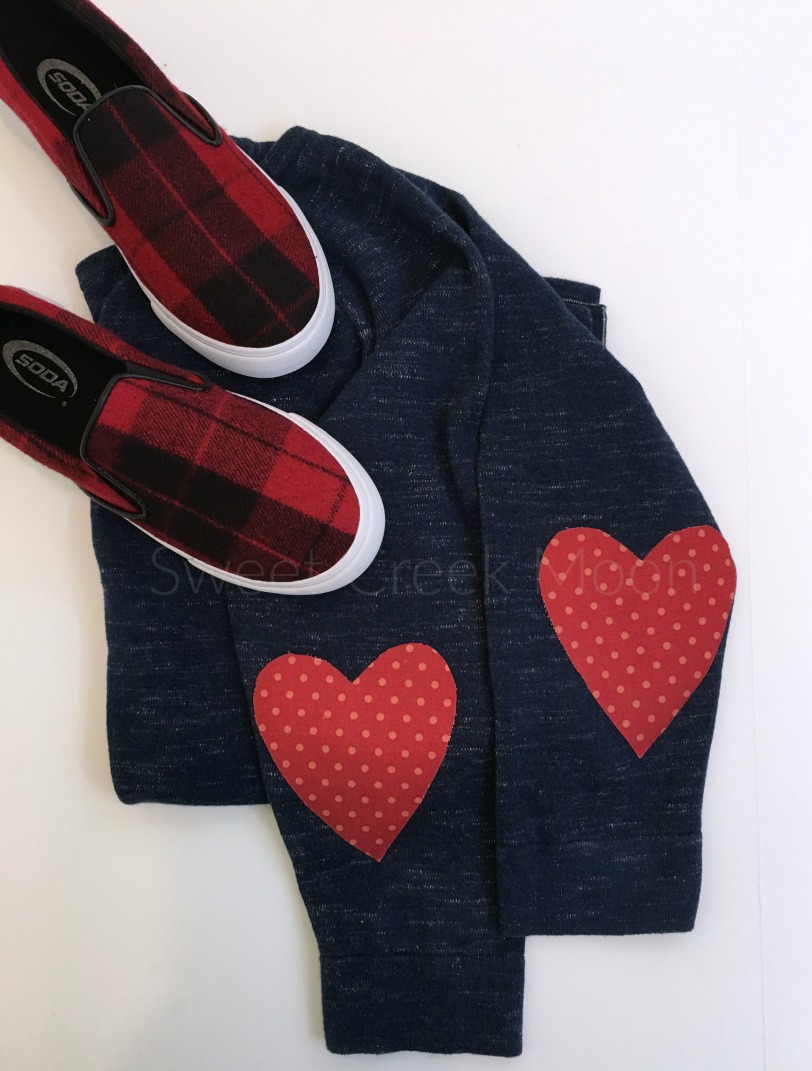
Dreamy.
If you have any questions or requests just leave me a note in the comments below.
Have the best kind of day.

what do you think?