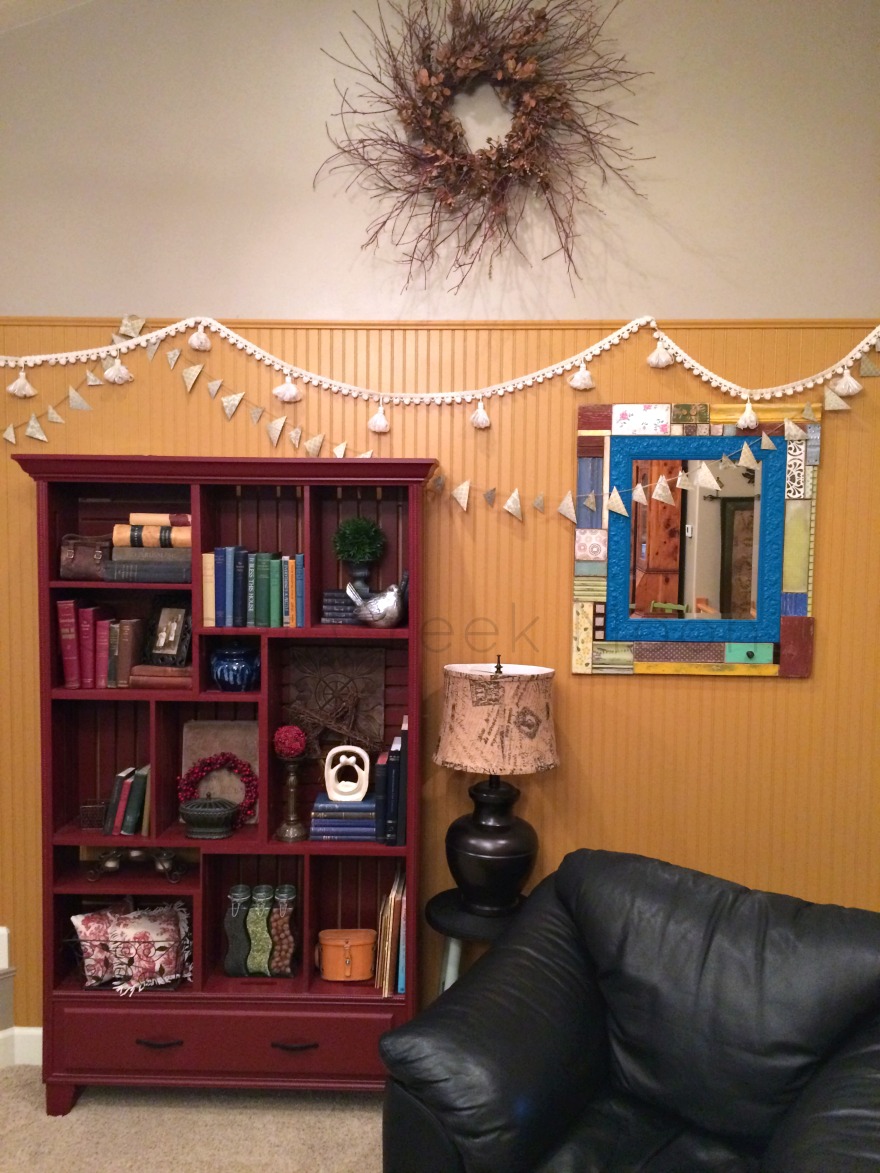
It’s a no sew Valentine bunting.
As in no sewing is required.
At all.
It’s actually a no sew, no glue Valentine bunting.
Excellent, huh?
With materials on hand, it took less than 30 minutes to put the entire thing together AND hang it up.
That is most excellent.
It’s the kind of bunting that everyone can make.
[As in husbands might even want to sit down and put one together for their man caves/garages/offices.
Aaaaaand I’m officially begging you to send me a picture of that if it actually happens.
Please.]
~grin~
This bunting isn’t even specifically a Valentine bunting.
[This one will be staying up longer than just two weeks.]
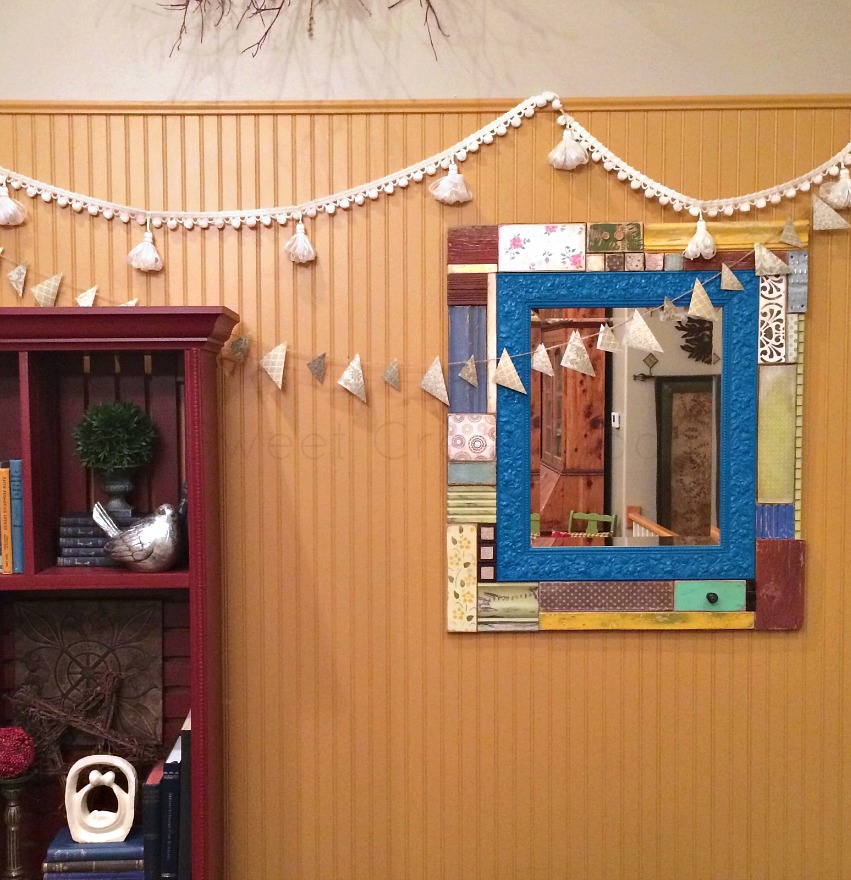
You’ll notice that there are two buntings:
1 — the new pom pom tassel (no hassle) bunting
[I. am hilarious.]
2 — the gold triangular bunting
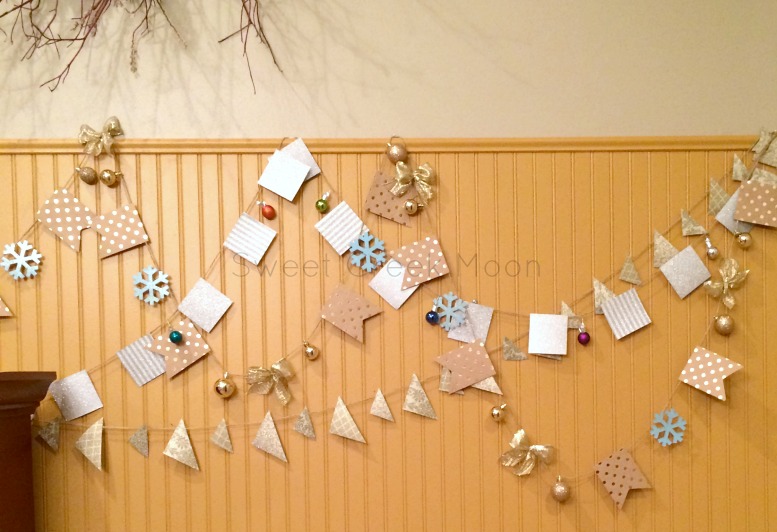
That gold one was one of three made for the Christmas holiday.
[Which I’ve just discovered wasn’t posted. Eh. It’ll be a good post for the busy-ness of this year’s season.]
Here’s a pic, though.
It’s all three buntings made for Christmas 2014.
Two came down when the Christmas tree took leave of the room.
The gold one was non-holiday-specific intentionally so it could stay up longer.
Okay.
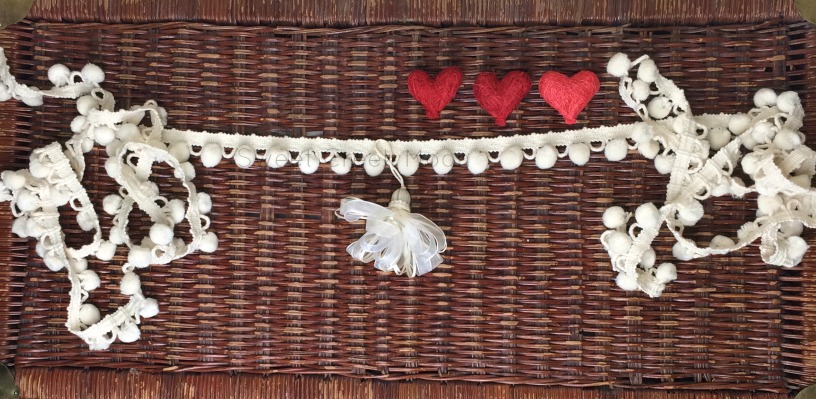
Here’s what you need to make the exact trim that I did:
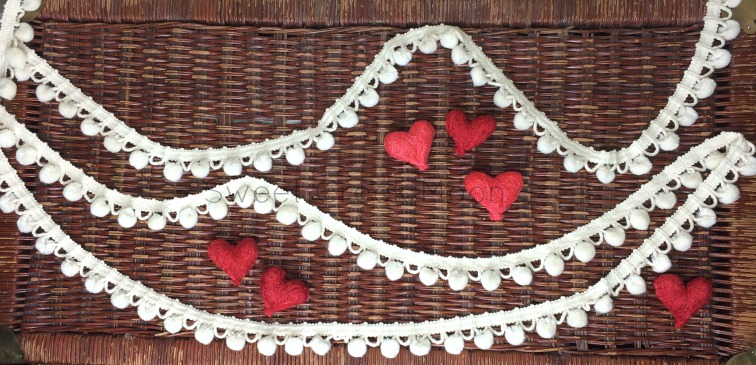
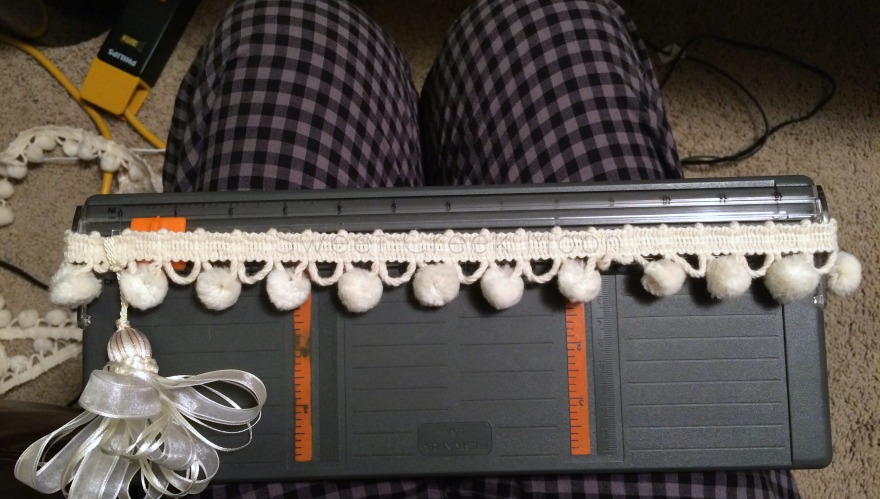
— 12′ (4 yards) of pom pom trim
— 11 tassels
— a ruler
— a curling iron
[HahhHHHahhaa! ‘Cept I’m not kidding. You’ll see why in a moment.]
Let’s put it together.
12′ (4 yards) of pom pom trim
I measured the width of the wall and added 1.5′.
The wall is 10.5′ wide. I purchased 4 yards (12′) of pom pom trim.
[How much you buy depends on how wide your wall is and how much you want the bunting to drape.]
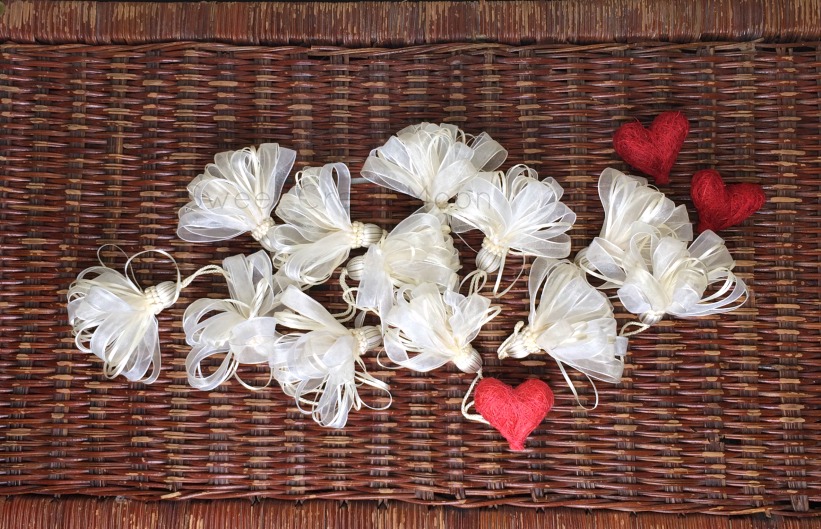
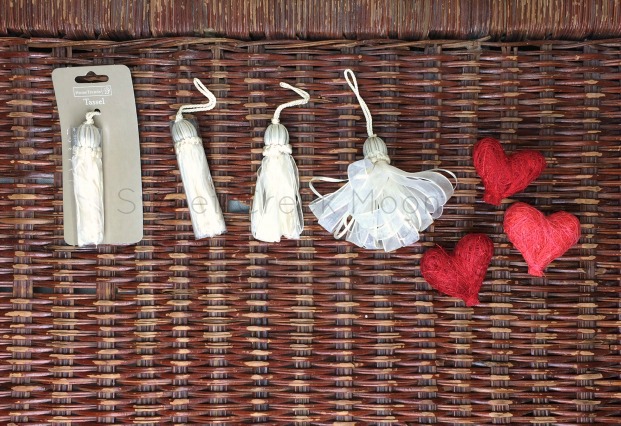
11 tassels
That’s definitely not how they looked at the beginning of the project.
They were squashed in the bottom of a storage container.
They looked like the three on the left.
Here’s why the curling iron came in handy.
I call it, “The Practical Way to Fluff a Tassel.”
Be sure to check the temperature of your curling iron. If it’s too high, you’ll melt the ribbon.
[Mine is set at 13 of 25 on one of those variable temperature curling irons.]
You probably already knew how to do that.
But, just in case you didn’t, there you go.
Grab your pom pom trim and find the halfway point.
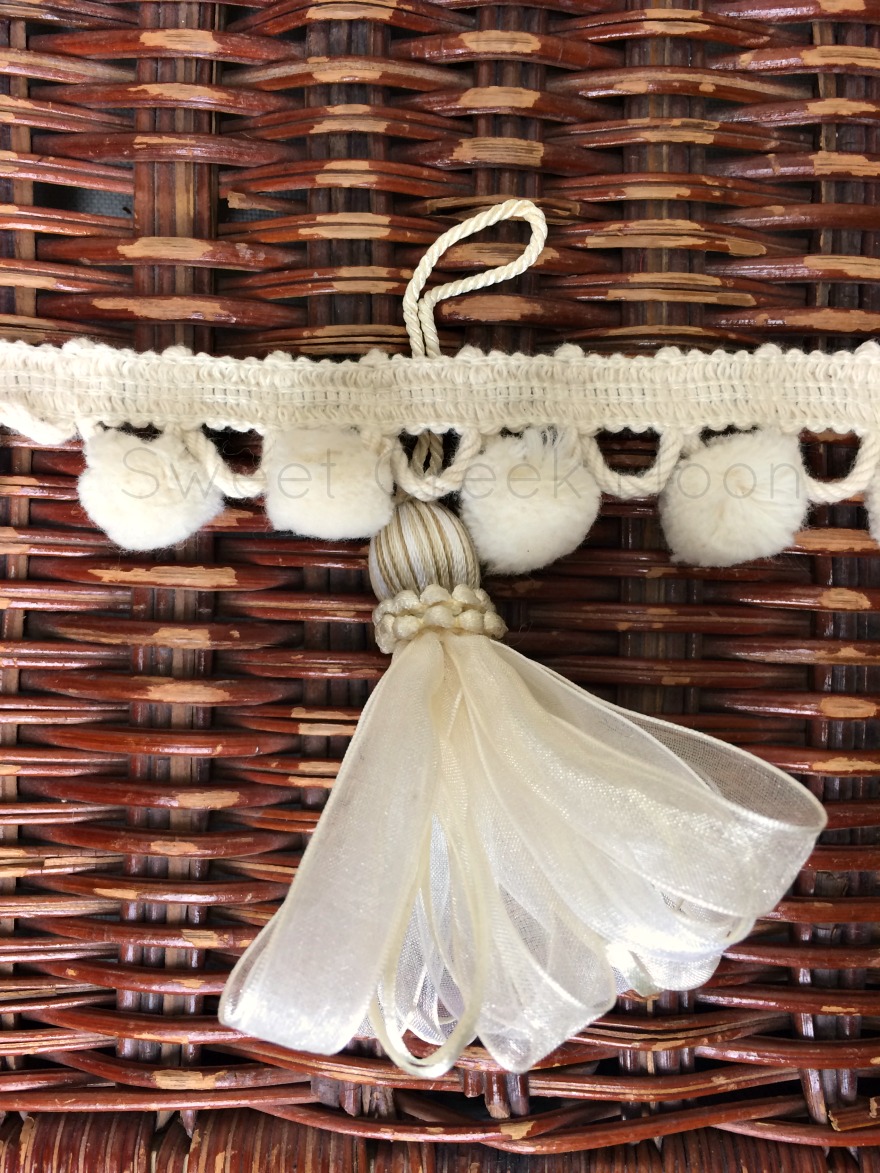
Lay the trim over one tassel at the center mark.
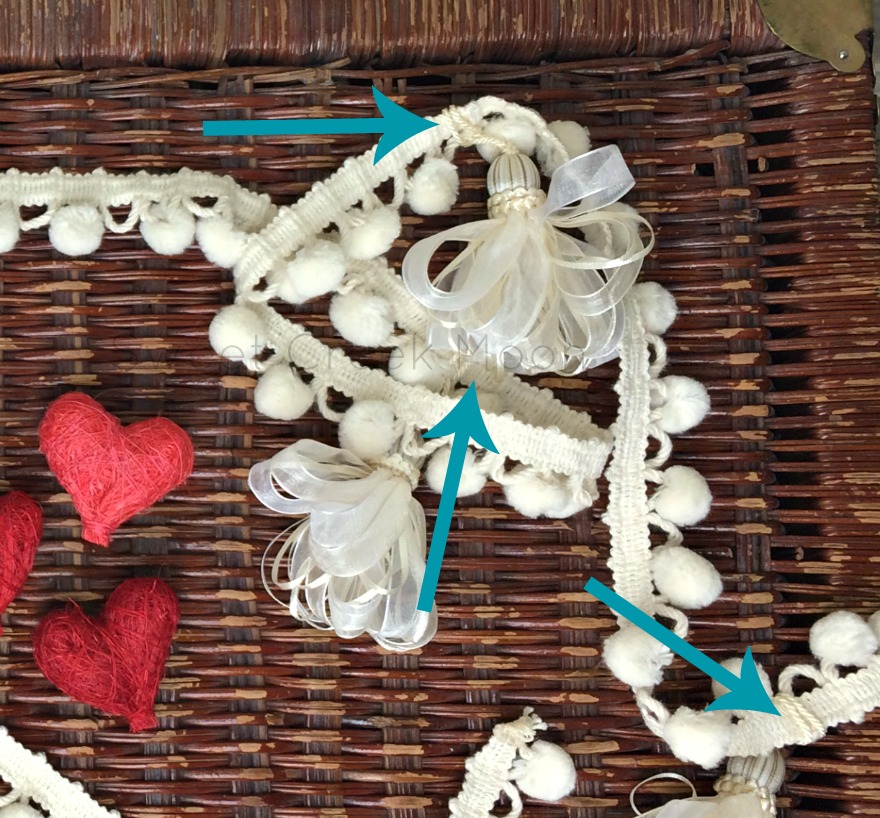
Pull the fluffy end of the tassel through the loop at the end of the tassel.
See how the tassel goes around the pom pom trim?
Alright.
That’s not a fabulous picture.
I’m prepared to show you another one.
Starting from the middle, I went over 12″ to the right and placed another tassel.
[Jamma bottoms is all I’m sayin’.]
Middle tassel + 5 tassels to the right spaced 12″ apart.
Middle tassel + 5 tassels to the left spaced 12″ apart.
So easy.
So fun.
[It took me longer to put this post together than it did to complete the bunting.]
BoOm.
Here are a couple of things to be mindful of when it comes to the the pom pom trim.
1 — Make sure you get it on sale.
[It can be pricey, otherwise.]
2 — Make sure you get the size of ball that you want.
[I used a 1/2″ pom pom/ball.]
The bigger the pom, the higher the price generally, depending on quality.
If you have the time to shop around a bit there are some great deals online.
Just Google “pom pom ball fringe.”
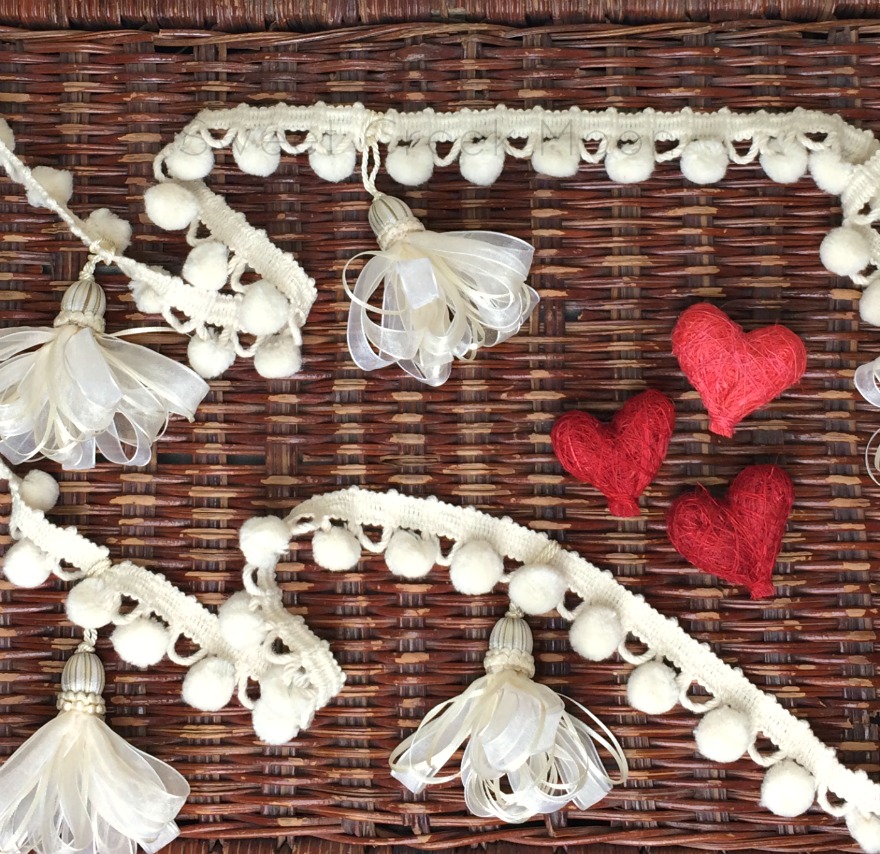
One more look at the fabulousness.
Just so you know, there’s one more bunting to go up.
Of, course I’ll show you.
Of course.
Don’t forget to enter the giveaway!
That little guy could be yours.
His name is Benfield.
~grin~
I have a question: What topic would you be interested in hearing about on the blog?


2 COMMENTS
Michelle
10 years agoi love you. I don’t even craft – but I sometimes I read this just to enjoy you being you.
Teresa @ Sweet Creek Moon
10 years ago AUTHORThe feeling is mutual. I don’t see you nearly as often as I would like. This blog wasn’t supposed to be a craft blog. I need to put my courageous pants on and just start writing. ~smile~ Do you happen to have an extra pair?