Pinned and Tested: Don’t go BACON my heart
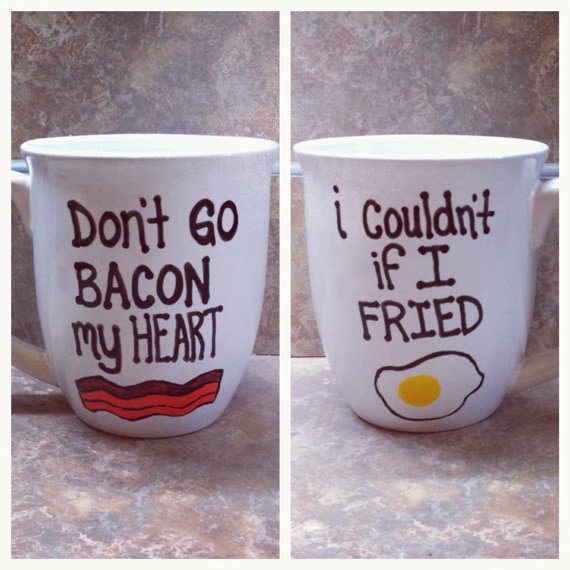
Pinned and Tested: Don’t go BACON my heart. I’m not a bacon eater–but I do have a sense of humor–and these just made me giggle. You’ll find this picture on one of my boards in the land of Pinterest. It’s a clever “Don’t go BACON my heart” with an “I couldn’t if I FRIED” mug set.
~smile~
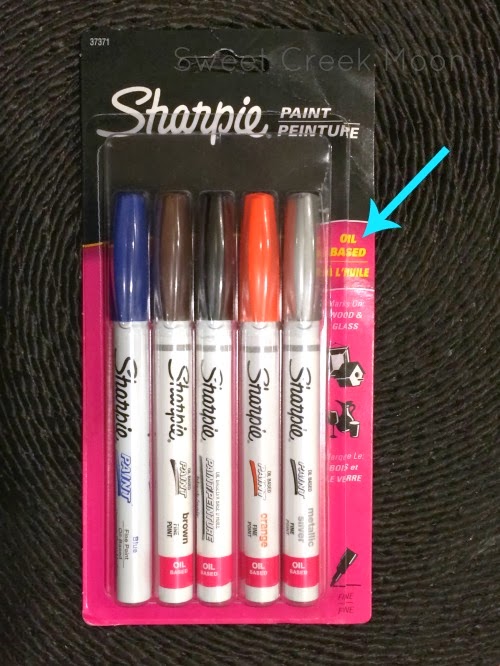
Notice the blue arrow of direction pointing to OIL BASED. That’s important.
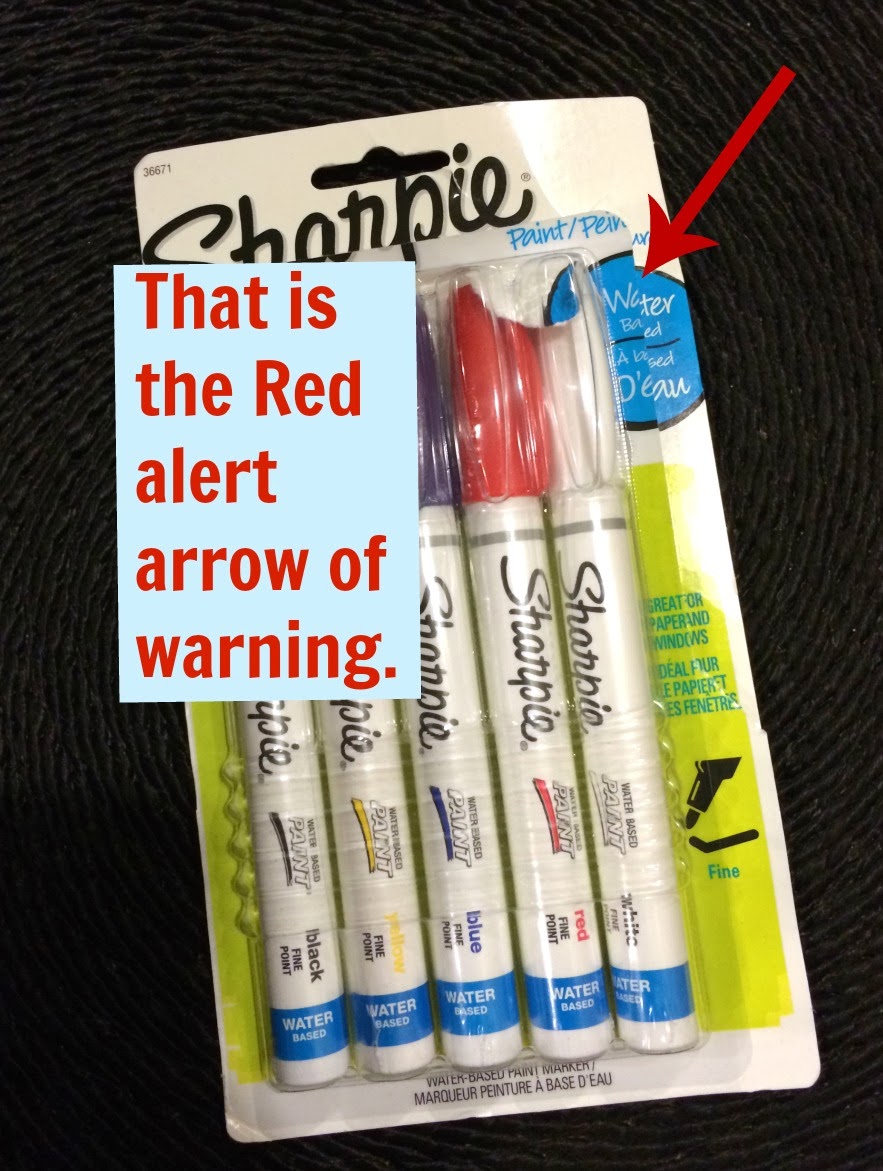
Water Based. No-no-nO-NooOoO-No. Not for the glass project. That little word at the bottom right of the package is referring to the tip. It’s not giving you the a-okay to use this on your mug/plate.
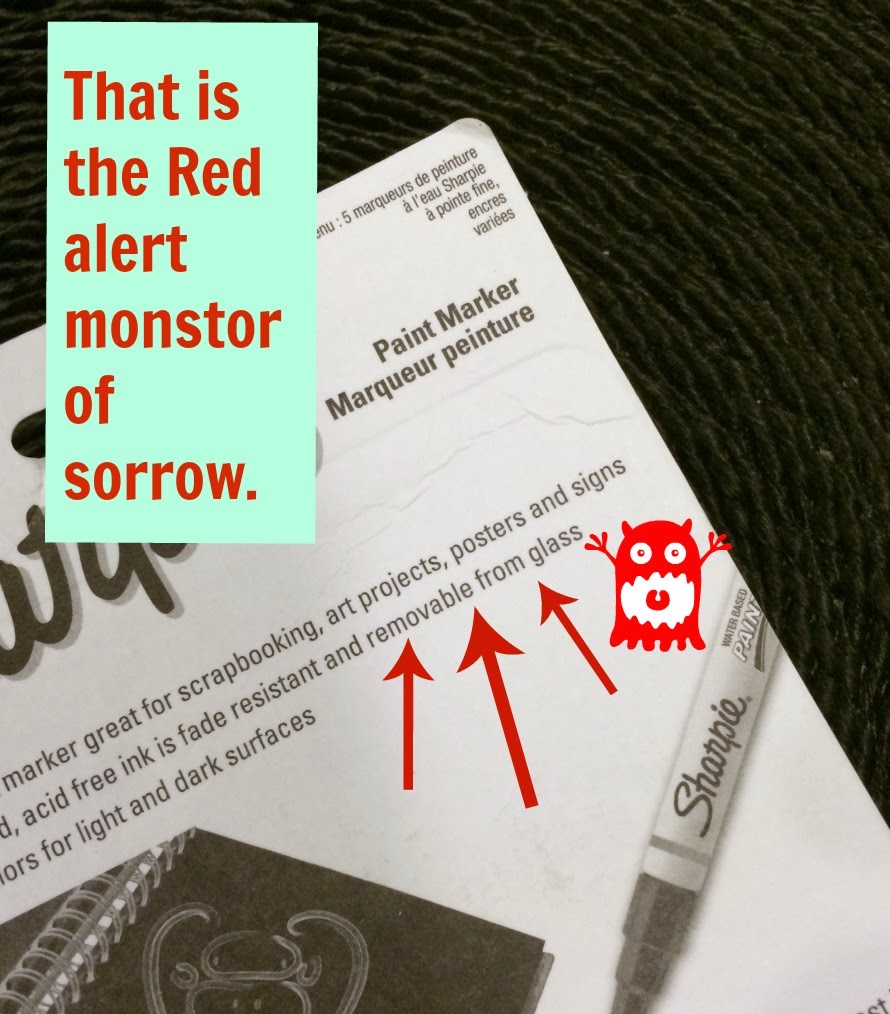
Removable from glass. ReMoVaBlE fRoM gLaSs!
Handsome Dude saved me from pitching a tent and residing in the land of sorrow and despair by asking me what the difference was between the two sets of markers I’d purchased–BEFORE–I used them.
I’ve never loved him more than at that moment.
[By the way–I pinned another idea that said to use a regular sharpie marker to draw your design and be all artsy–stick it in the oven to “set” the color–and voila–but no. Tried that clever little trick and it came off…not like the plate was brand new all white and clear off–but the color came off. ‘Off’ as in waaaa. And maybe one of you did the very same project and it turned out all wonderful and true and you are still using the plates that you painted 100 years ago. I don’t want to hear it.]
~grin~
Fine. Tell me all about it.
Here’s what I did.
–wash the mugs and the plates
–make sure they are completely dry
–practice writing what you want to paint on your dishes
–seriously–practice the size of the letters and the placement
[I made a little template to keep me from getting carried away with the lettering–it’s not something you can simply wipe off. It dries to the touch quite quickly. You won’t want to rub the design at all, though–especially the colors–like red, yellow, and orange. They definitely take longer to ‘set’. Definitely. I let my works of art sit for two days just to be sure.]
Back to practicing what you will paint.
Practice.
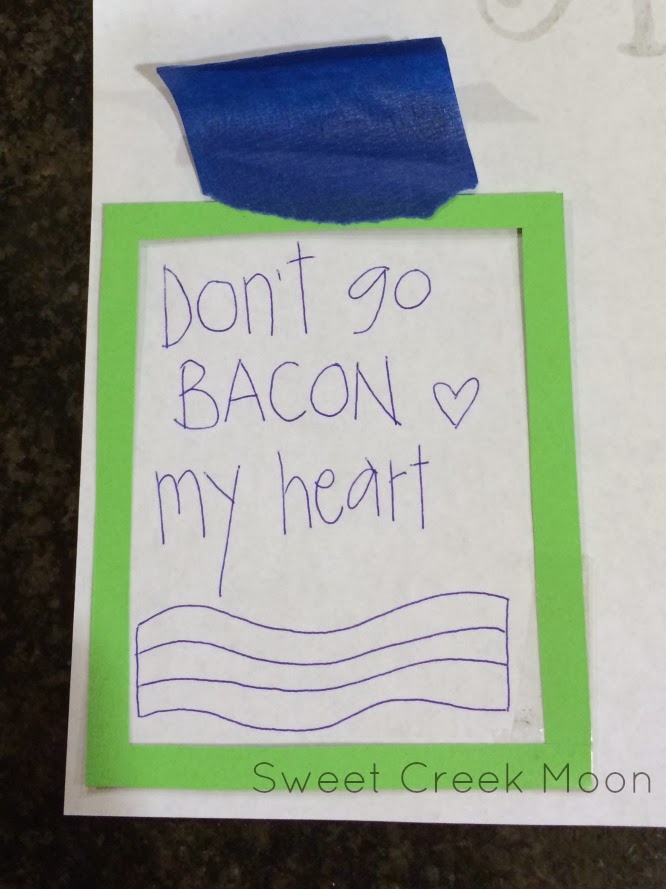
It doesn’t have to be perfect–but you want to be accustomed to how the flow of writing and drawing feels. Here’s the template.
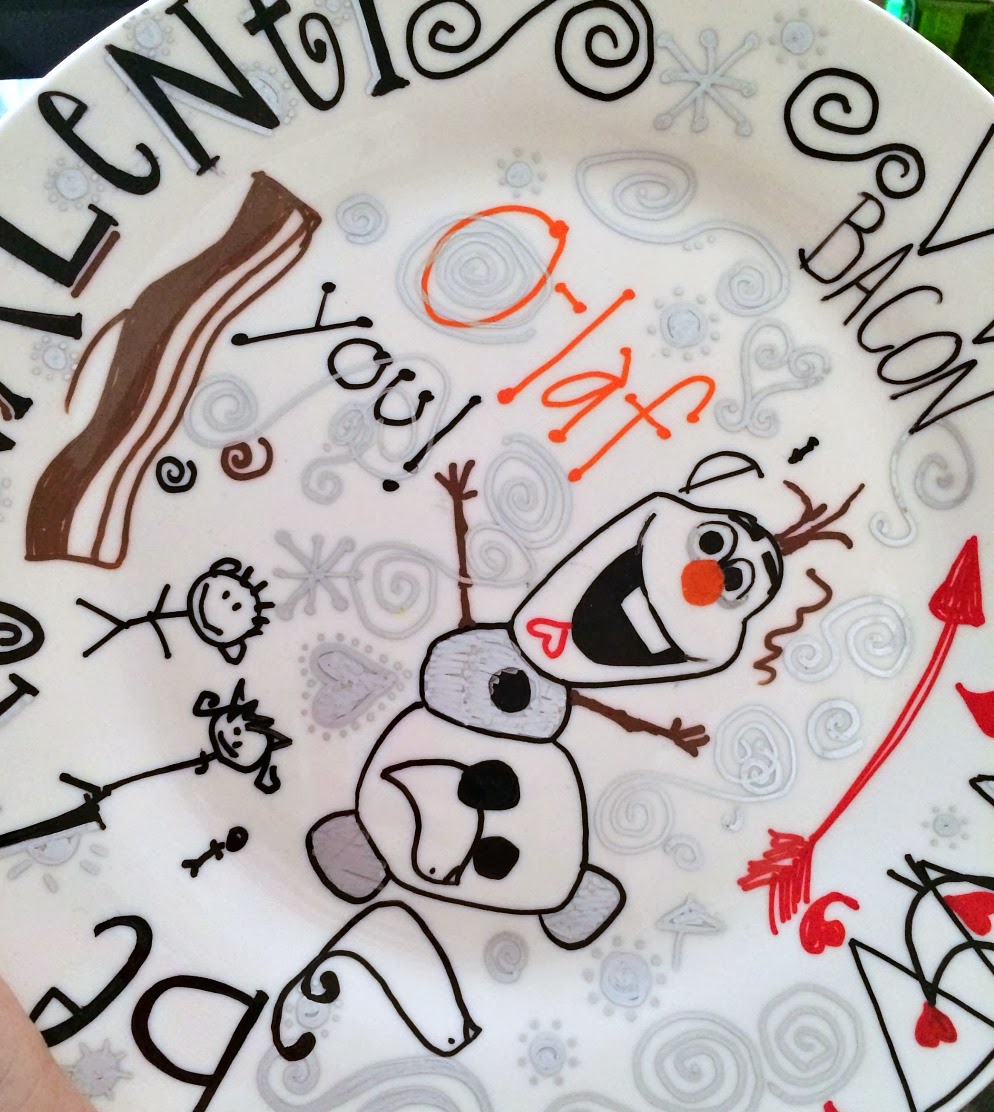
Here’s the template put to use in two ways.
1–practicing the actual phrase, and
2–as the boundary for the actual design on the cup.
No, I don’t get a free, delightful mug.
It’s just a cute shop and I felt like sharing it. ~grin~







6 COMMENTS
Jamie Younker
11 years agoI was TOTALLY going to make these mugs for Carson for Valentine’s Day! Now I know just how to do it, and how to avoid accidentally buying the wrong markers! YAY! Thanks! Also, is it weird that I want to give the man these mugs even though neither of us really eats bacon?
Teresa Jones
11 years agoI’m betting you would have figured this out all by your creative self. ~grin~ I can’t look at the mugs without singing the song.
Erin
10 years agoI did this with water-based regular sharpies. Can I use a sealant without messing up the sharpie?
Teresa @ Sweet Creek Moon
10 years ago AUTHORErin–I didn’t use a sealant on mine so I don’t know how that will turn out. Is it possible to use a practice plate/mug/saucer using the same sharpies and then seal a portion of it and see how that turns out? It would be worth the effort. What kind of sealant are you going to use?
Sarah Birchler
9 years agoHello! This is my mug! Im just seeing this blog, and the comments and wanted to add a note. There is a clear sealant, i believe the brand is “folkart”? Happy painting!
Teresa @ Sweet Creek Moon
9 years ago AUTHORHi! The mug set is adorable. So adorable. Thank you for the additional tip. ~smile~