Scrappy Spring Pillow Tutorial |April 13
Scrappy Spring Pillow Tutorial
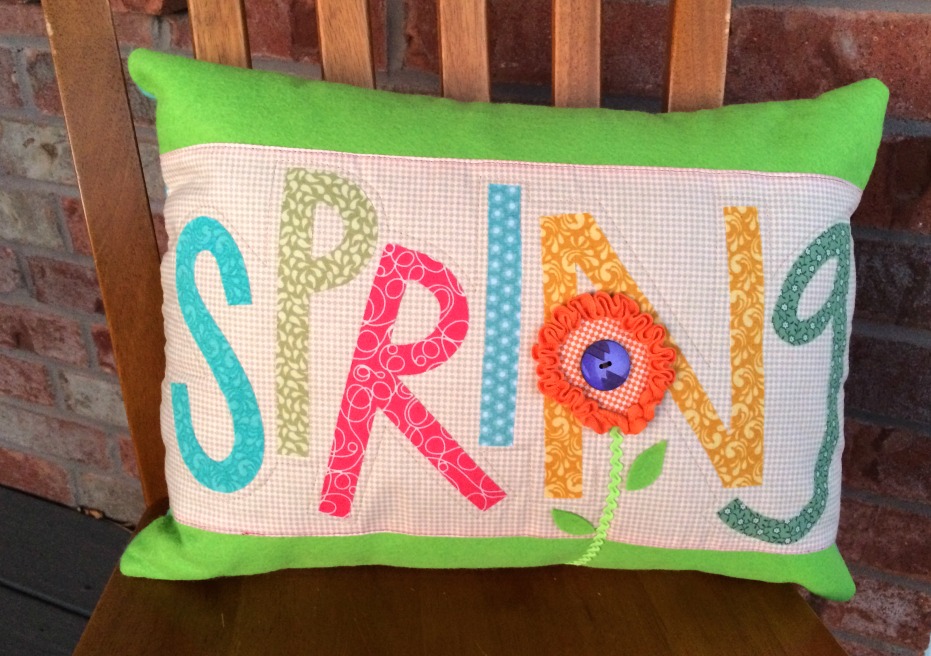
I’m all for a crafting project that’s darling and simple–and this one fits the bill rather nicely. I’m also all for actually completing and posting this Scrappy Spring Pillow Tutorial before my lovely head falls off. To that I say, “Let’s glitterdone.”
One of the advantages of this Scrappy [You know, the letter “S” is important in so many ways–for instance, this would be an entirely different tutorial without it–and I say that only because it just happened.] I’m going to begin again.
One of the advantages of this Scrappy Spring Pillow is using scraps of material that already exist in piles in your craft room. You might recognize some of the pieces from the the fabric used in the Welcome to the Front Door–Spring Kit.
Materials needed
–Heat ‘n’ Bond
–fabric pieces
–17″ of orange twill tape
–a button
–7″ of lime green ric rac
–thread
–a pillow to cover (or stuffing)
Select an assortment of fabric.
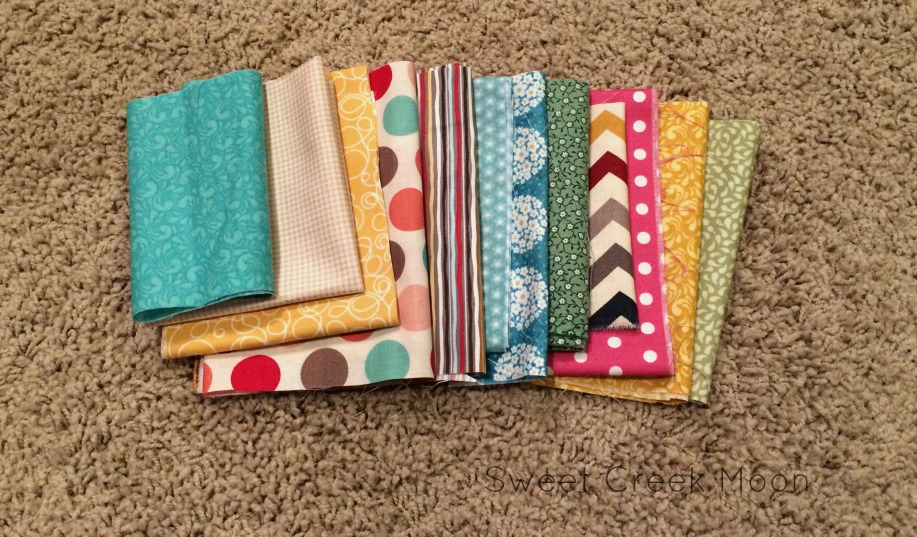
Mix and match and sort through until you find combinations that you like.
Find 11 different pieces.
–6 pieces for the letters
–1 piece for the front
–1 piece for the back
–1 piece for the letter background
–1 piece for the flower
–1 piece for the leaves
I used felt for the front, back, and leaves.
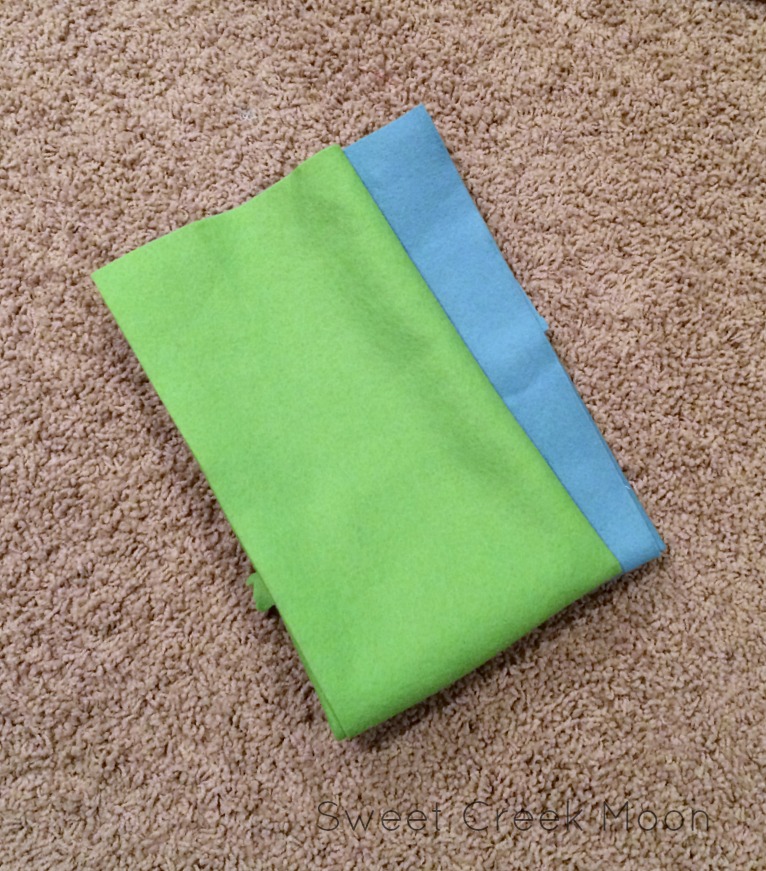
Figure out the lettering.
Some of you can grab a pencil and whip out the letters you need without batting an eyelash. Others have Silhouettes and Cricuts for such things. I used the letters from the Welcome to the Front Door-Spring Kit which made things easy-breezy.
[You know I put that kit together, right?]
Following instructions on the package, iron the letter and flower fabric to the Heat ‘n’ Bond.
Trace your letters on the Heat ‘n’ Bond. Be careful about doing this part. You don’t want to do all of that work to discover that anything is backwards.
Cut the letters out. [I used a pair of cuticle scissors purchased for this purpose on the inside of the ‘R’ and the ‘P]
Peel off the Heat ‘n’ Bond backing.
Press a 1/4″ seam on the top and the bottom of the background piece.
Space the letters out on the background fabric. Remember to account for a seam allowance when you’re placing the letters–which just means to leave an edge for top-stitching.
[fyi: I ended up changing my mind about three of the letters for a variety of reasons. Find a combination that you love.]
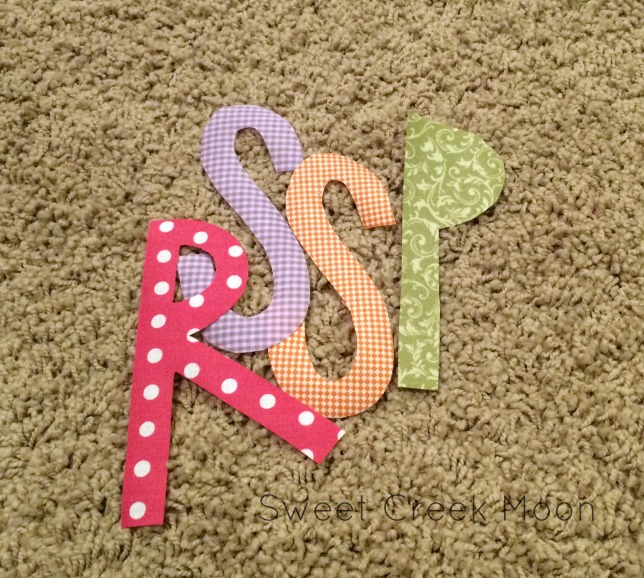
Those are the ones I didn’t use.
Iron the letters to the background piece.
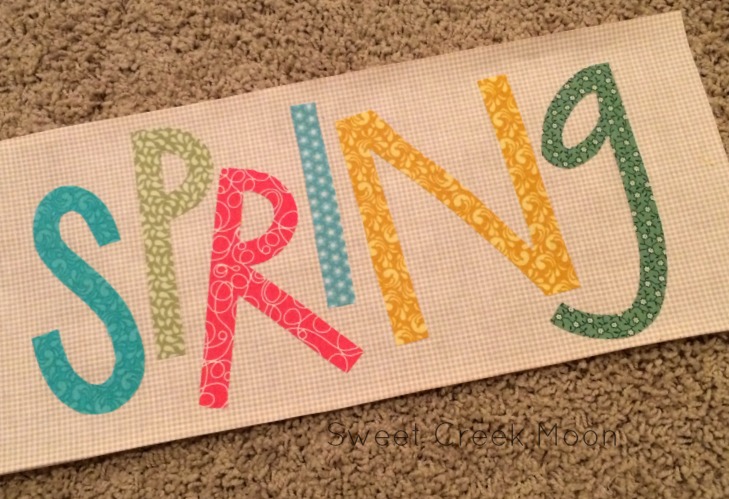
Place your background piece on the front piece of the pillow. Pin it.

Top-stitch the top and bottom edges of the background piece to the front piece. I used pink thread.
Helpful Hint
Helpful Hint: If you sew from the left side of the pillow–the side the ‘S’ is closest to–to the right side of the pillow as you top-stitch the upper edge, make sure you sew from the left side to the the right side on the bottom edge as well.
Left to right. Left to right.

I offer no explanations for the imperfect top-stitching.
~smile~
I top-stitched using neutral thread around the letters using a large — not quite a basting — stitch.
I top-stitched around the letters before I added the flower–I just forgot to capture the moment with a pic.
Notice that I didn’t go completely around the letters–it’s just an outline.
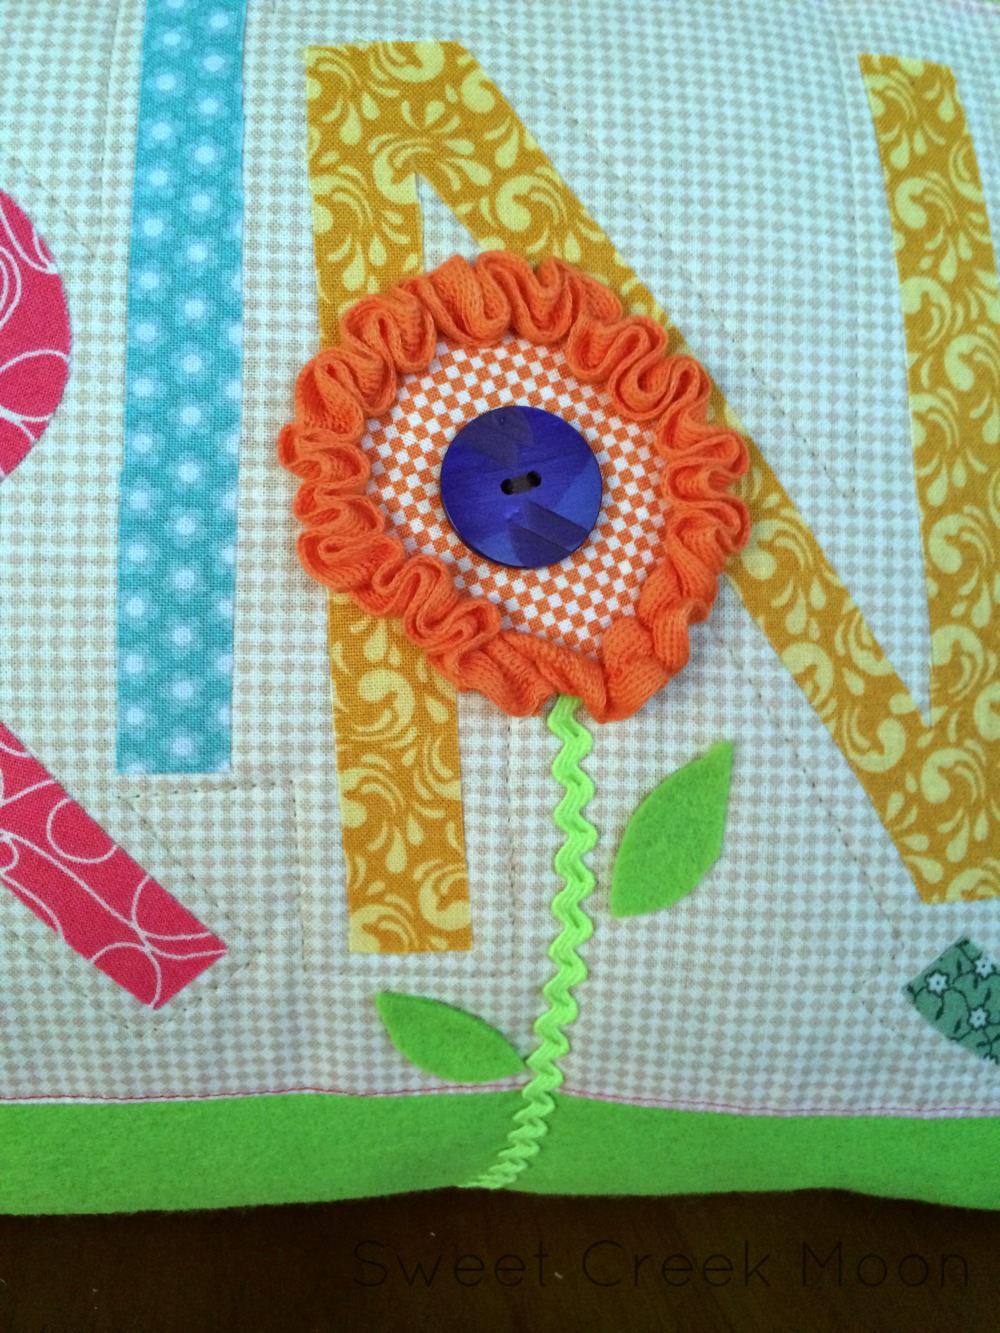
Cut out the flower center — it’s a circle that’s ~ 2″ in diameter.
Referring to the picture of the completed pillow, place your flower and the ric rac stem.
Stitch the stem on.
I hand stitched mine.
Stitch the flower over the top of the stem. Use your machine. It won’t matter what thread color you use because it will eventually be covered by the twill tape.
Run a basting stitch the long way down the center of your twill tape. Gather the tape until it fits around the flower circle you’ve just cut. Mine is gathered to 8″ long.
Beginning at the bottom, start to wrap the gathered twill tape around the edge of the circle. Make sure it fits before you secure the twill to the flower.
Once that twill is attached, sew your button to the center of the flower. I wanted some purple on that pillow and finally–F I N A L L Y–figured out how to do it. The button.
[That orange and purple flower is my favorite part of the pillow.]
Oh–I forgot to mention the leaves. Those leaves were an afterthought–they weren’t attached until the pillow was stitched closed — which means they are glued and not sewn on.
Place right sides together and sew a 1/4″-3/8″seam around the pillow cover. Don’t forget to leave ample room to stuff a pillow through. Turn the pillow cover inside out and carefully put the pillow inside so you don’t want to pop a stitch.
All that’s left to do is to hand-stitch the end of the pillow with an inconspicuous stitch and voila! You’re done.
And there you have the Scrappy Spring Pillow Tutorial in its entirety. ~smile~

1 COMMENT