DIY Fashion Tutorials

The sound of finishing a project–jubilation

This time the joyful noise is moi–it’s the sound I make every time I complete a project.  Every time.


Post the Third

Here’s the project (rest assured that it’s more picture than prose):

The skirt was: $7.00. It was too big, but I figured it would make a great something for somebody.

  
I decided to make this: 
Which is the finished product.


Here’s what I did.

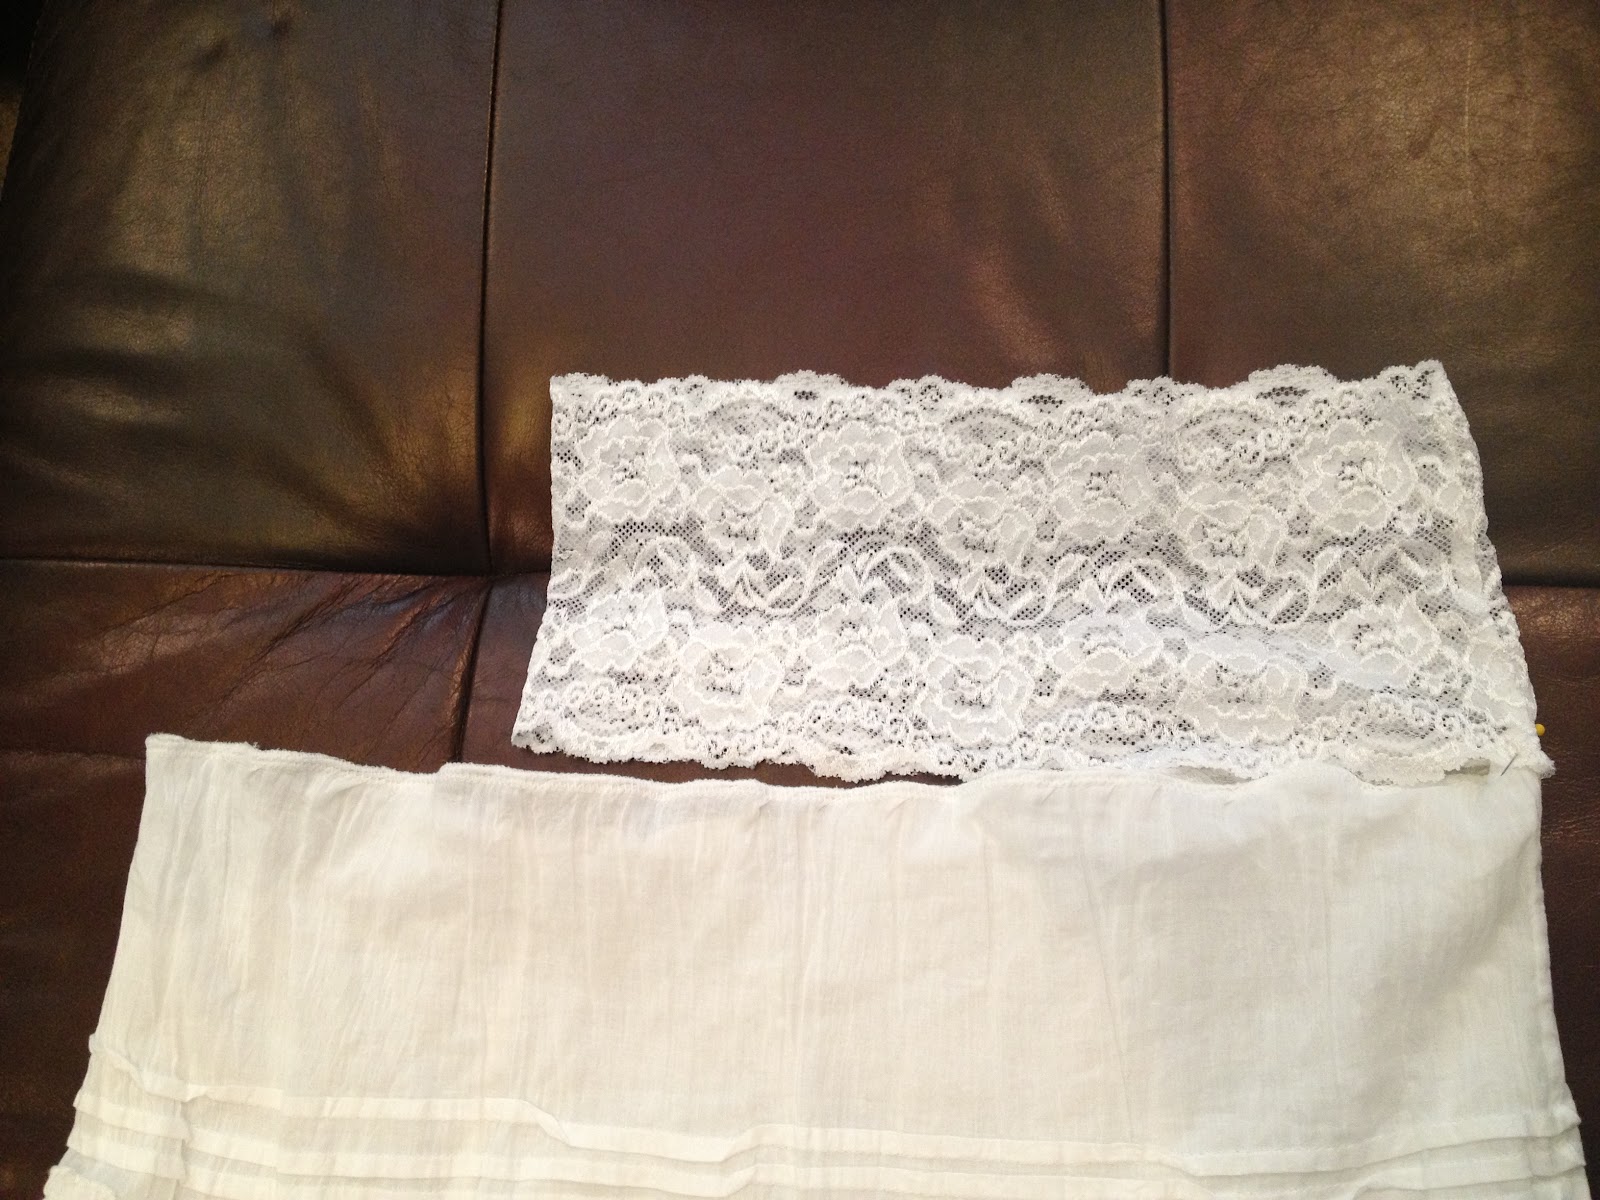
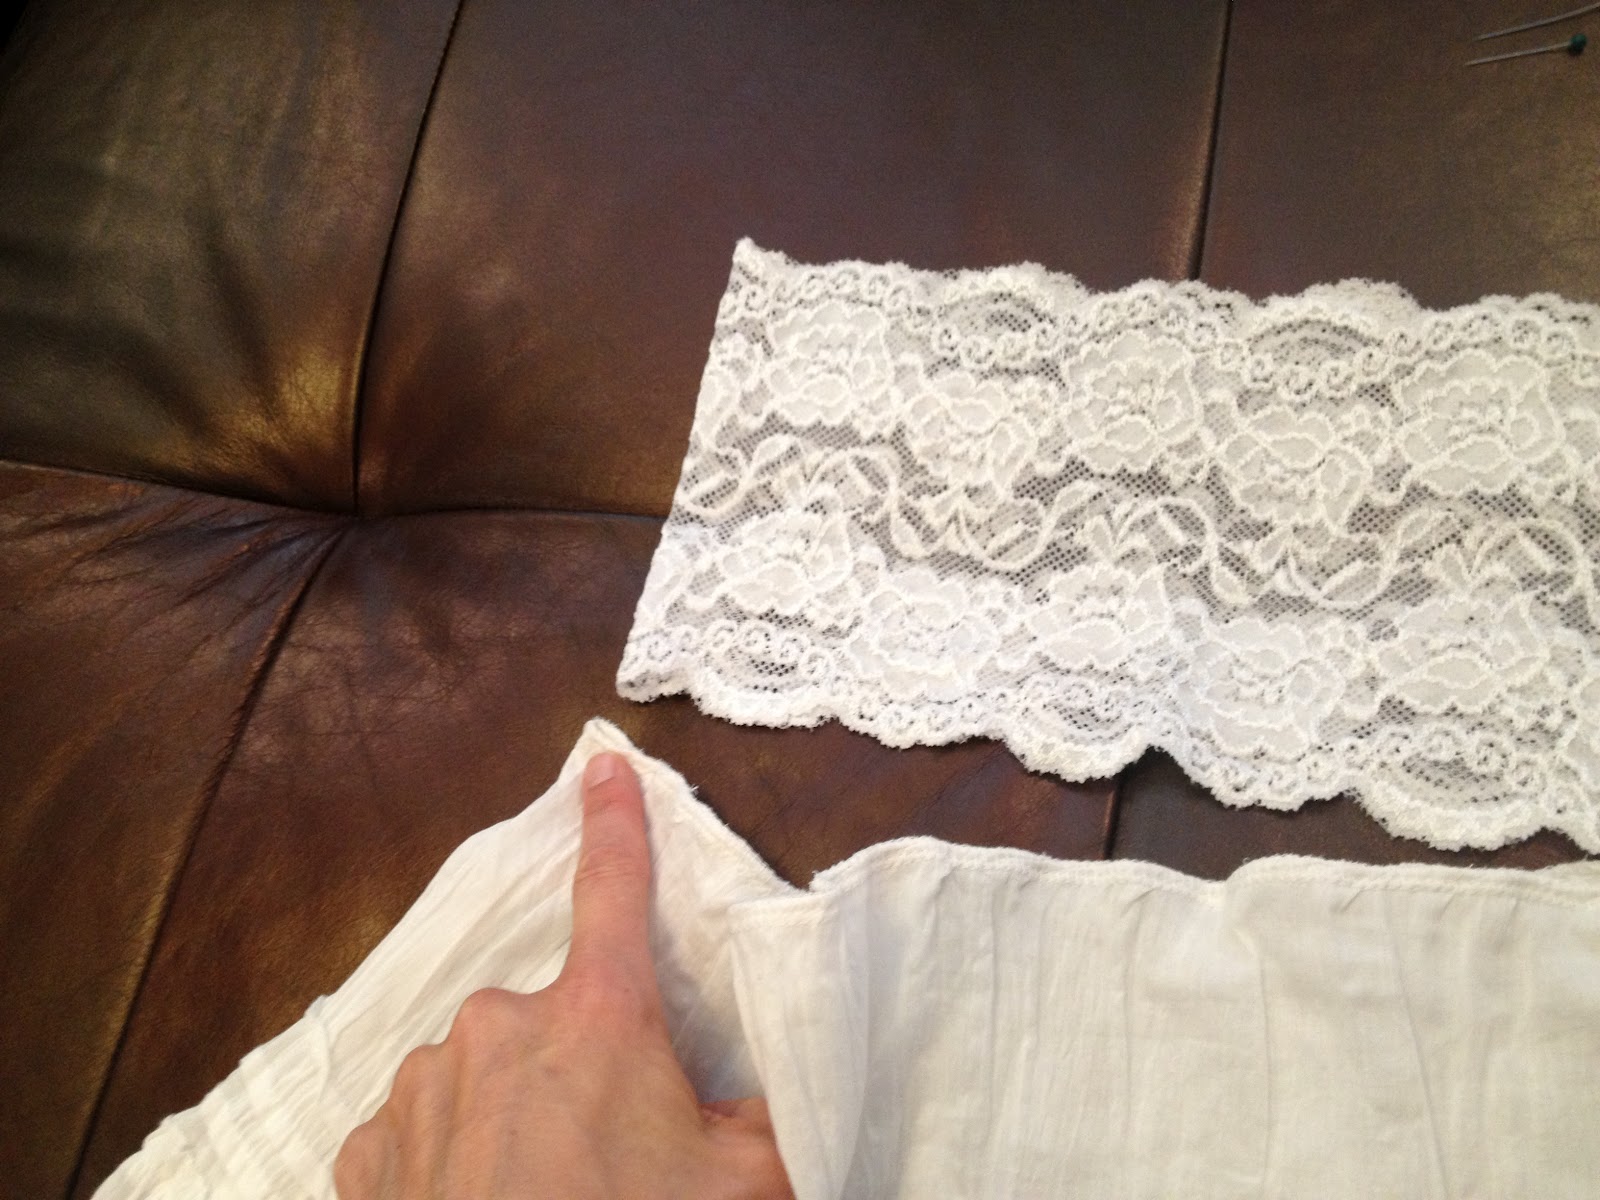
I already had 8″ elastic lace trim for a waistband. (The color matchy-match is a miracle coincidence.)

–I cut right through the waistband to simplify things for myself
–separate the waistband from the skirt (which has a lining I wanted to keep) by serging just under the waistband
–cut a piece of the lace elastic trim to size and serge the two ends together
[Elastic with a seam and skirt with the serged edge.]
 
–attach the new waistband to the skirt
[Please, don’t be all confused about the project changing color–it’s not magic–I’m just using pics from one of my previous posts to explain it.]
–match the seam on the elastic piece with a side seam on the skirt–pin it
 
–match the other side of the skirt with the other side of the lace
  

–pin it

–now find a center point between the two pins on the skirt

[snore]
–mark that center point with a pin (or eyeball it)
–do the same thing with the elastic: find the center point between the two pins and mark it (if you can eyeball it, don’t use a pin to mark the spot)
–match up those two pins/spots and pin the fabric together

[take a calming lavender bath]
–flip the skirt over and do the same thing on the other side: find the center points on the skirt and the lace, and then pin them together


Now the skirt should be pinned to the lace band in four spots.

–sew the waistband to the skirt

–place the zipper foot directly onto any one of the pins


–manually turn the needle into the fabric–take out the pin–but don’t sew yet (I use the largest zigzag stitch on my machine to sew the skirt to the band)

[The machine has black thread in it because it’s a sew-to-show-you-how.]


–with the needle/presser foot holding your fabric and lace together, find the next pin on your skirt/lace band…


and gently pull until the lace is stretched to match the skirt material between the pins.

Add  a couple of pins to secure it if you want.

If you don’t want, then just continue to gently hold onto the fabric while you sew. I go completely around the waistband sewing from pin to pin. 

Ta-da. You’re done.

From start to finish, the project took 30 minutes. 
Boom.

[Now put the thing on and skip around the house–because that’s what moments like these are made for.  Don’t be going for the chocolate.]
It’s a simple way to extend the length of your skirt/dress or just add some color.
And there you have it.  The last post of three this very fine day.
I need to dance jubilantly around the kitchen–and I have just the song.
[Can you listen to this and NOT dance? I don’t think so.  Carry on.]
Happy twenty-eighth day of Christmas month.

«

»

2 COMMENTS

  • Bennetts

    I need to schedule a sewing lesson with you to refurbish my closet 🙂 Your sewing/creativity is AMAZING!!!

  • Teresa Jones

    Thank you! Most of it just comes from trying and trying. And trying.

what do you think?

Your email address will not be published. Required fields are marked *