This one’s for you
Lynne–my friend of asking–this post is for you. I am one of those people who will skip [maybe even swing my arms as I skip–AND–whistle] to the opportunity to make that happen.
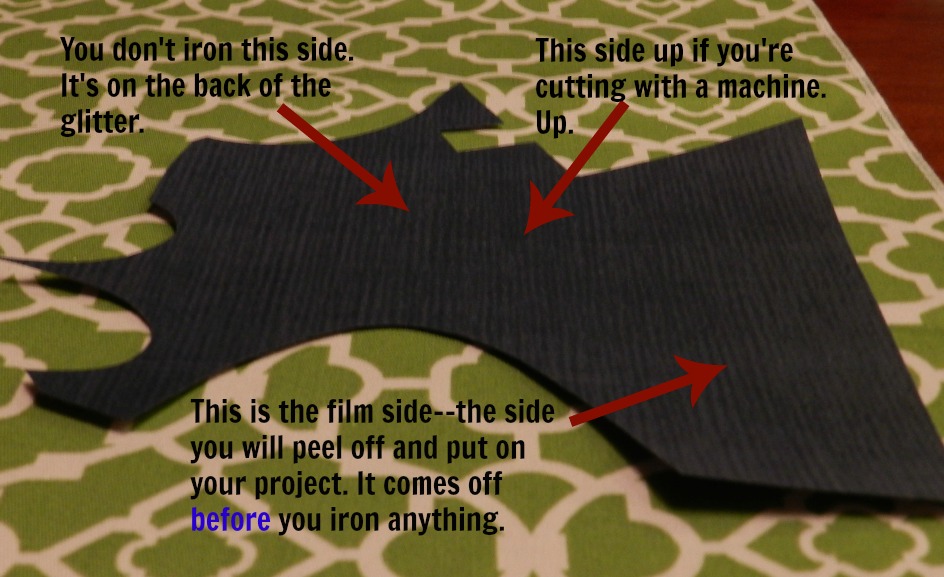
This was what I submitted as my First Round project for Blog Wars–hosted by http://just-between-friends.com. We were given the task of using a rather wonderful iron-on glitter vinyl.
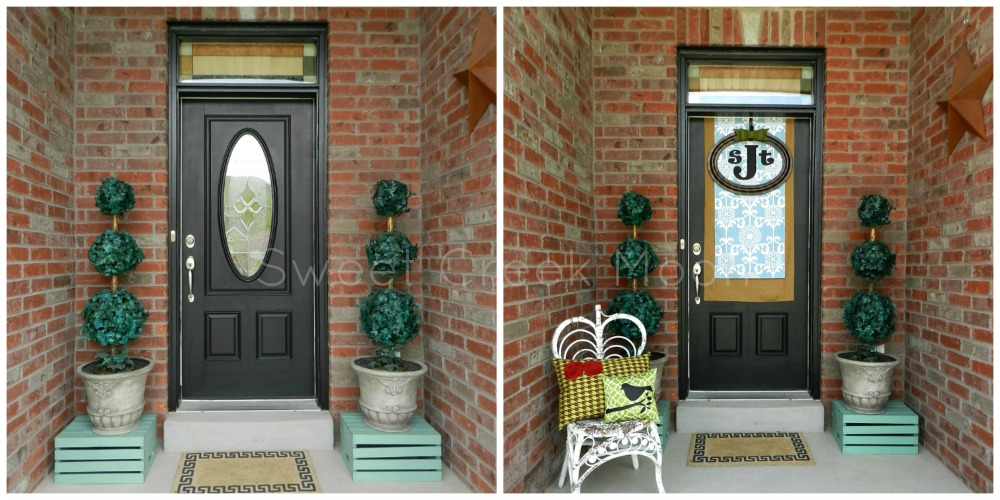
Okay–first of all, here’s the front door with a single piece of fabric draped. There are a gazillion possibilities when it comes to choosing the material and–if you want to add a layer–material combinations. Gazillion. I say just make sure you love what you’re putting on your front door. Or at least like it.
[You don’t want to be rolling your eyes every time you’re by the front door–especially if you’re welcoming someone into your home–as attractive as rolling your eyes can be.]
Here’s what you’ll need for this single door drape:
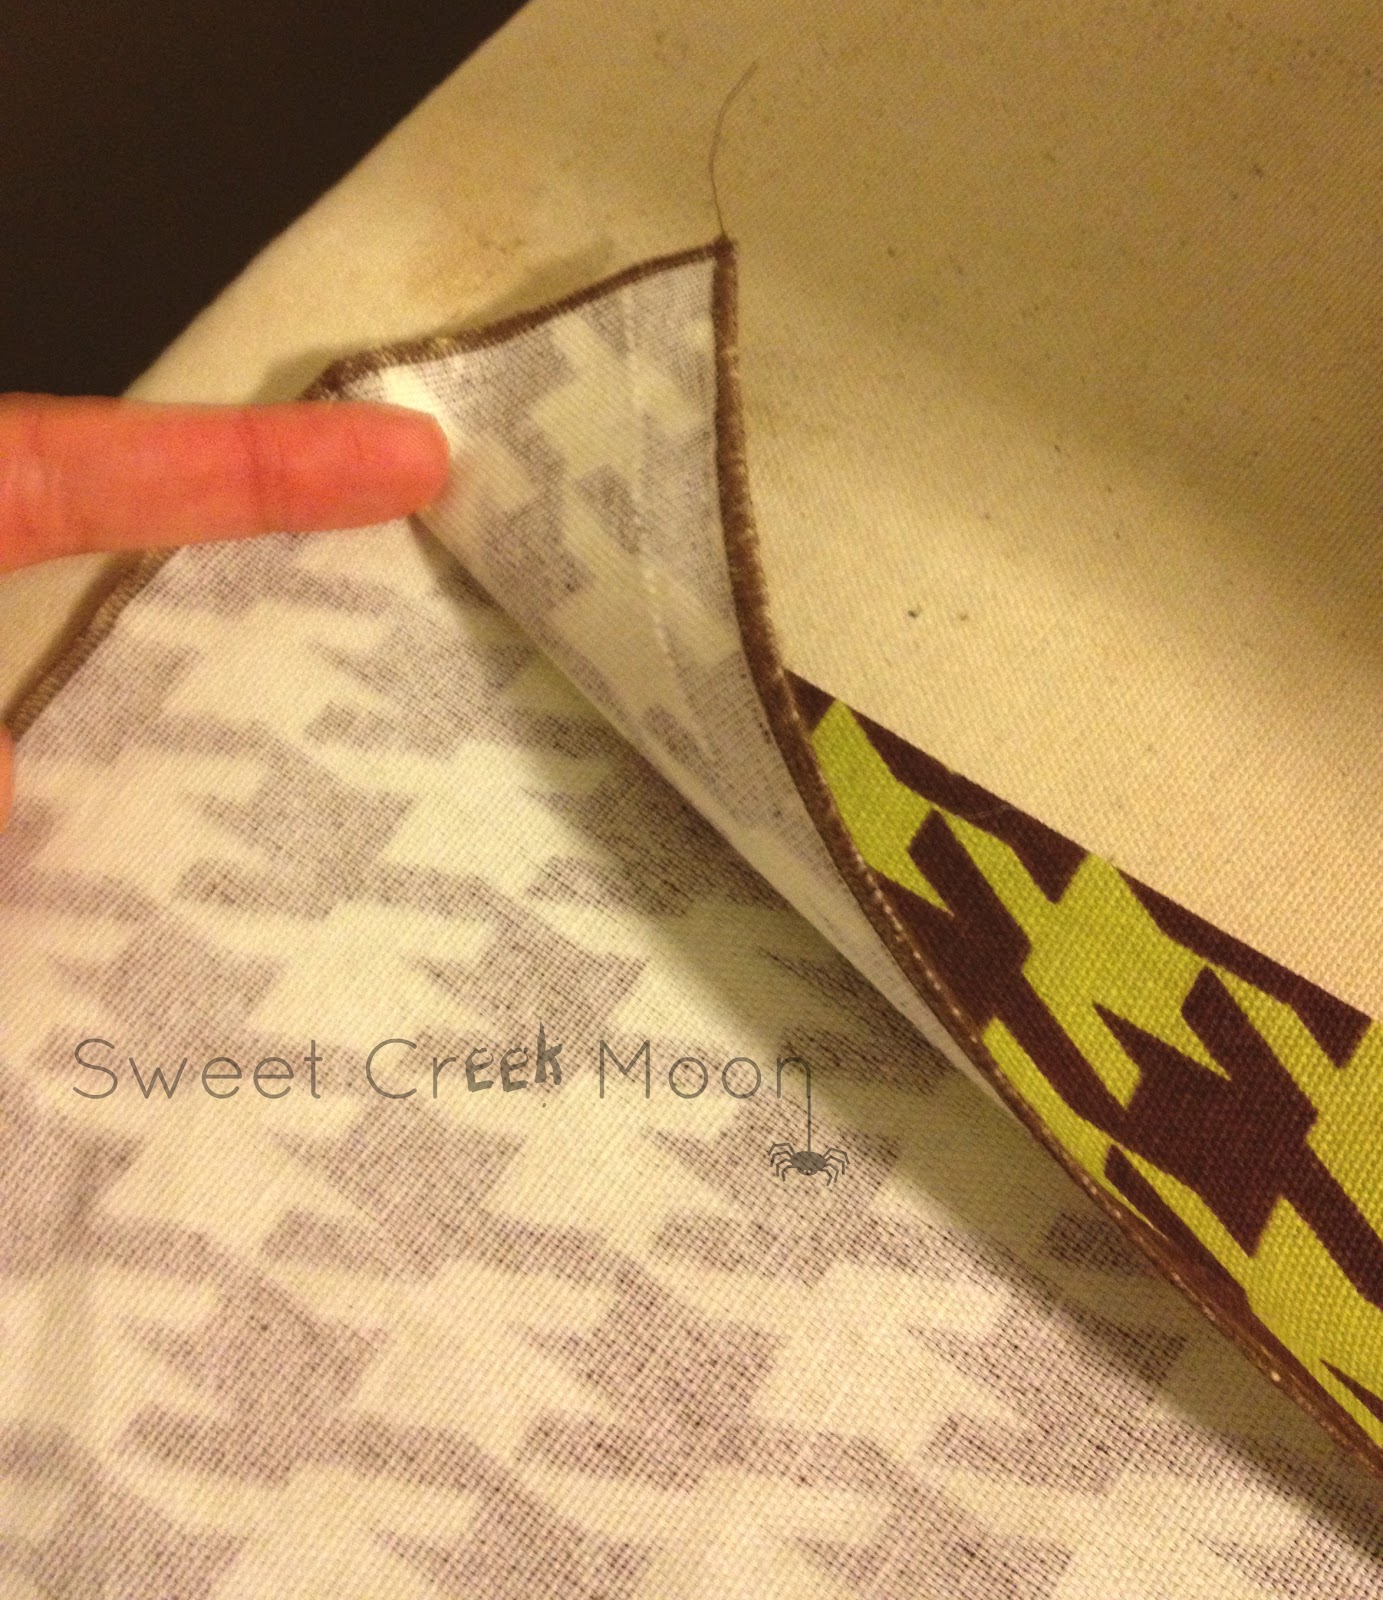
–a piece of fabric 28 1/2″ wide and 56″ long
[If I see a fabulous piece of fabric–and I don’t have a specific project in mind–I will generally purchase a yard of it knowing that I can use it to cover a bench seat, or make a pillow, or hang it on the front door. Or something. But it has to be fabulous.]
–finish the edges using a serger or a zig zag stitch
–fold 2″ in on each long side, and press
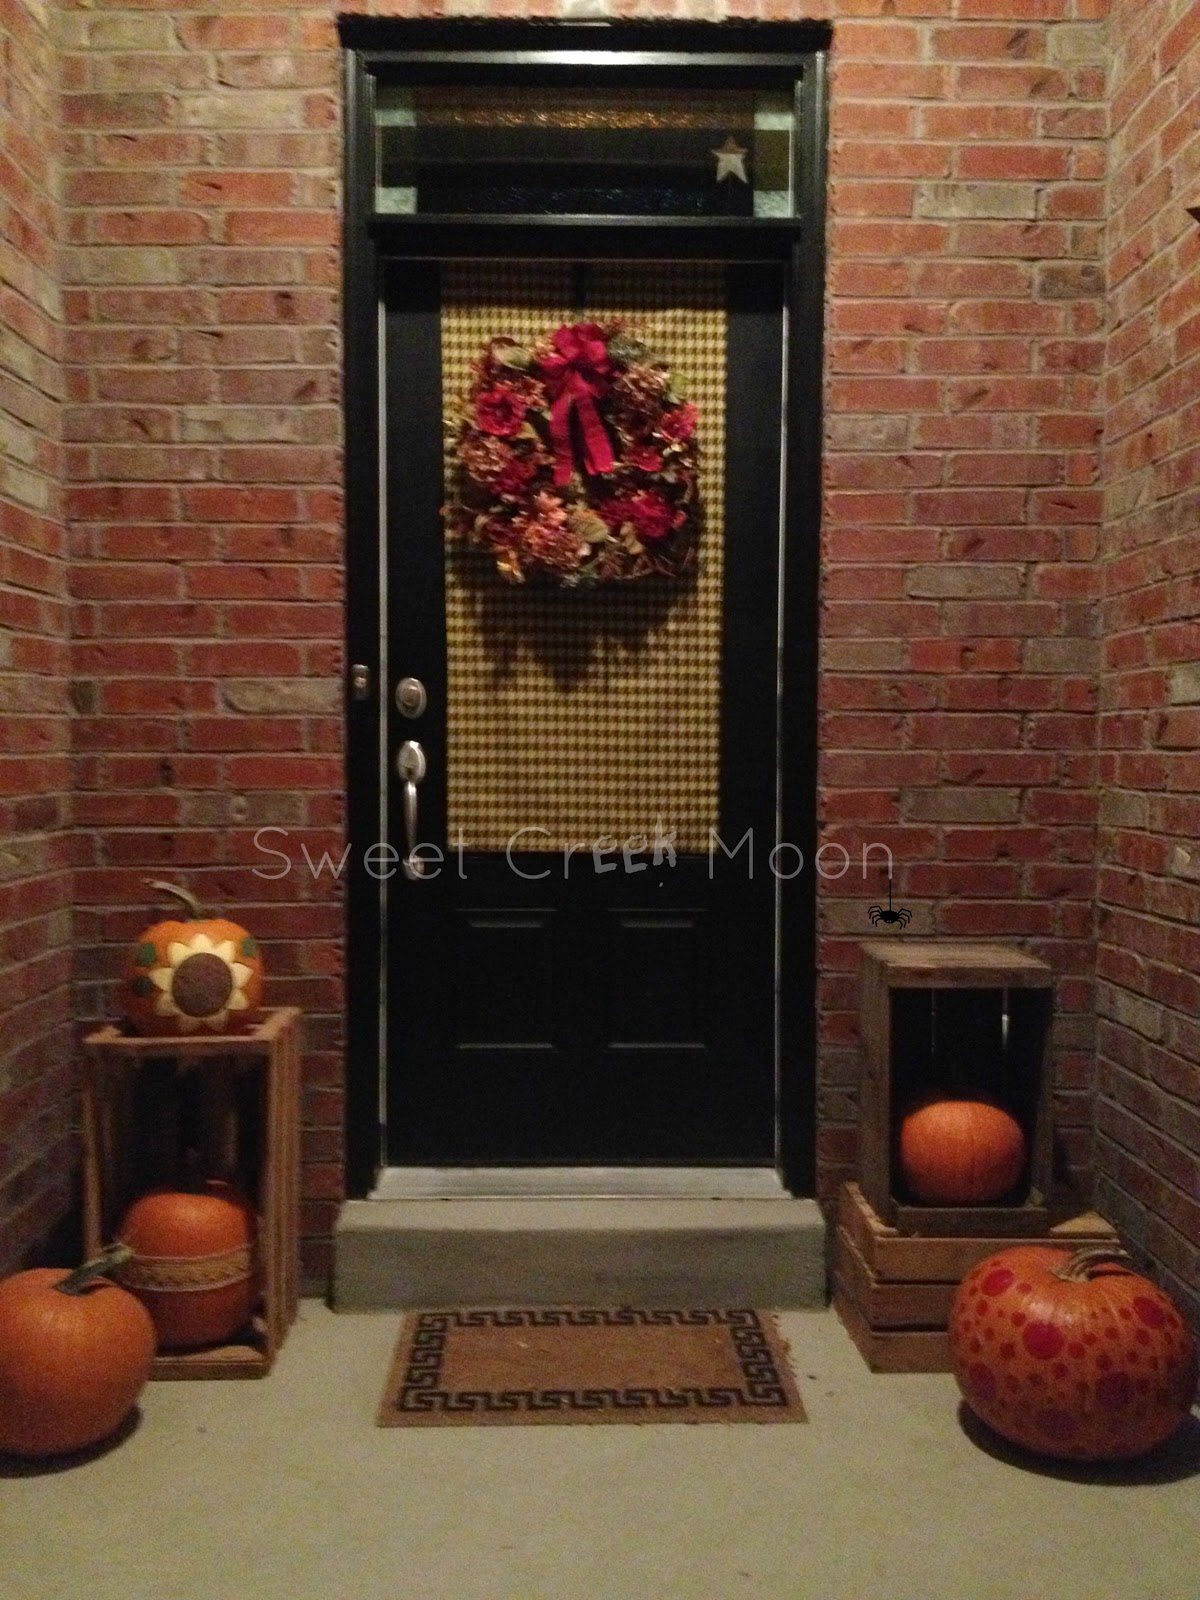
[By-the-way I’m using pics from the first door drape I made because they are already available to post. Also, please ignore the little spider dude and the “eek” in Creek. I was trying to be frightfully clever during the month of October.]

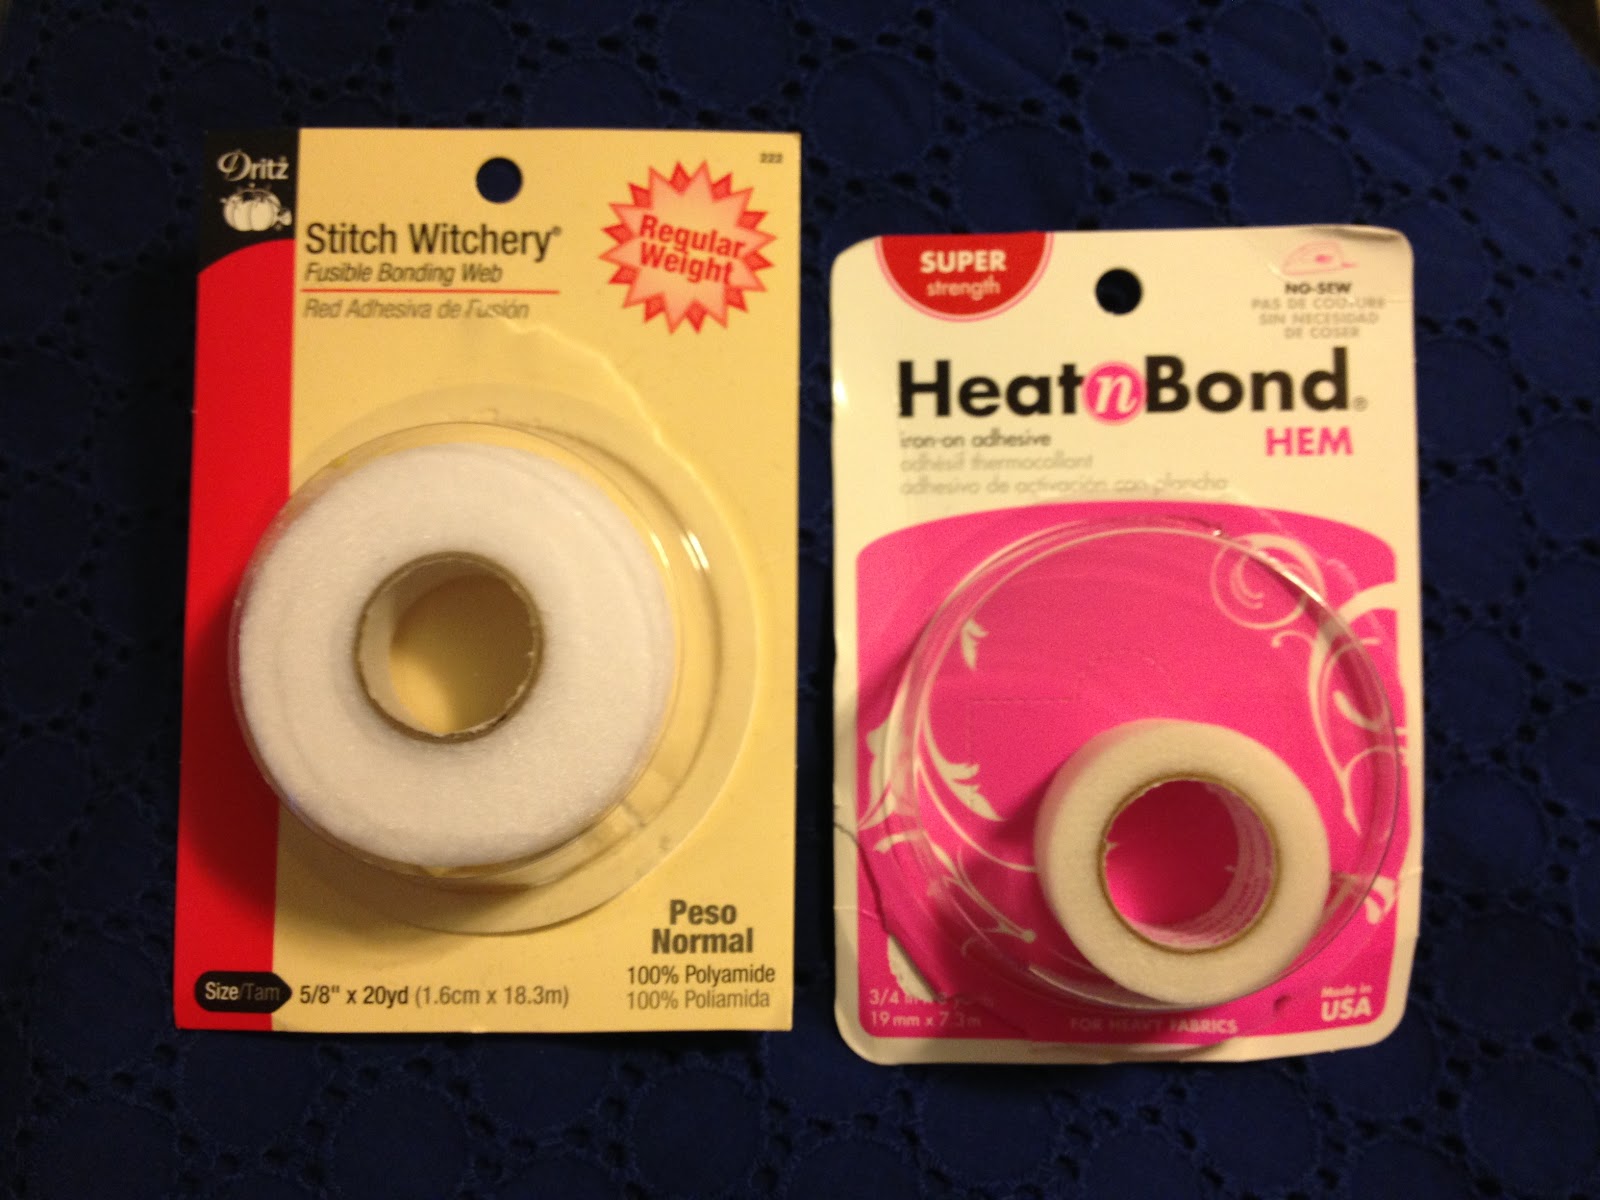
—use an iron-on adhesive (these both work wonderfully) to finish the sides you’ve just ironed
These adhesive tapes are fusible on both sides. It makes this step simple and quick.
[Reading the instructions is always a good thing.]
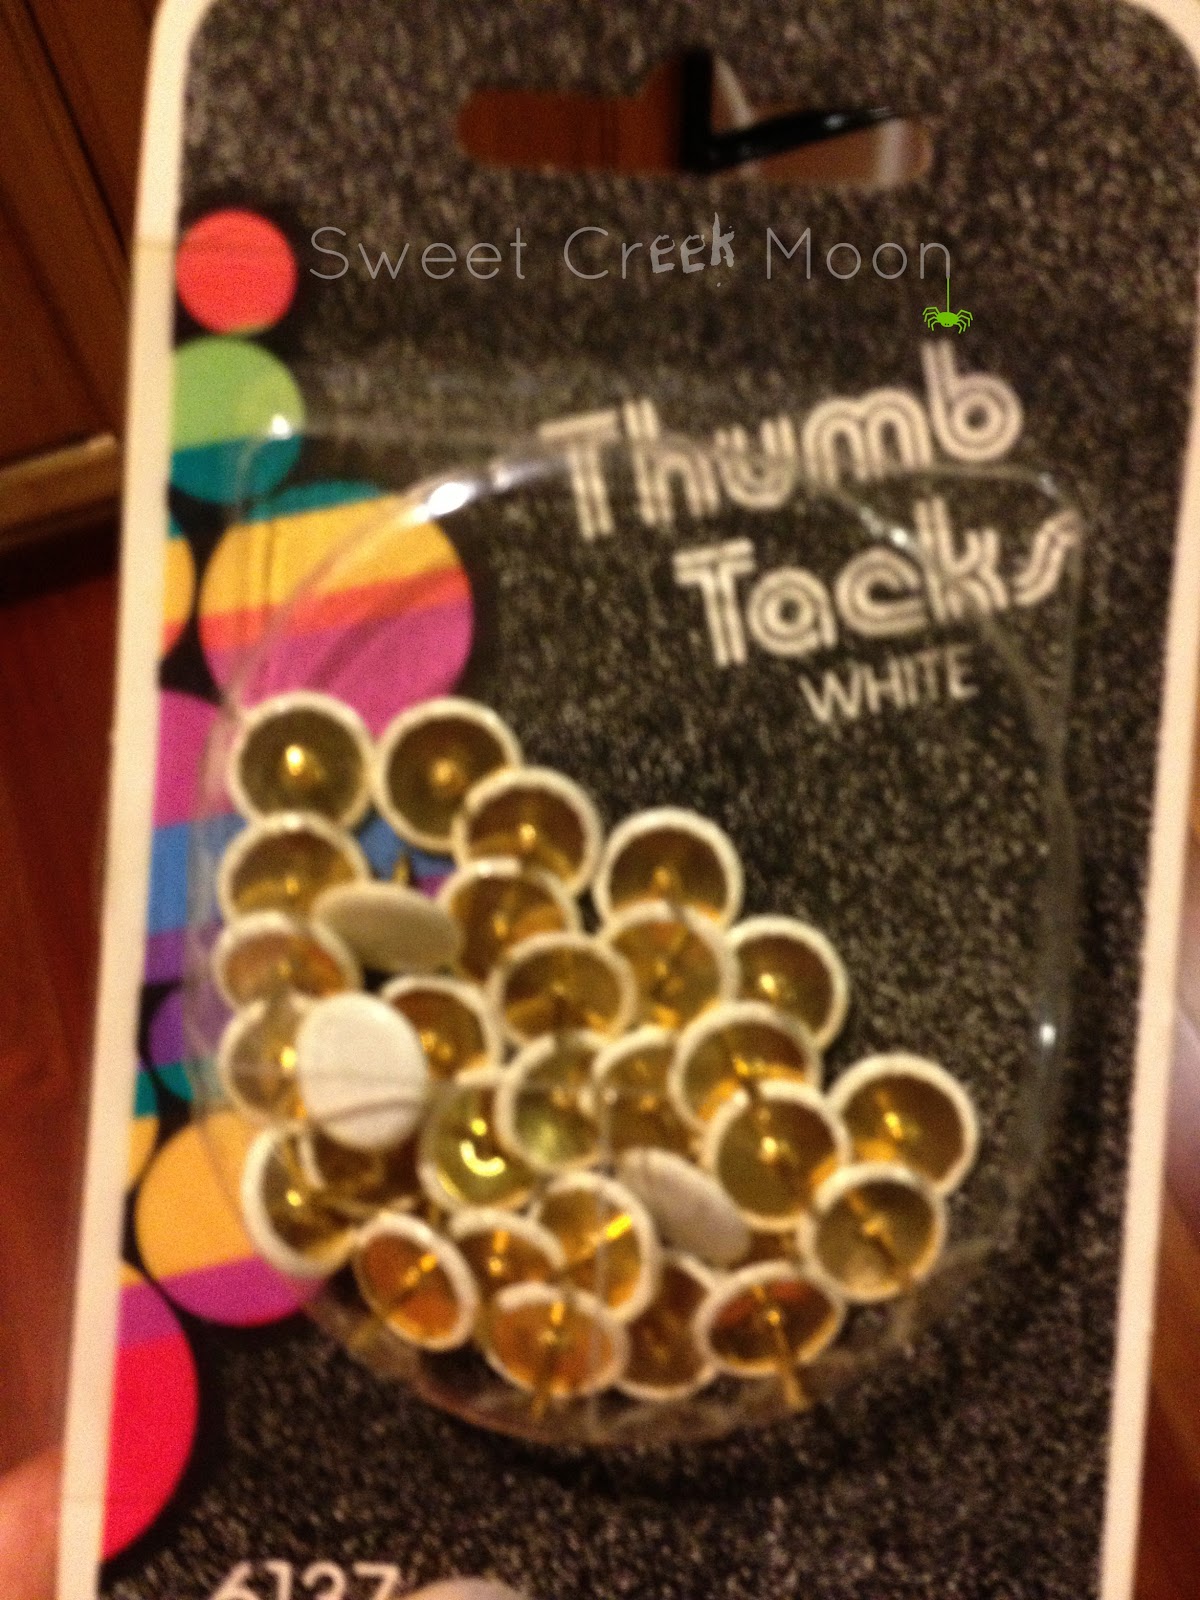
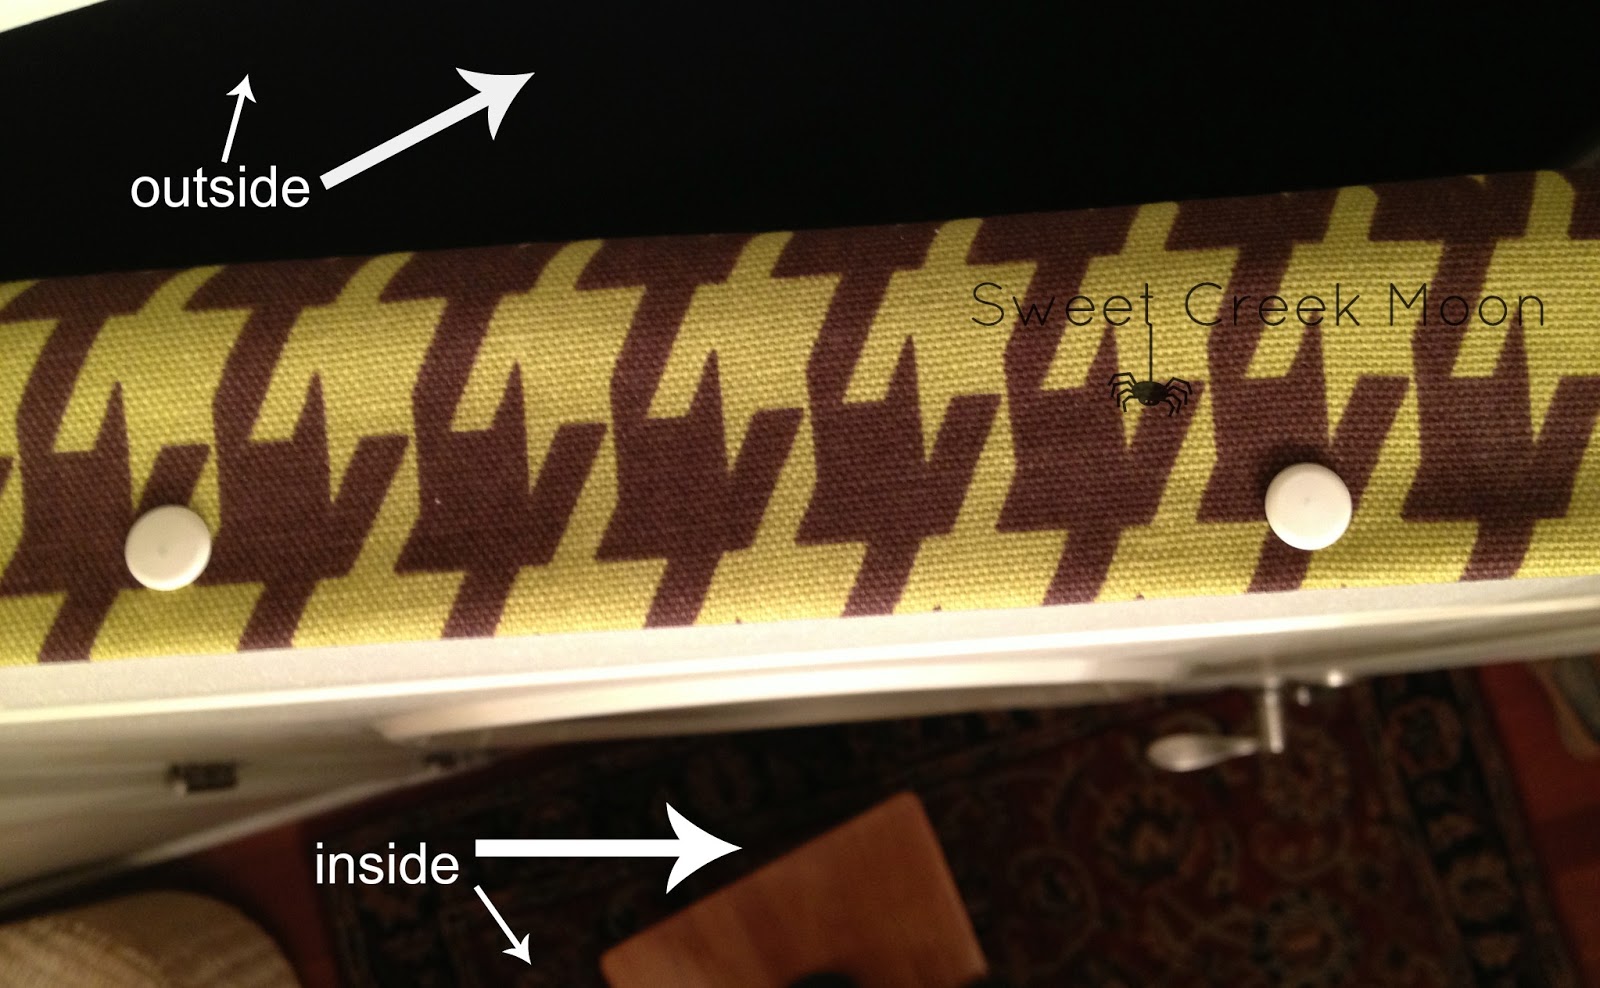
–‘tack’ it to the door


The silhouette of the bird (hovering just slightly above a branch) was cut entirely by hand. My hand. With the same pair of cuticle scissors.
[Cuticle scissors are fantastic for cutting tiny little corners and circular patterns because the blades are rounded AND you can’t really make a big cut because of the design of the scissors.]

There you go–a simple way to decorate any door.
P.S. If you’d like a tutorial for the bow above the frame, let me know. Or the pillows. But not the chair in the picture. I haven’t done much weaving lately.
~grin~

7 COMMENTS
Beth
11 years agoSo. The black lettering is ironed onto the material? Then did you just hang a frame over? How? And yes, I’d love a tutorial on the bow. I’m pretty good with just regular bows, but that is a really cute one. I thought the lettering was on the frame glass.
Thanks for posting that for me. I’d love to see your whole house- I love your door!
Teresa Jones
11 years agoYes–the black lettering is ironed on. Amazing, huh? That means you don’t need any glass inside of the frame. You can pick any shape of frame you want–and–if it’s a cheap frame, paint it with a fantastic color. I will post the tutorial on the bow this weekend–after my project for Blog Wars 4th Round is done. Oh–and there are definitely spaces in my house that would make you laugh. Like my war zone of a craft room. ~smile~ Love that you read the blog.
Lynne
11 years agoThat was really Lynne (me) posting. Beth and I are back east together and she was using my phone and I didn’t know I was using her account until too late. And l liked your Halloween “eek”!
Lynne
11 years agoThat was really Lynne (me) posting. Beth and I are back east together and she was using my phone and I didn’t know I was using her account until too late. And l liked your Halloween “eek”!
Lynne
11 years agoSorry for the double post. I didn’t think the first one went through…guess it did. :-/
Lynne
11 years agoSorry for the double post. I didn’t think the first one went through…guess it did. :-/
Teresa Jones
11 years agoYour comments are all doubled up–which is awesome because it just looks like more people are reading the blog. ~smile~