Hemline extender idea #1
Hemline extender idea #1.
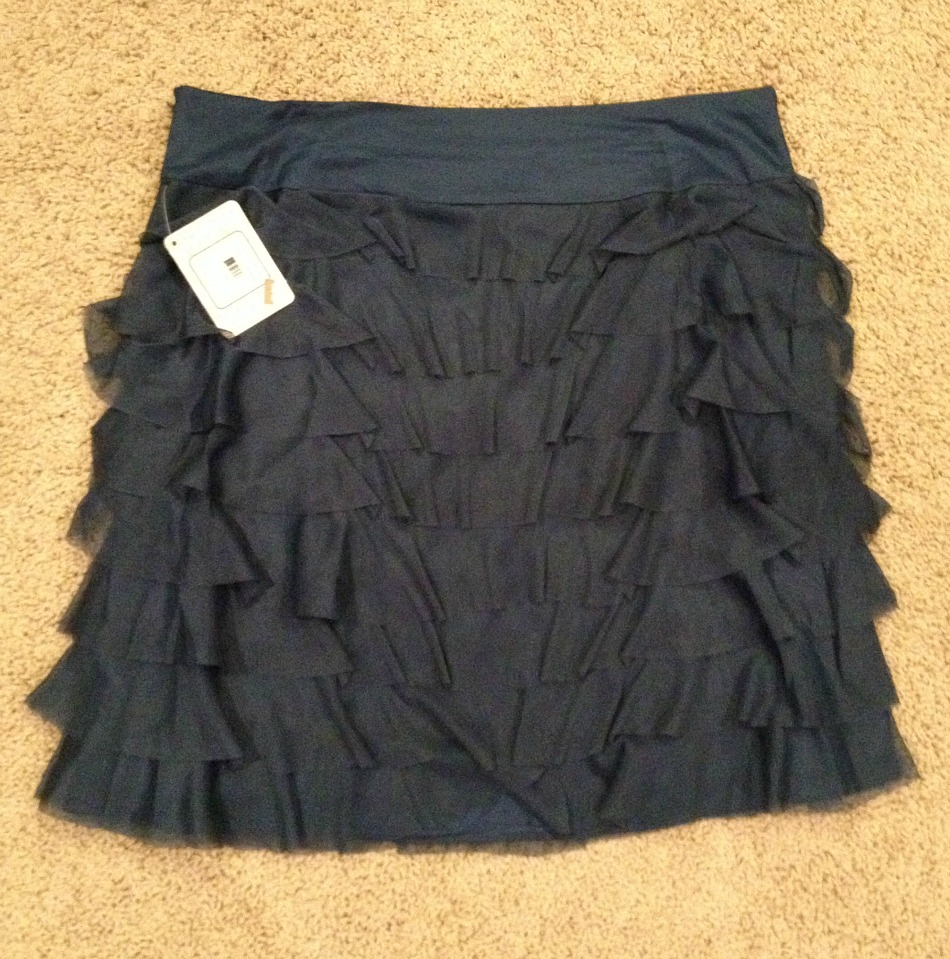
I found this skirt at Walmart.
On sale.
Bonus.
A bit big.
Bonus.
[It would have worked at any size.]
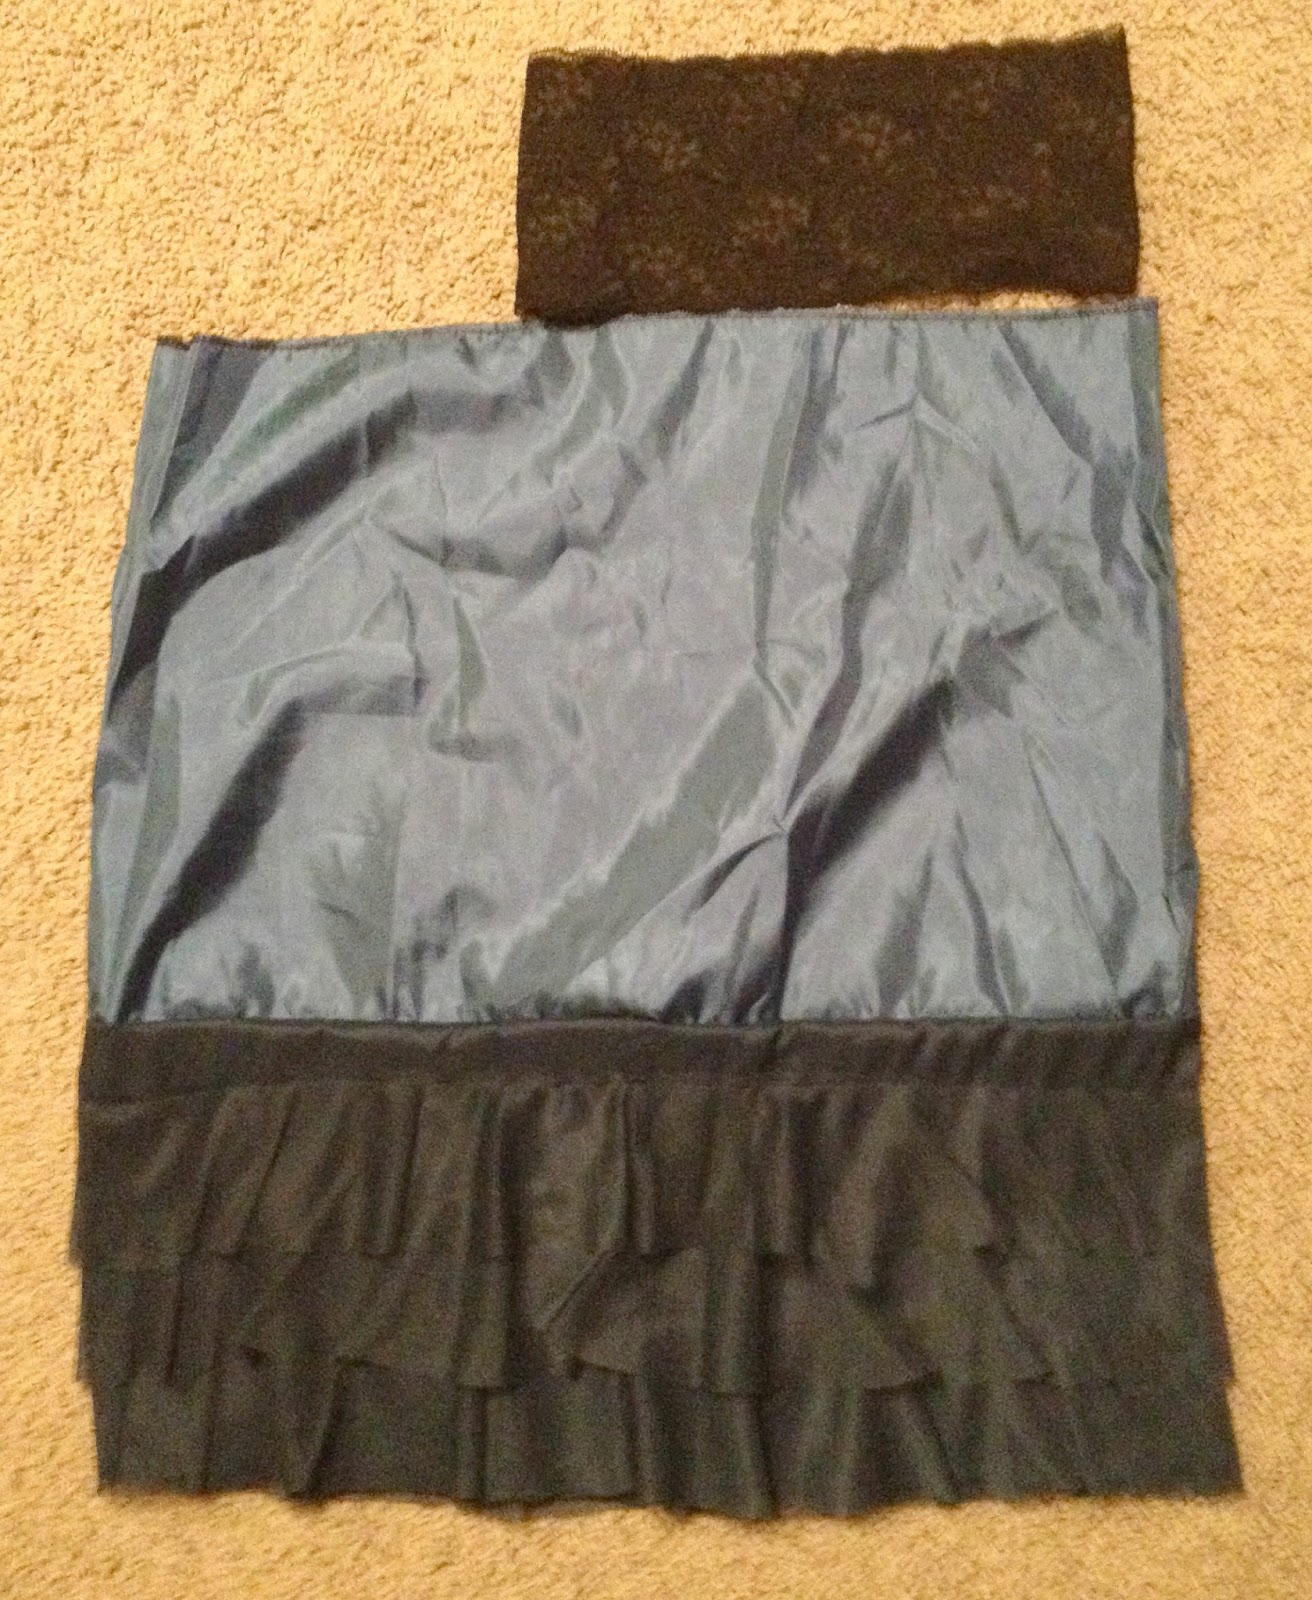
Cut off as many of the ruffle layers as you choose.
I cut three of them off–they will become the bottom of the new extender.
Make sure you don’t cut through the lining–you’ll need it later.
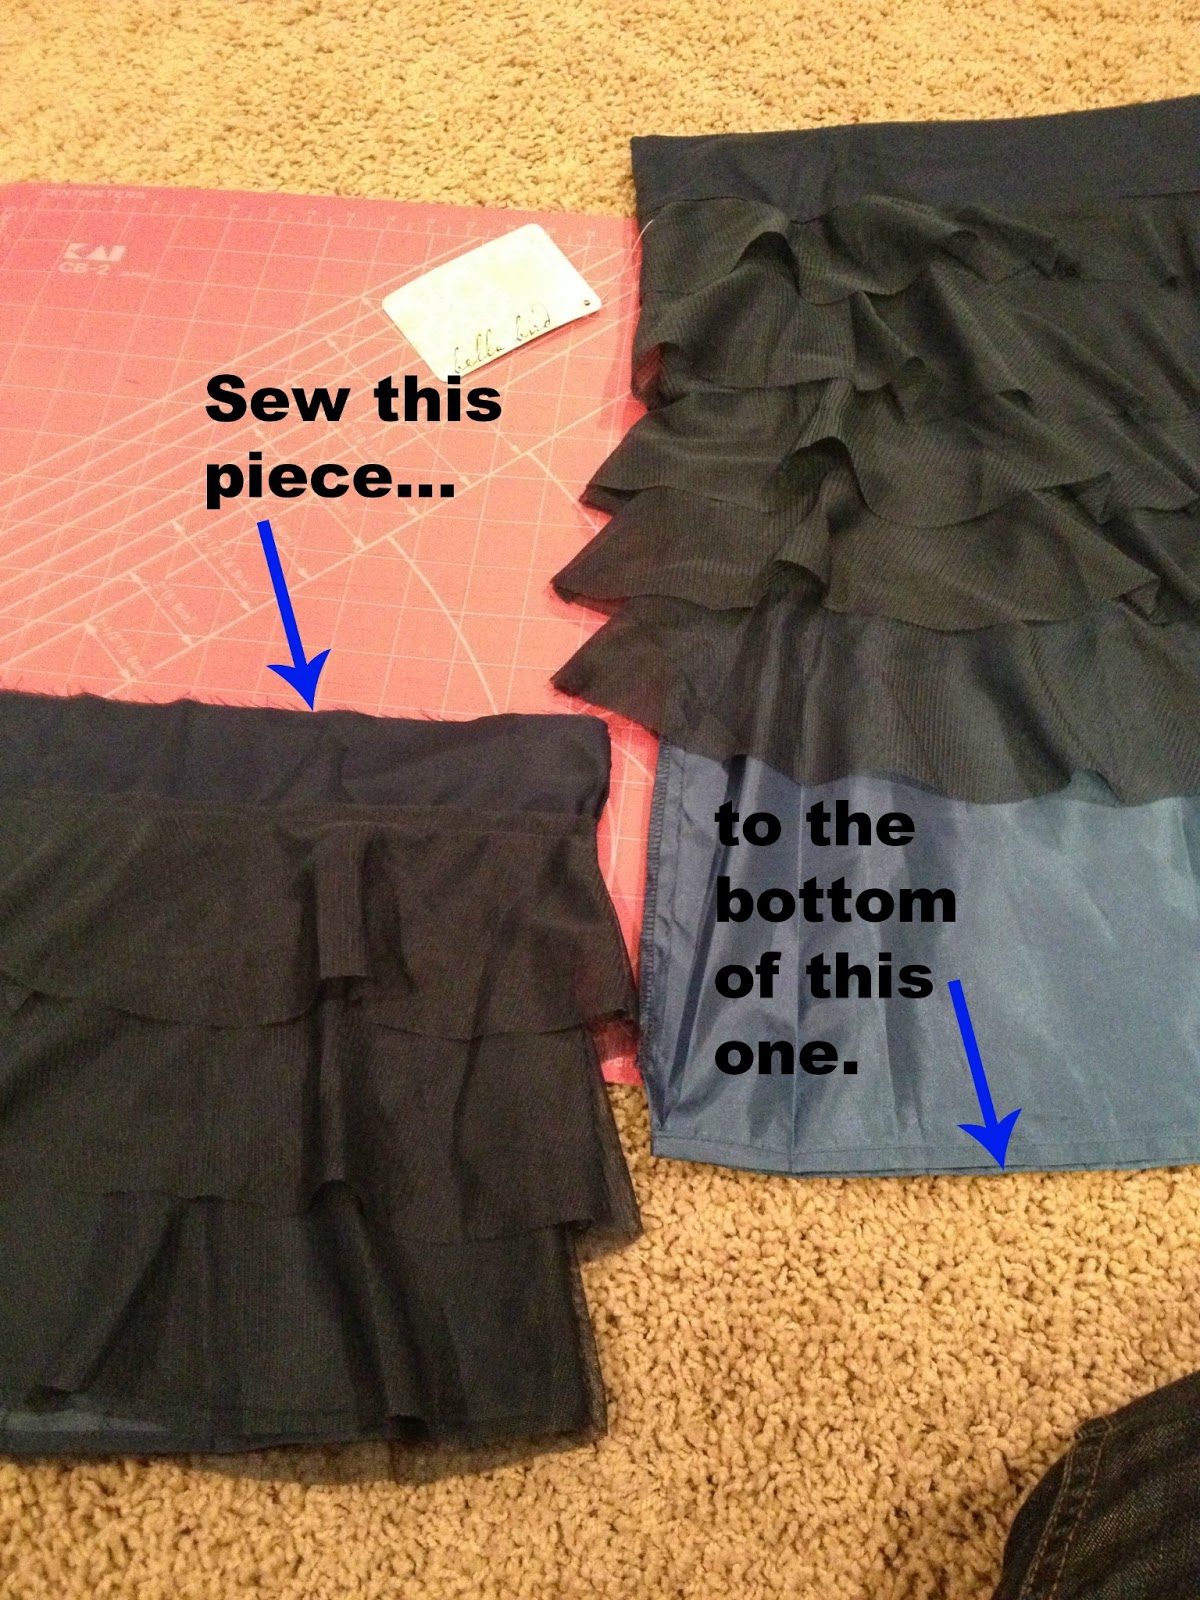
Sew the three-layer piece to the bottom of the lining.
It may seem like it’s too much length–but you can remedy that later.
Cut off the top of the very tip top of the waistband.
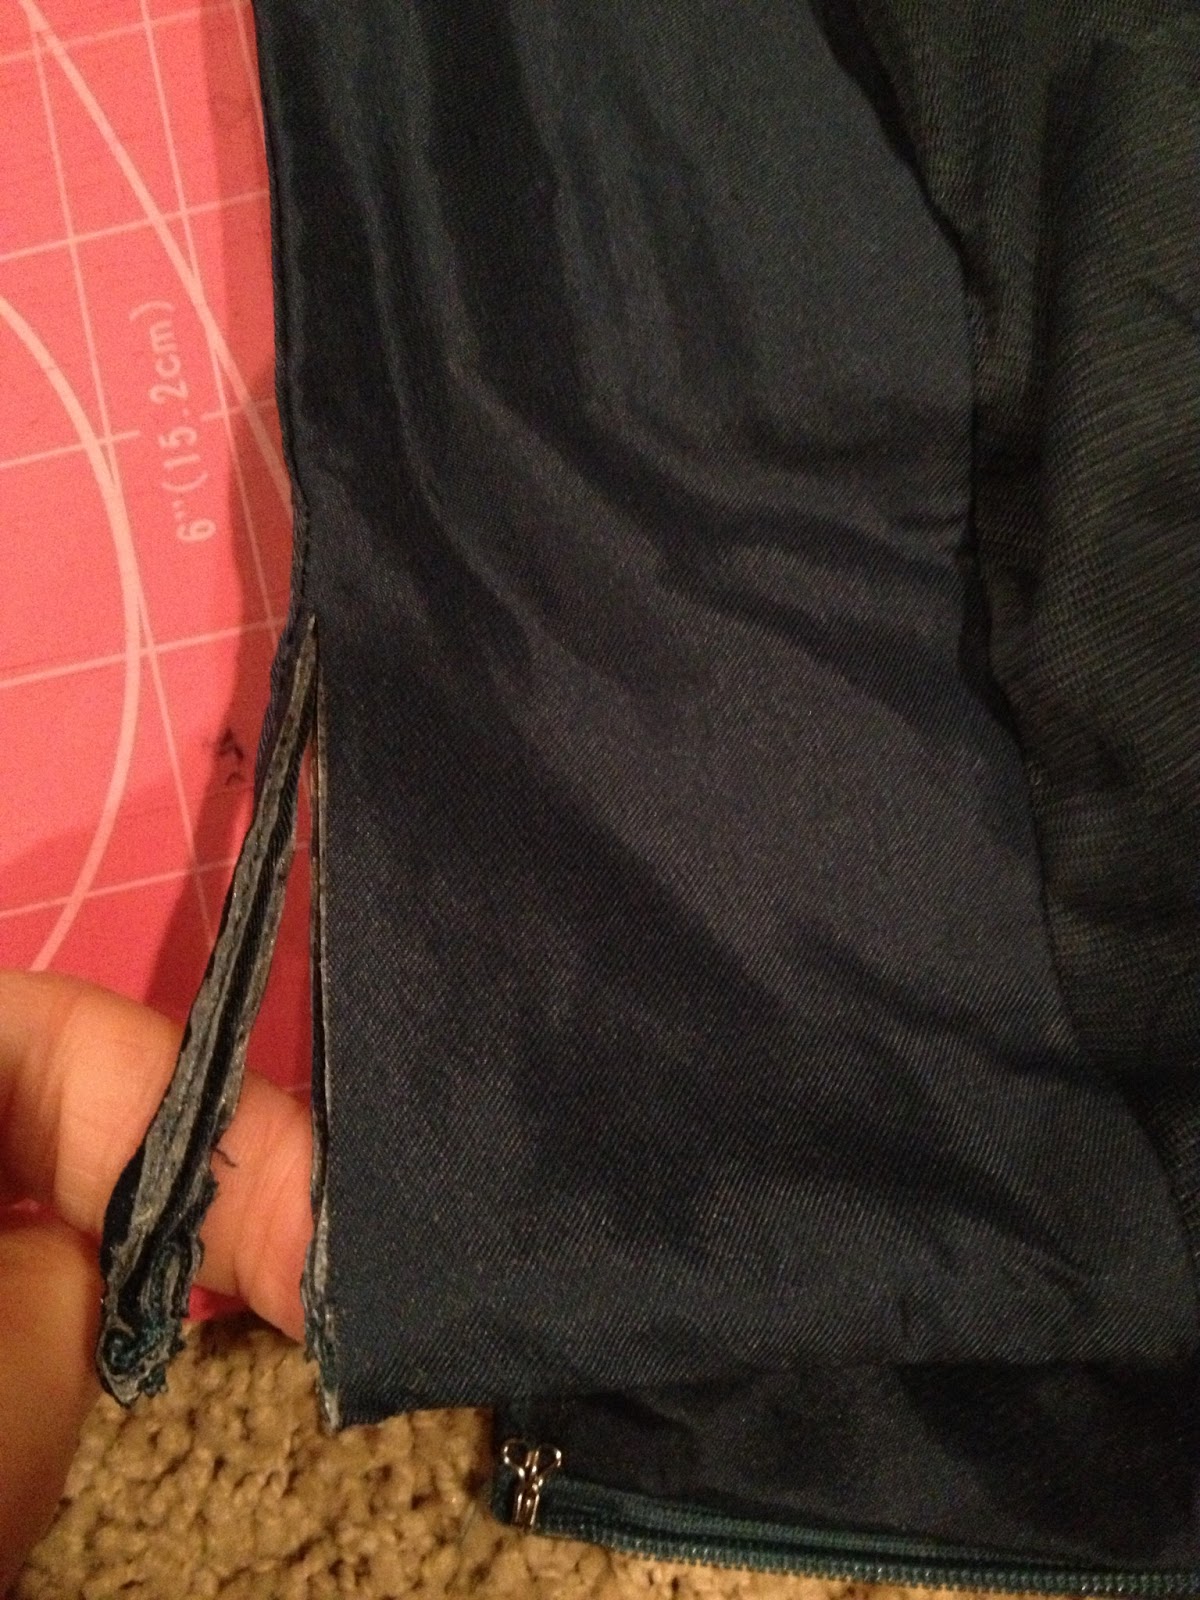
Because the skirt is large enough, cut the zipper out. You’ll need to run another seam along the side where the zipper was–but that’s easy.
[Snore. Seriously–are any of you still awake at this point? And how come no one ever asks questions about how to put these things together–the instructions can NOT be that clear.]
And no, a carpeted floor is not the most ideal working space in the whole wide world.
Remember these ruffles? You’ll notice that they’re connected to the waistband. I don’t throw stuff like this away because it’s a ready-made section of ruffles.
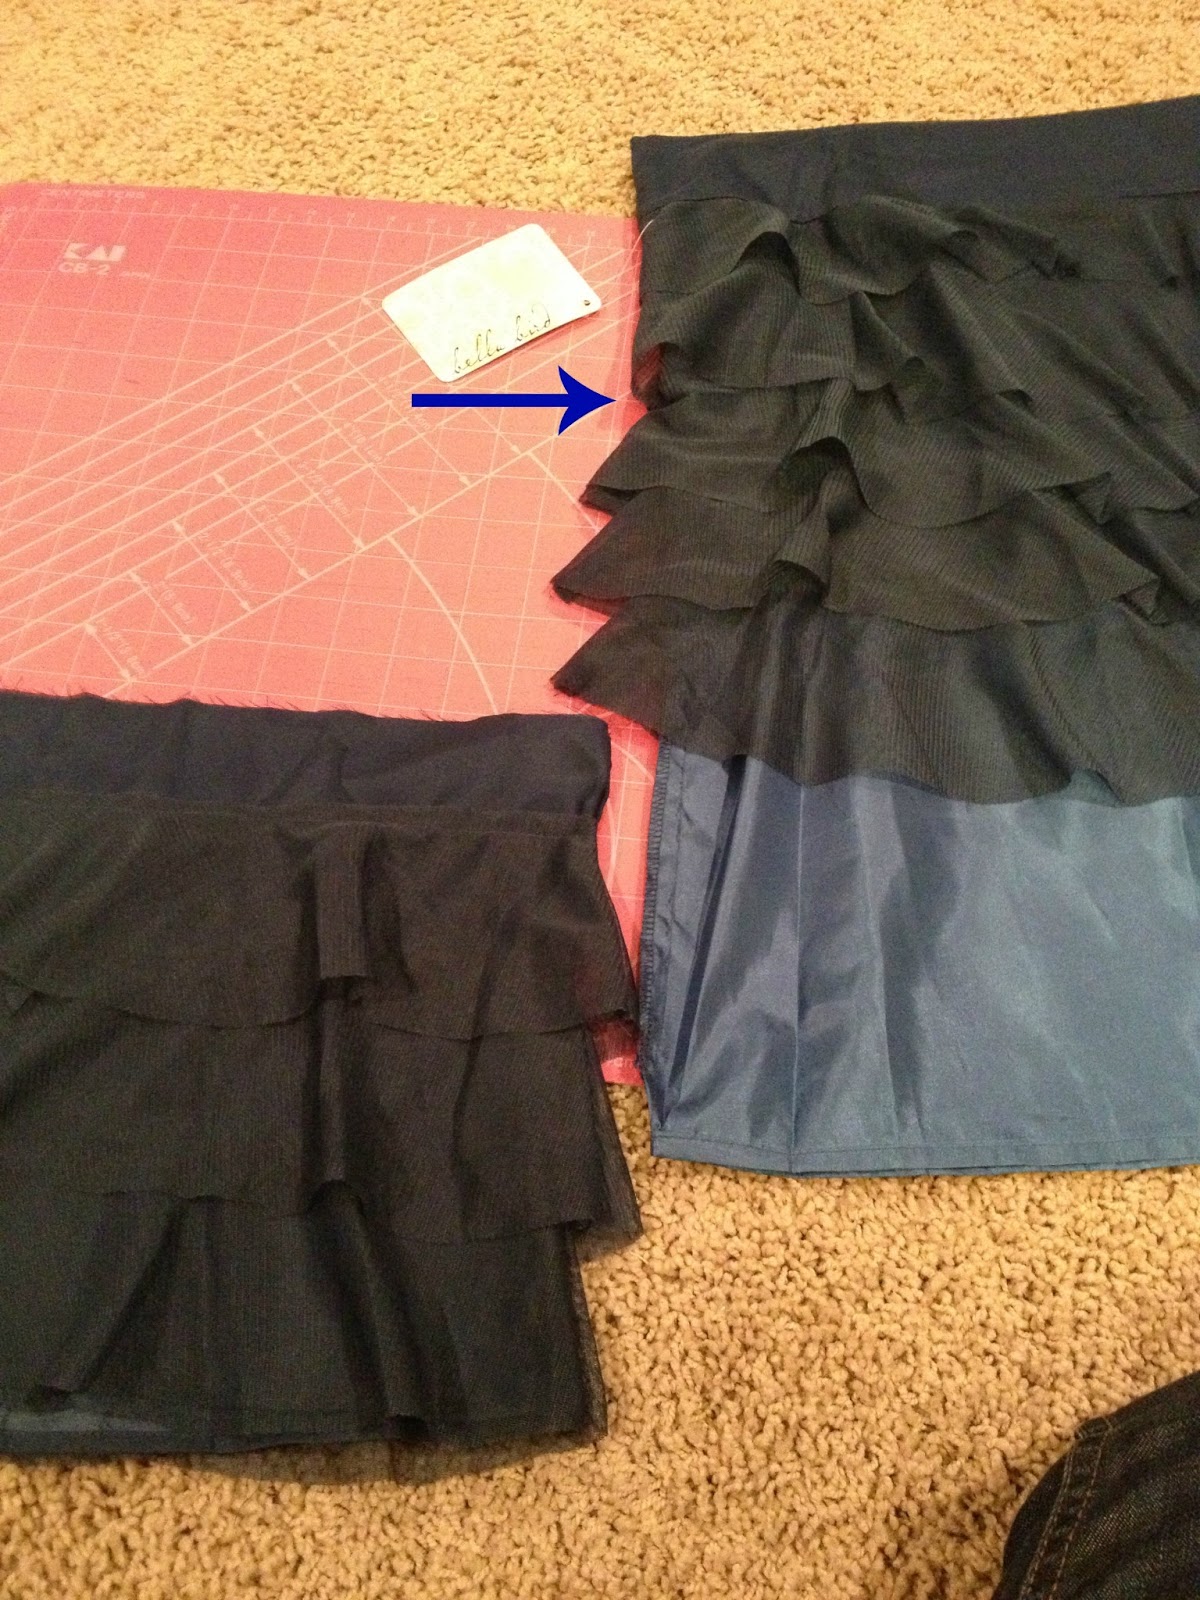
Here’s what it needs to look like–I’ve included the piece of elastic I’ll use as the waistband for the extender.
This is also the point where you’ll cut off length if you need to.
Remember to take the length from the lining.
If it’s 3″ too long, simply measure and mark 3″ from the top of the lining all the way around.
Cut/serge.
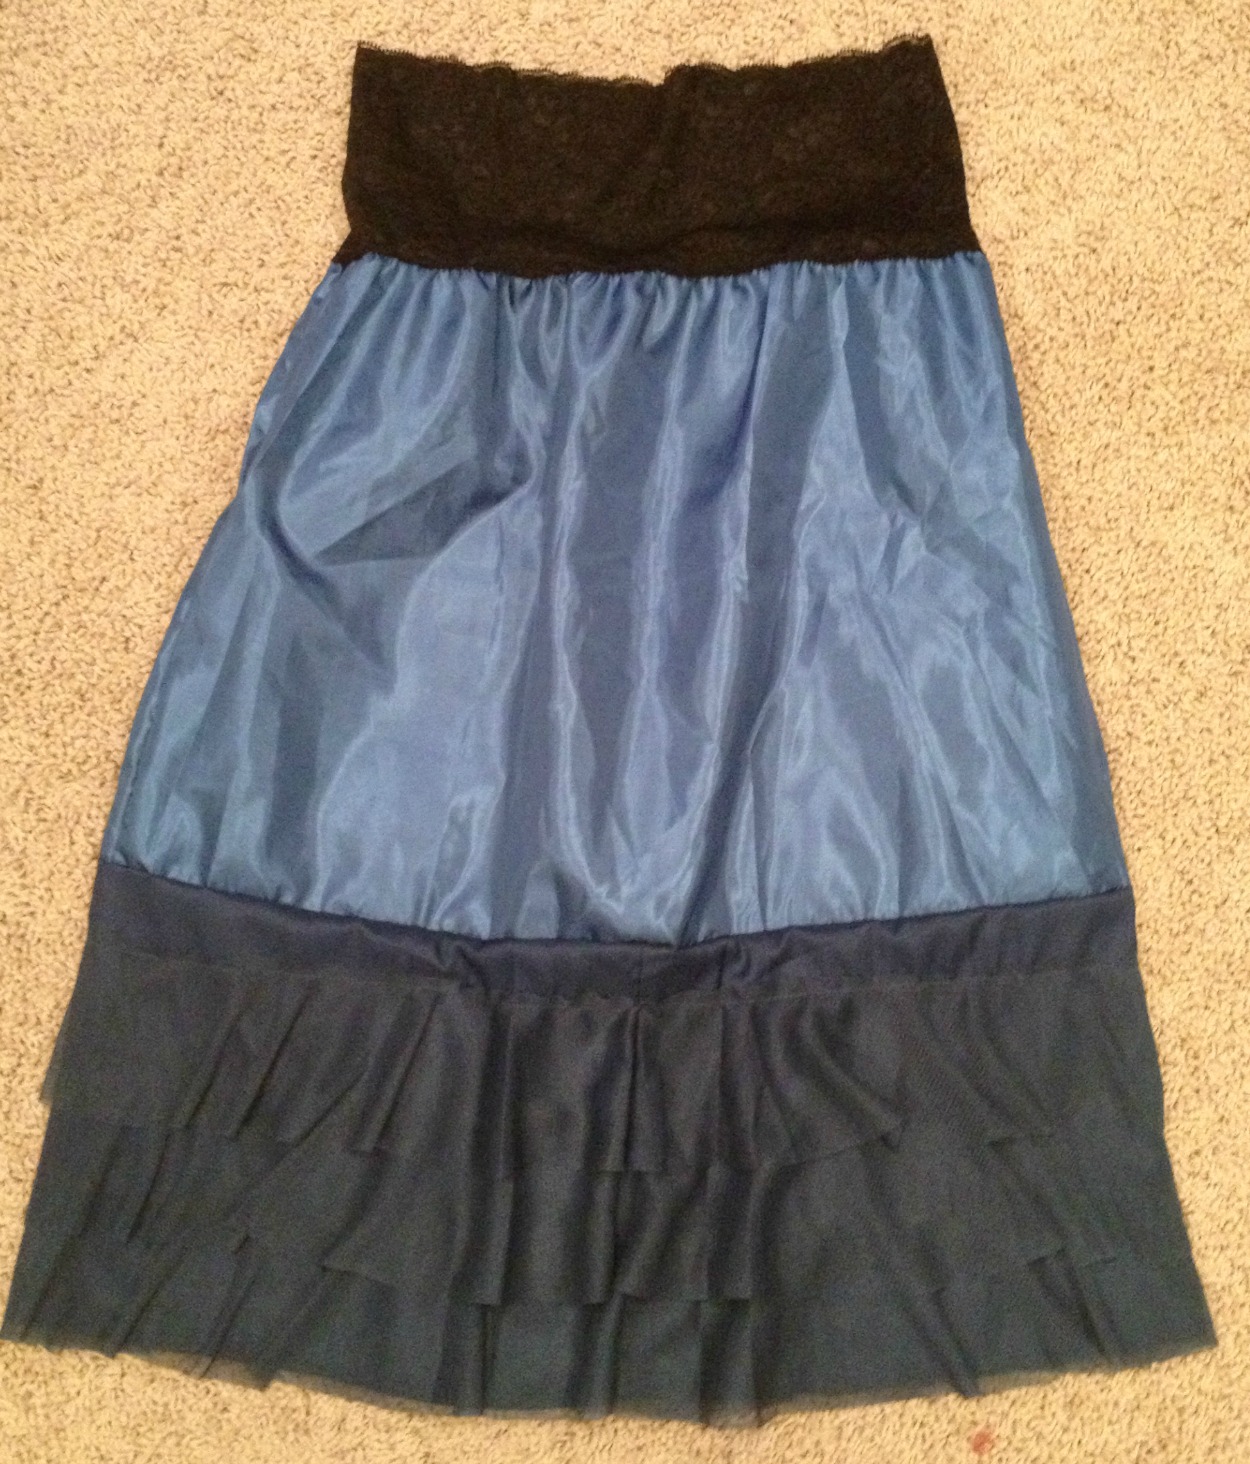

what do you think?