Easy vintage lace headband | Feb 16
Easy Vintage Lace Headband
By “easy” I mean a leetle teeny beeby could make it.
~grin~
Seriously.
Before we get to the part about the five minutes it will take you to make this headband —
please let me introduce you to this beautiful little girl.
Okay wait.
First, let me show you the adorable outfit.
Voila.
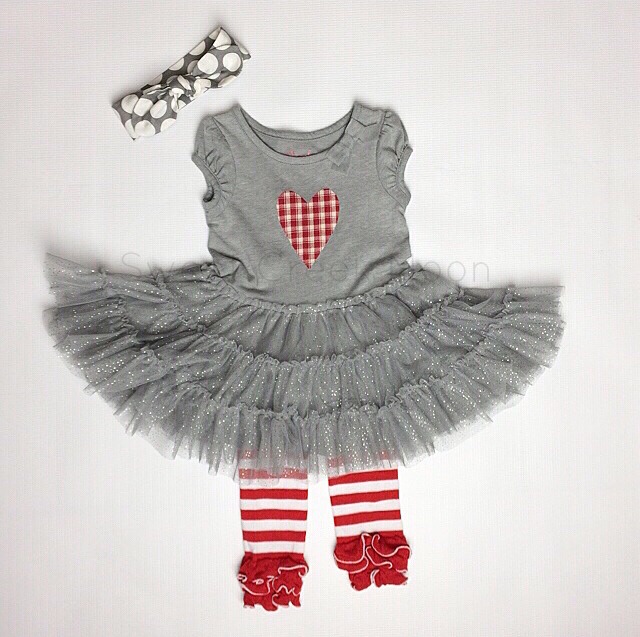
Polka dots, plaid, stripes, and a tutu?
>Swoonie McSwoonenstein<
It’s adorable.
It was me testing the waters to see if anyone else would like these little outfit combinations as much as I did.
Well — someone did like it — a lovely momma named Susan.
I met her on Instagram.
[Her ig moniker is “love.my.4.girls” if you’d like to meet her as well.]
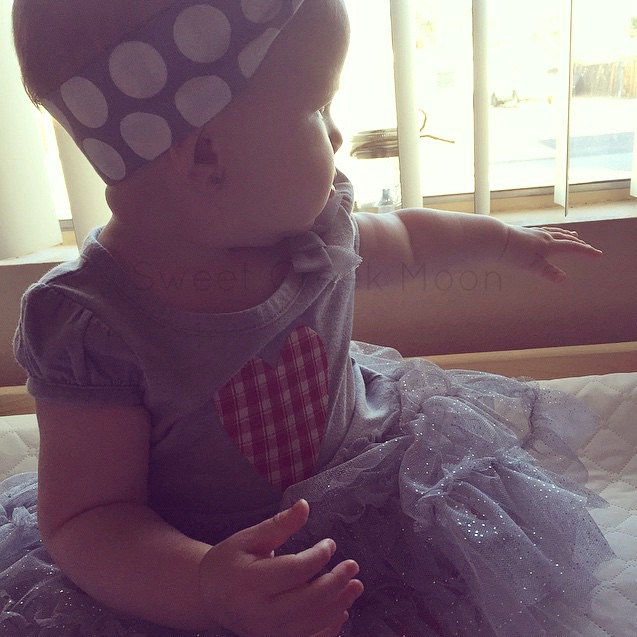
And now let me introduce you to one of Susan’s beautiful little girls.

I know, right?!
I really can’t even stand how cute she is and the outfit just makes it worse.
She’s clutching the tutu skirt like it’s all pretty and she loves what she looks like.
Adorable.
[Thanks for letting me post the photo, Susan.]
I have a feeling that most of you are going to stay right there and look at that picture a little bit longer.
Like you’re not even going to read the rest of the post.
Don’t blame you.
At all.
But — just in case there is one person curious about that easy vintage lace headband, I will press forward.
Here’s the headband.
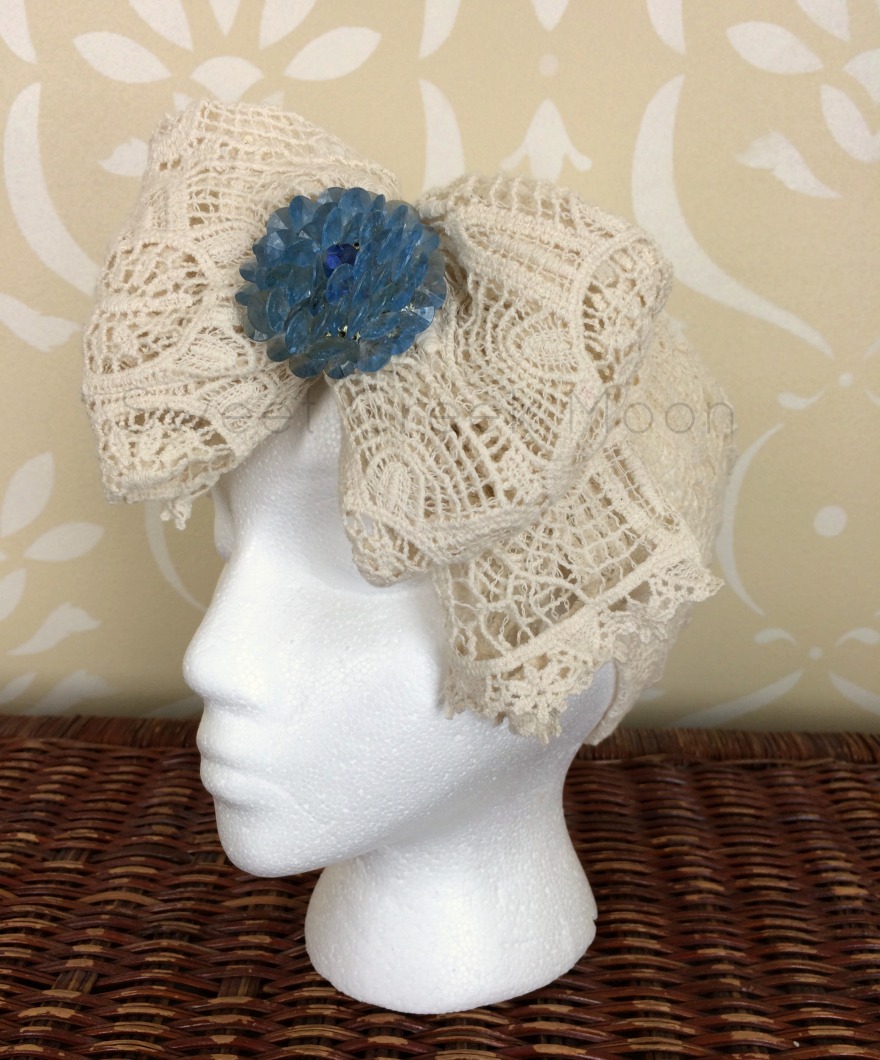
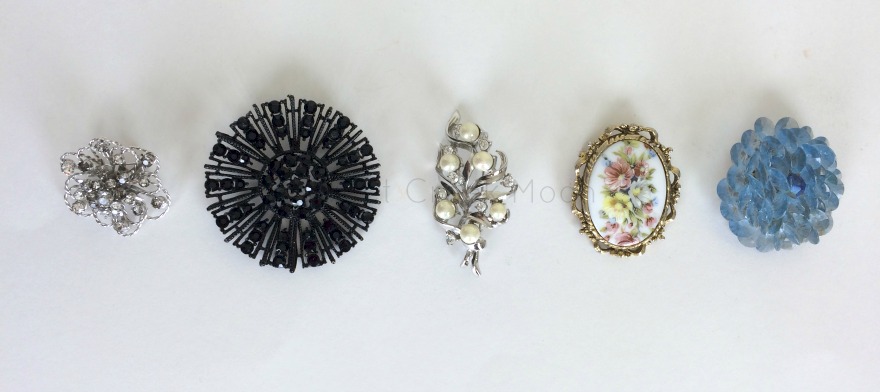
[More on the splendid brooch in the center of the bow coming later.]
Here’s why I dubbed it the “Easy” Lace Vintage Headband.
It’s made from the sleeves of a lace top. Sweet, huh?.
I love layering but sometimes it’s just bulky and even a bit too warm — off come the sleeves.

[That’s the nonsense that happens when you don’t want to hunt for the rest of the top. Draw, draw, draw.]
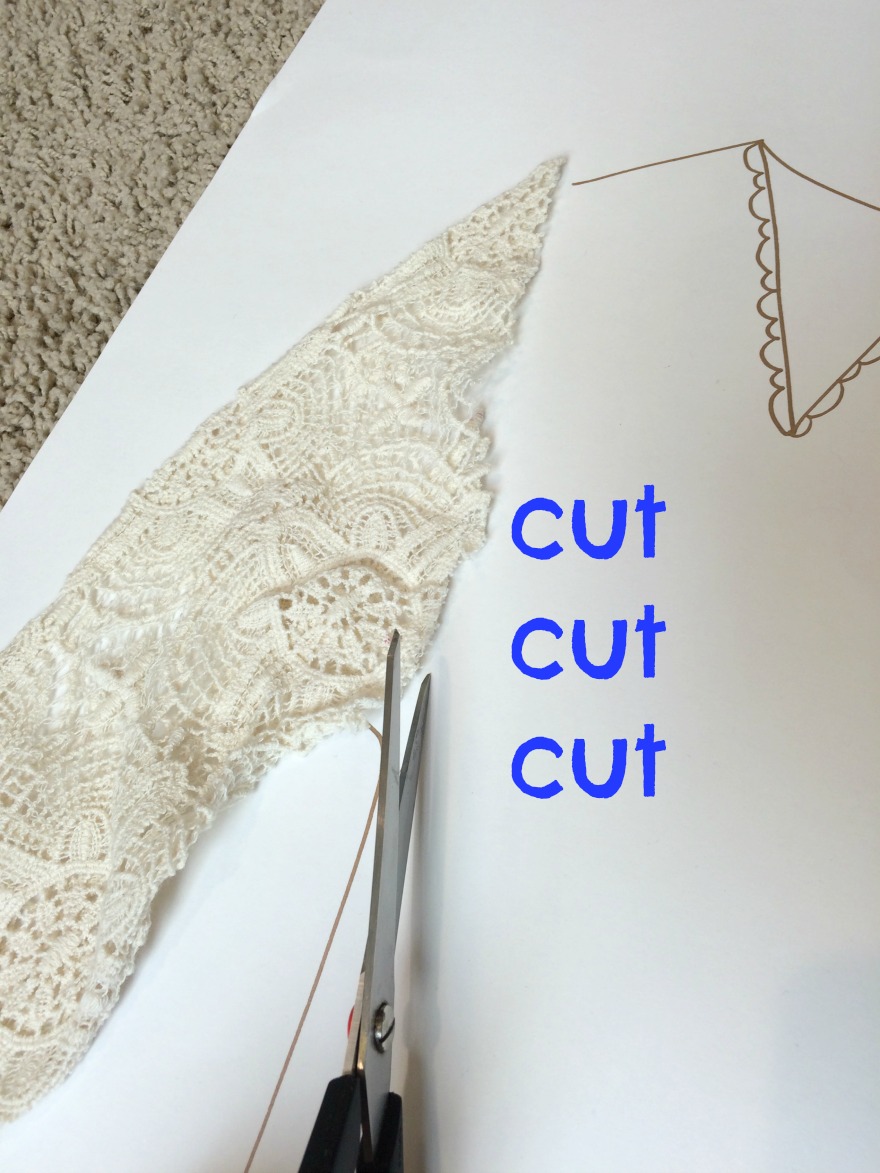
The process.
~grin~
This set was rolled up and squished in the bottom of a storage container about to be tossed — but this happened.
“Hey, don’t you think that would make a fabulous vintage – looking headband?
I think you’re right.
Try it.”
[You know you have conversations with yourself.]
“Hmm.
That would work but would be a little bulky.
Try again.”
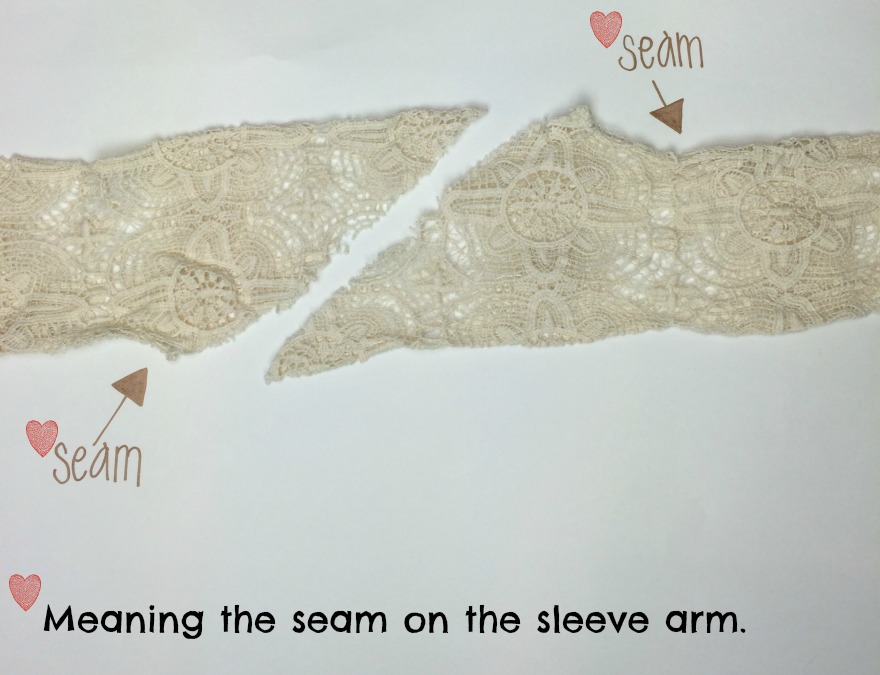
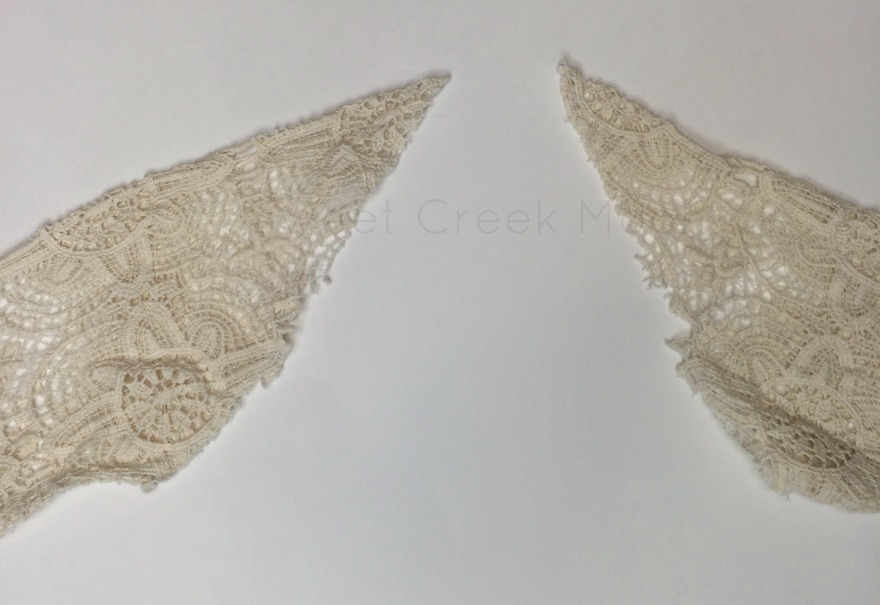
“Hey. Turn one sleeve upside down. Yuh. That will work.”
[Laid out on the floor in front of me, one sleeve seam is facing toward me and one sleeve seam is facing away from me.]
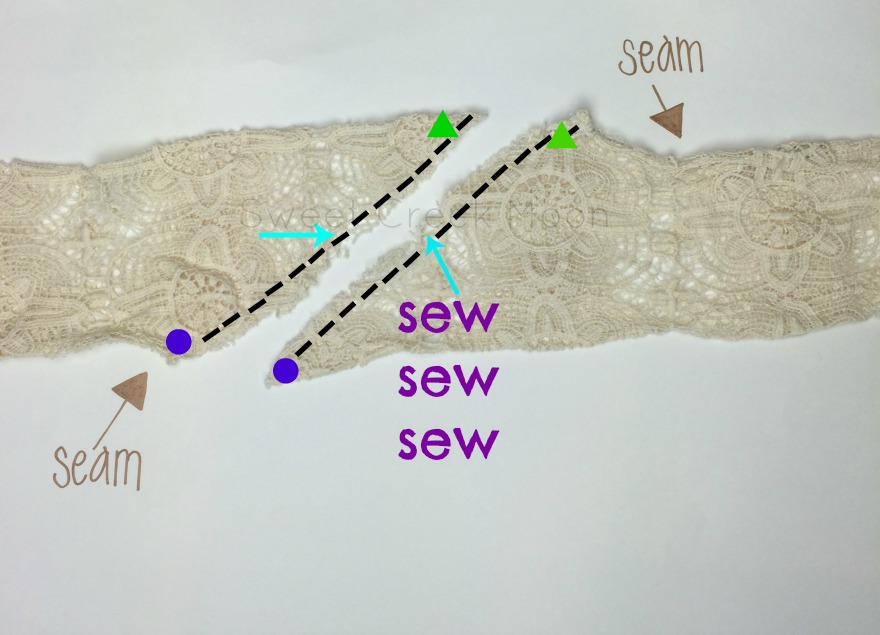
I placed right sides together and sewed a 1/4″ seam almost all the way around.
I left 2″ open — tucked the seam and sewed the opening shut.
The other option is to simply make sure all of the ends are flush, match the circle to the circle, the arrow to the arrow, and the triangle to the triangle and sew a 1/4″ seam from end to end.
You’ll have a raw edge — but that can be easily hidden when you put the scarf on.
I didn’t want a raw edge.
[If you’re reading this and don’t understand something, please mention it in the comments below and I’ll quickly clarify.]
When you’ve completed your headband, there’s a little trick to the bow.
[Handsome Dude helped me with this video tutorial and somehow we lost the beginning part.
I posted it anyway.]
A quick and easy way to make the bow on your vintage headband.
The bow is beautiful without the brooches pinned on — but — they add definition and a bit of whimsy.
You can pin just about anything as long as it remains secure.
[I don’t want to pay attention to my hair accessories once they’re in. If it’s pinned, let it remain so. I don’t want to fiddle with it at all. It just needs to be pretty.]
You can see why I dubbed it an easy lace vintage headband, right?
Uhn — huh — uhn — huh.
Okay–and I can’t resist posting one more photo of Susan’s beautiful, delightful little girl.
Oh, I hope you had the very best kind of day.

what do you think?