Operation stripes on the wall | Nov 11
Operation stripes. To be quite frank, I’ve been wanting stripes on my wall [any wall in the house, actually] since the beginning of time. No, I haven’t–but it’s been a very long time. I’ve pinned and studied and imagined, dreamed and wished such things. I’ve watched [with a fair amount of interest] as people in all the lands of this wide world have painted stripes in kitchens and bathrooms, bedrooms, laundry rooms, craft rooms, mudrooms, sunrooms, family rooms, nurseries, playrooms, and entryways. There are some pretty fabulously striped walls around. Everyone who wanted stripes already has stripes. [We’re the Joneses that aren’t that hard to keep up with.] My personal mission was to simply paint some stripes on a wall in our downstairs family room. Operation stripes wasn’t a covert operation by any means. Handsome Dude purchased the paint which means he knew exactly what was going on and he’s the only other human who occupies this space we affectionately refer to as a home. He’d know it was me and I’d know it was me. No covert operation stripes, here.
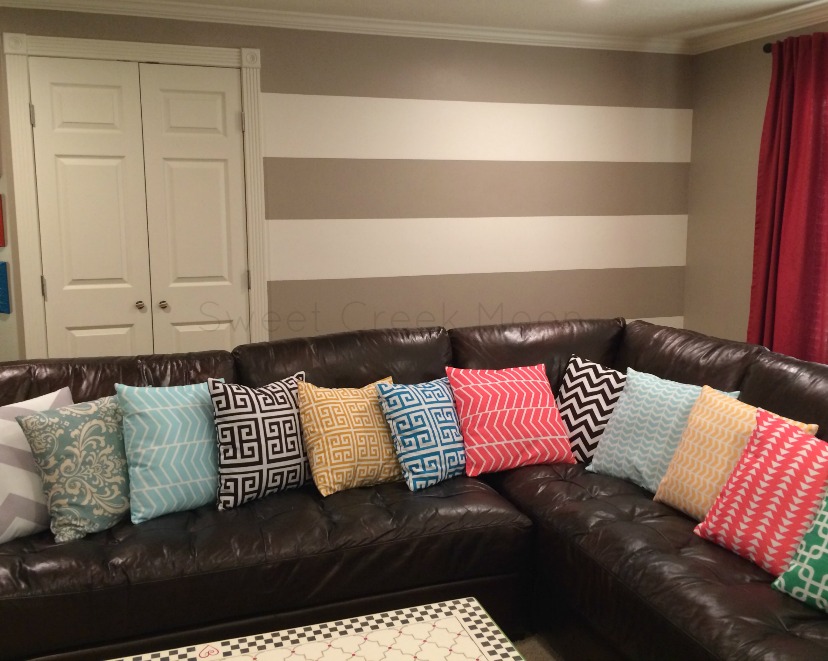
I can’t stand NOT to show you the finished wall already.
Ta-da!
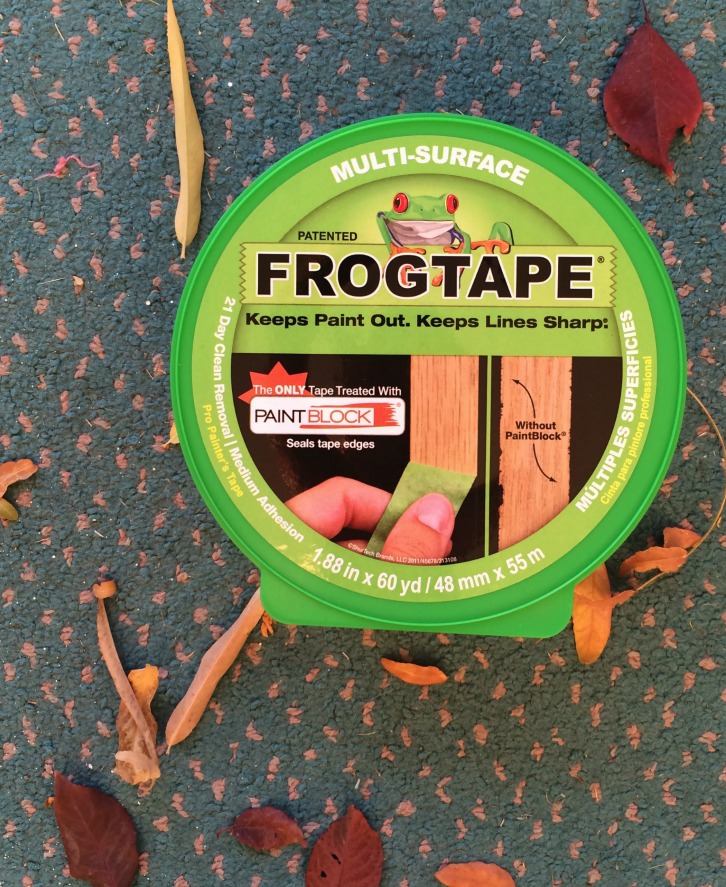
Now, let me introduce you to the painting ootd in all of its glory and splendor. No other words are necessary. This picture is worth at least eighteen words. At least.
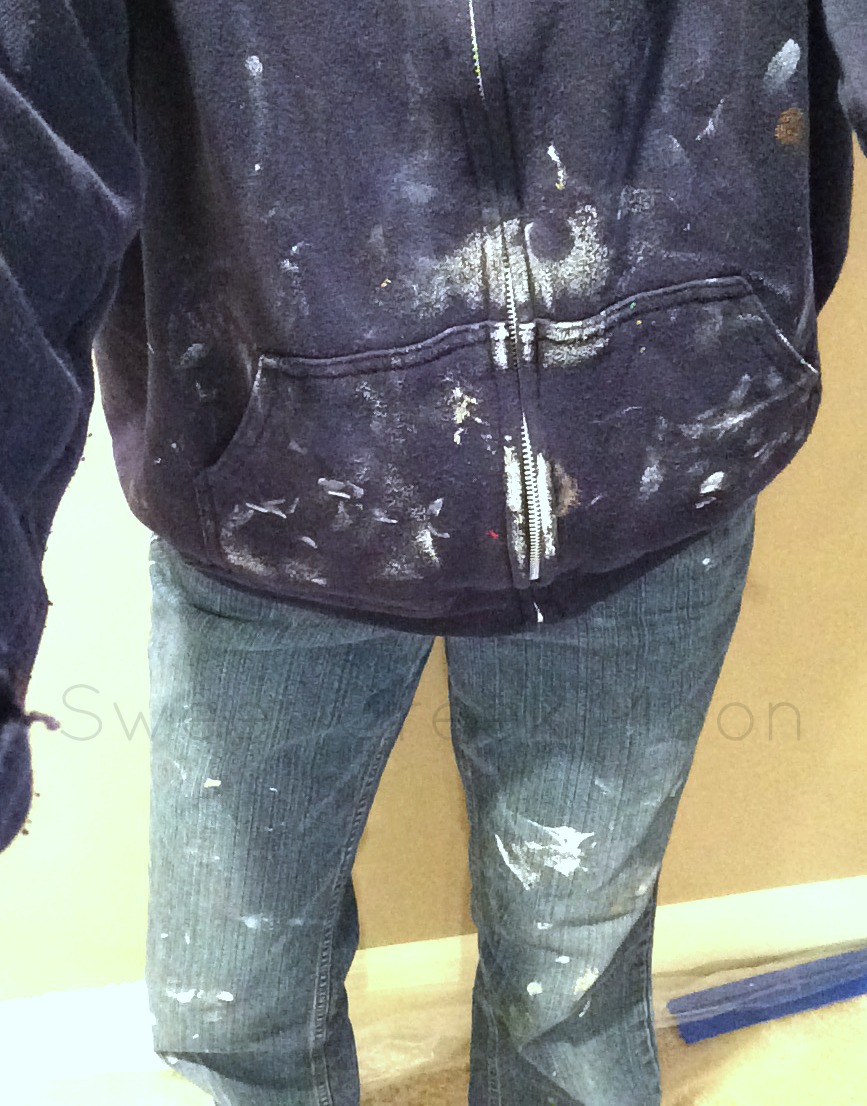
It’s perfection for painting.
Here’s the wall that was asking/waiting/wanting to be done–before it was done.
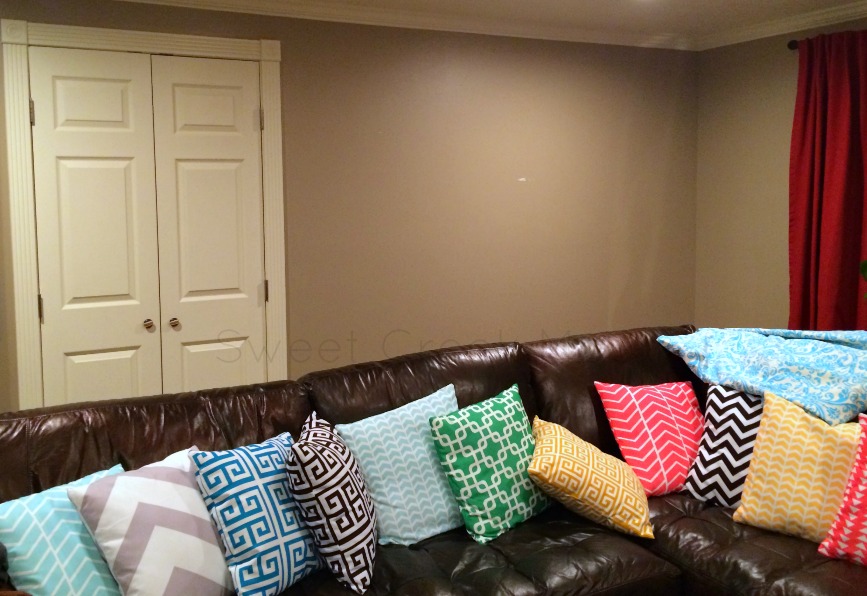
It needed the standard prep.
–wash with warm, slightly soapy water
–fill the nail holes
–fill in the scrapes that happened when we took the shelf down
–let everything dry
–spray an orange peel texture on the repaired portion of the wall so it looks uniform
[Handsome Dude is the resident pro when it comes to orange peel texture. What he purchases, I use. The end.]
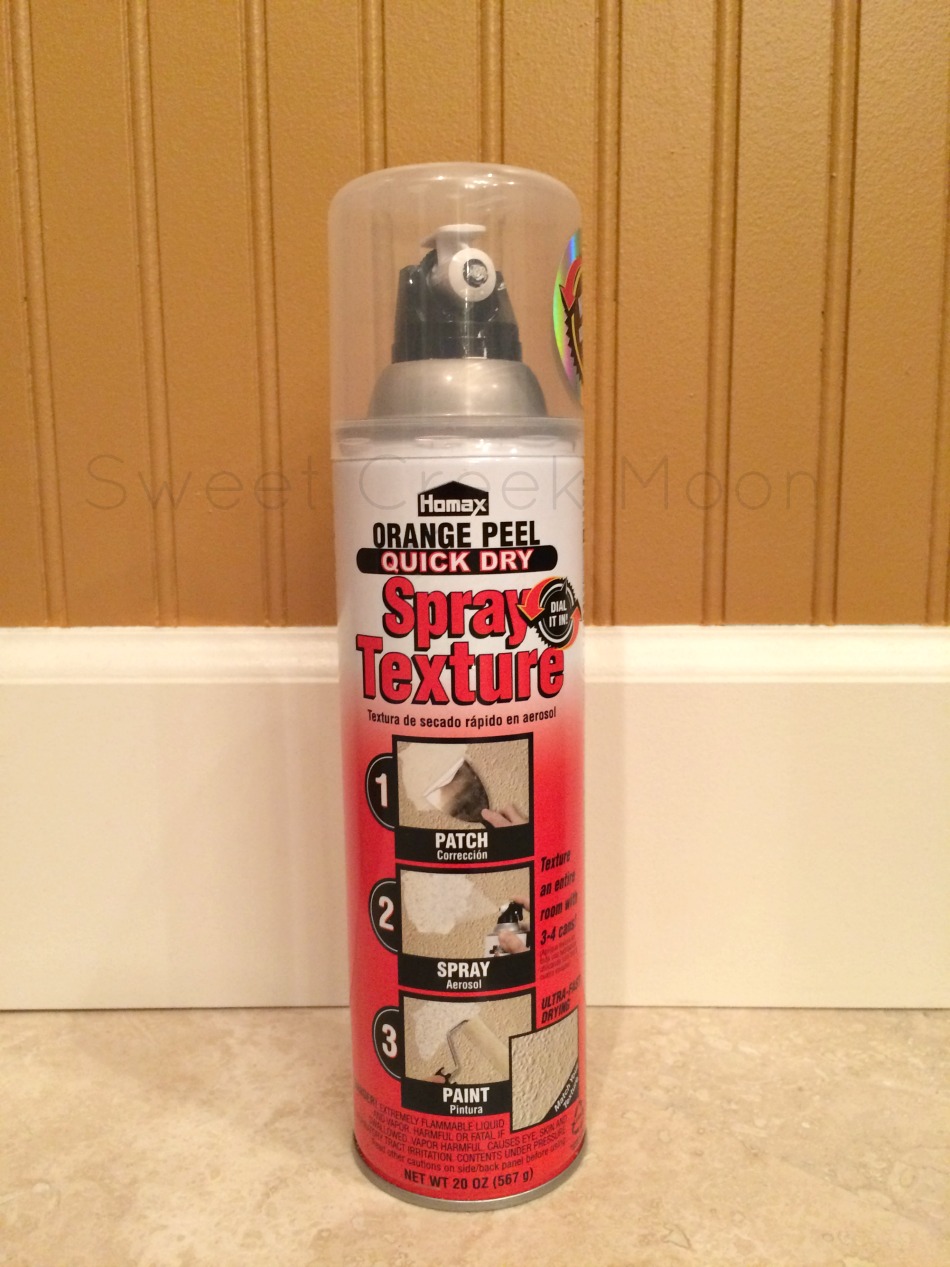
Here are a couple of things I’m grateful I did before spraying it on the actual wall.
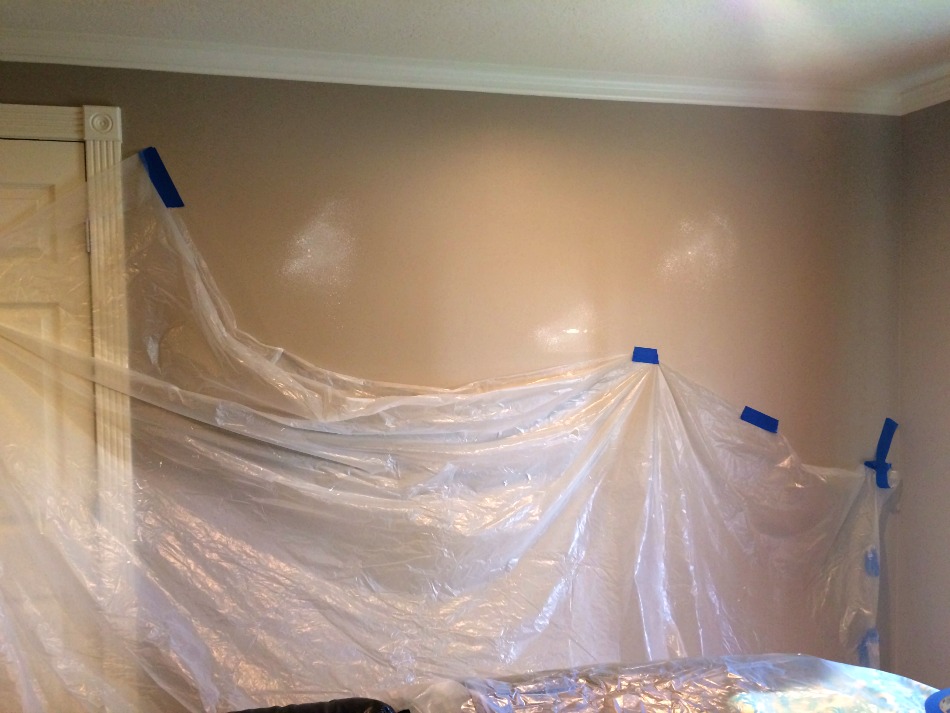
#1–Because it’s an oil base product, I covered anything and everything I didn’t want even a drop to plop on.
#2–I took a cardboard box out onto the back porch and practiced spraying on it. So glad I did. The first attempts were sloppy and sploshy. I read the instructions a bit more thoroughly the second time around and learned that I needed to hold the can 24″-36″ away from the surface. The moment I tried it from that distance, it worked splendidly and consistantly. The three spots on the wall that needed it were covered quickly and evenly. I had one blop that was larger than I wanted it to be, but because I carry q-tips in my hoodie pockets as I paint for such moments as this, it was easy-squeazer to quickly wipe it off. It left a white smudge on the wall but the smudge was eventually covered up by paint.
Please ventilate. With a few open windows you can avoid a headache. Or hallucinations. ~grin~
After the orange peel texture dried, I quickly painted the wall the original meadowlark color in preparation for adding the cottage white stripes.
Plastic covering came off of the wall and was attached it to the baseboards with tape.
The wall is almost perfectly 7′ tall. [Don’t include the molding and baseboard in your measurement. Unless you want to.] I wanted an odd number of the lighter colored stripes which meant dividing the total number in inches by 5, 7, and 9 to figure out how thick the stripes would be.
So–84–the height of the wall in inches–divided by 5 = 16.8 which meant my stripes would be almost 17″ high.
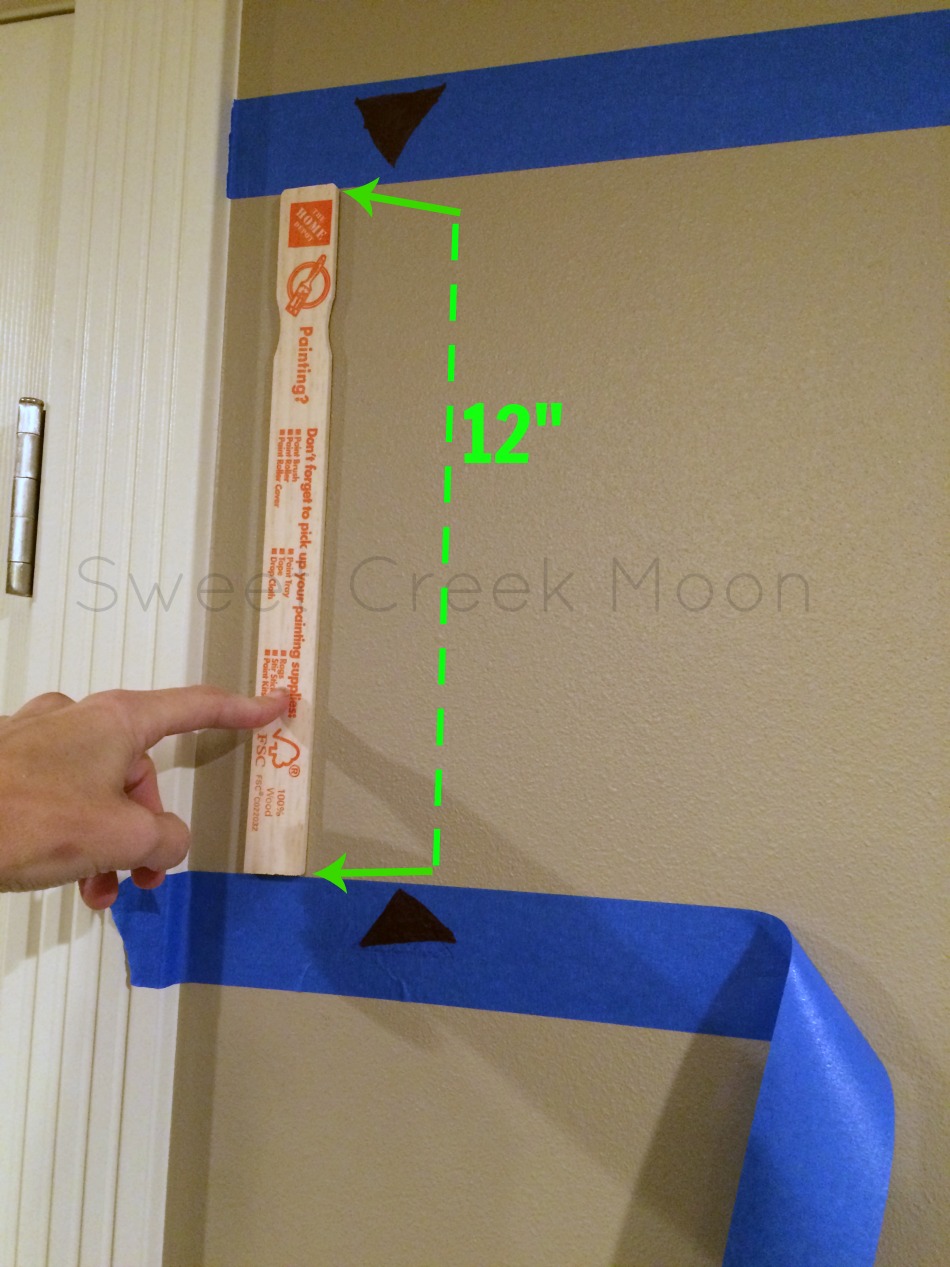
84 divided by 7 = 12 which means my stripes would be 12″ high.
84 divided by 9 = 9.3 which means my stripes would be ~9″ high.
I opted for the 12″ high stripes.
The top and bottom stripes get to stay the color that they are. Sha-boom-ditty-boom.
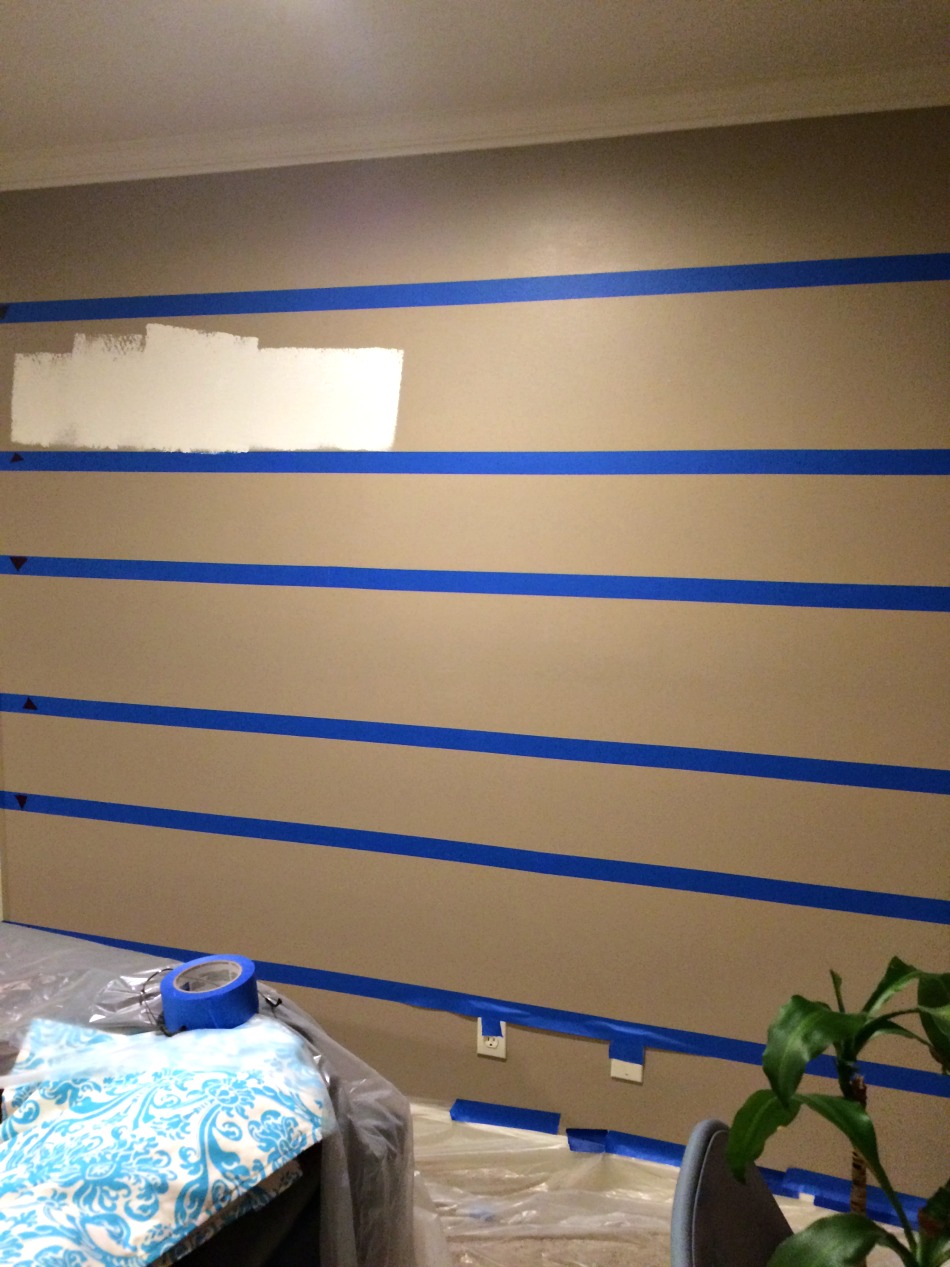
Taping the wall took the longest time.
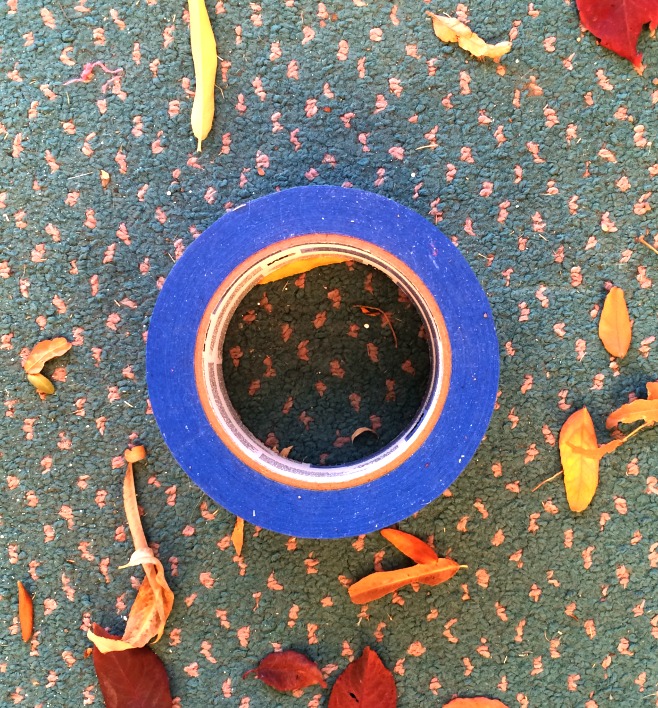
I used 3M blue tape.
The paint stirrer is exactly 12″ long. That’s what I used to measure–it was a great template.
My method might be unconventional, but oh wow did it work.
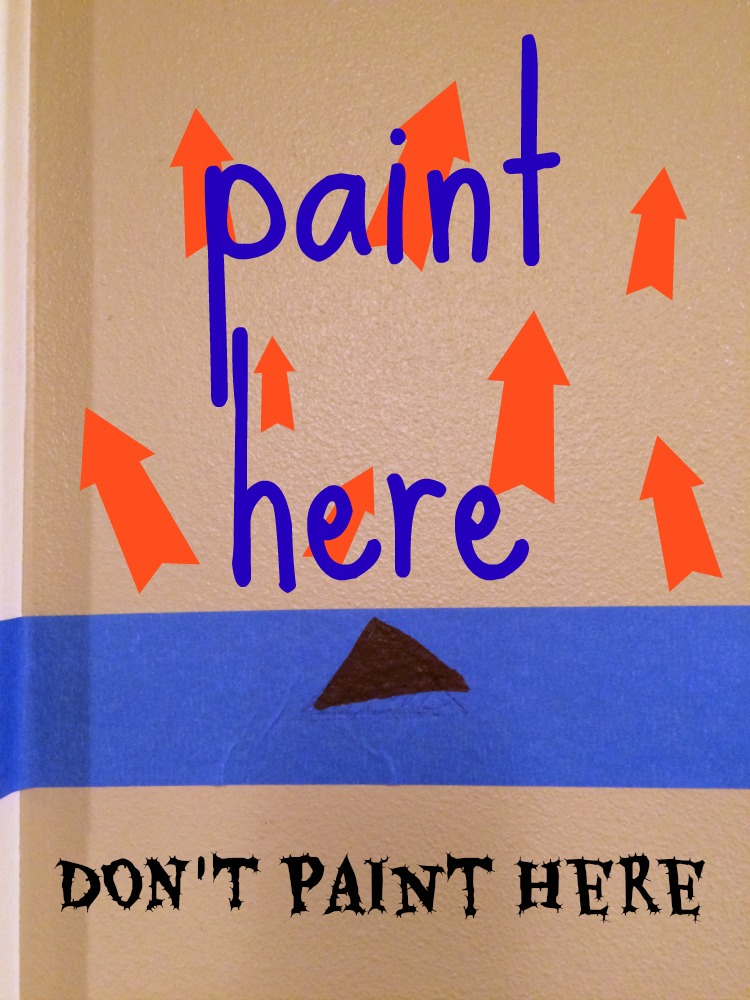
The little arrows are to remind me NOT to paint anywhere but where they pointed. ~smile~
[Fewer mistakes = true love.]
Then the fun part began–the actual painting. It took me about 15 minutes.
Not kidding.
Nearly forgot to snag a photo of the taped wall.
[The arrows were helpful.]
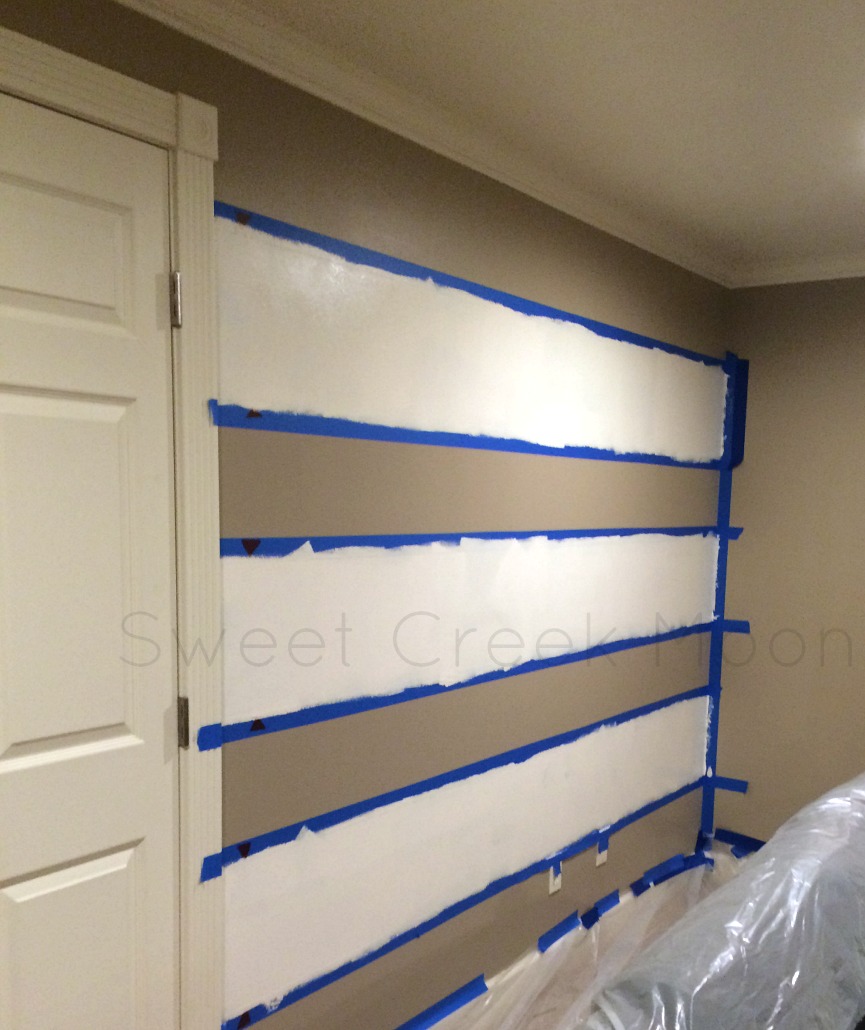
There was some skipping going on just after the photo was taken.
I needed a second coat of paint. Not a problem.
Then it was time to pull the tape off (at an angle) for the unveiling of the striped loveliness.
The skipping came to an immediate halt as I pulled the tape off.
Rowr.
RoWr. RooOOWRRrrr!
Long story short.
Go with team green.
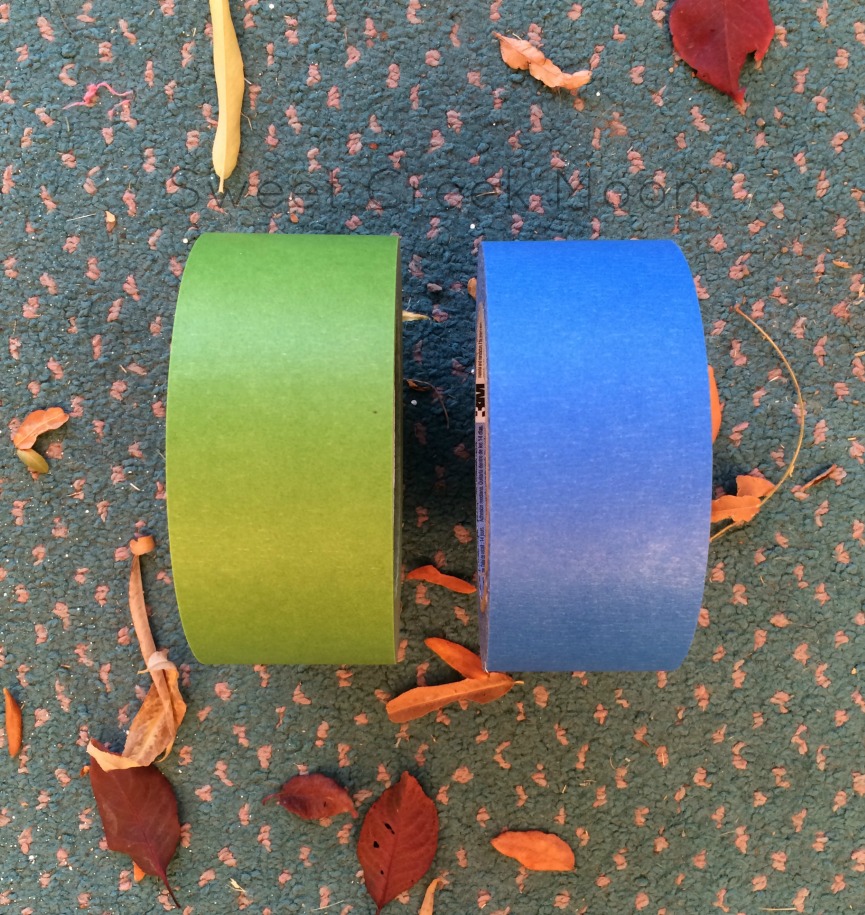
Don’t get me wrong–that blue tape was a best buddy when we painted our house. But–we prepped a room with the tape [to paint a wall] and then used a paintbrush to slap on the color of the trim so that the color that bled through was the same. It would seal the tape to the wall–and then we painted the wall in whatever color we’d planned.
Trim is white? Tape the room–grab the white paint and a paintbrush and pretty much paint the tape–let it dry–paint the wall blue. When you pulled the tape off, the line was clean and fabulous. Every time.
Does that even make sense?
I wanted to skip the paintbrush part altogether [pause] and figured that the stripes wouldn’t require enough paint to bleed through.
Boo. Hiss. Boo.
Handsome Dude purchased the green miracle FrogTape the next day. Yes, it’s more expensive. Don’t care, don’t care, don’t care.
It would have saved me so much time to use it originally.
I prepped the wall again.
In green.
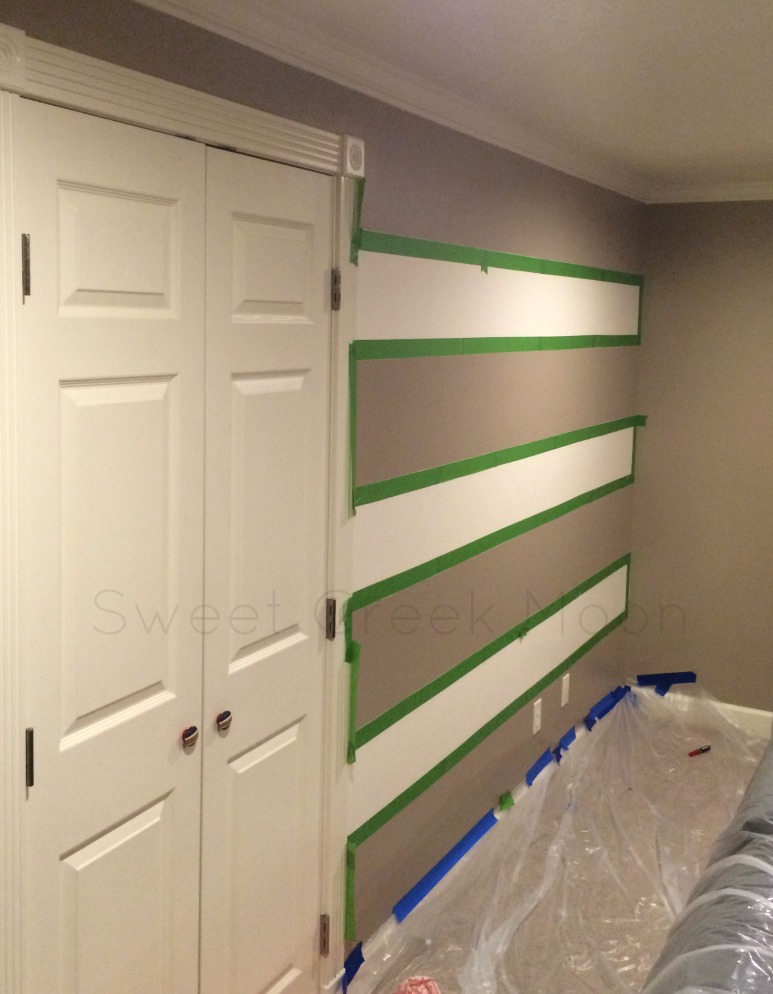
Here’s how it turned out.
That was enough of a difference to have me skipping again. I’m sure if I’d used the green tape originally, the line would have been perfect.
Here’s the before.
Here’s the after.
I love it.
Love, love, love it.
It’s my current favorite spot in the house.
And, oh my, my the plans I have in store for the wall now that it’s painted.
I’m getting shivers.
~grin~

what do you think?