Pin-tested Fabric Beaded Necklace Part II
This is Part II of the Pin-tested Fabric Beaded Necklace.
This is the post where you meet the delightful, wonderfully creative Cathy Neeley.
And this is where we even got the idea to make these necklaces: Unbeadlievable Designs.
[It’s pinned on my ‘DIY — Definitely DIY’ Pinterest Board. Thrilled to be doing something with a pin or two.]
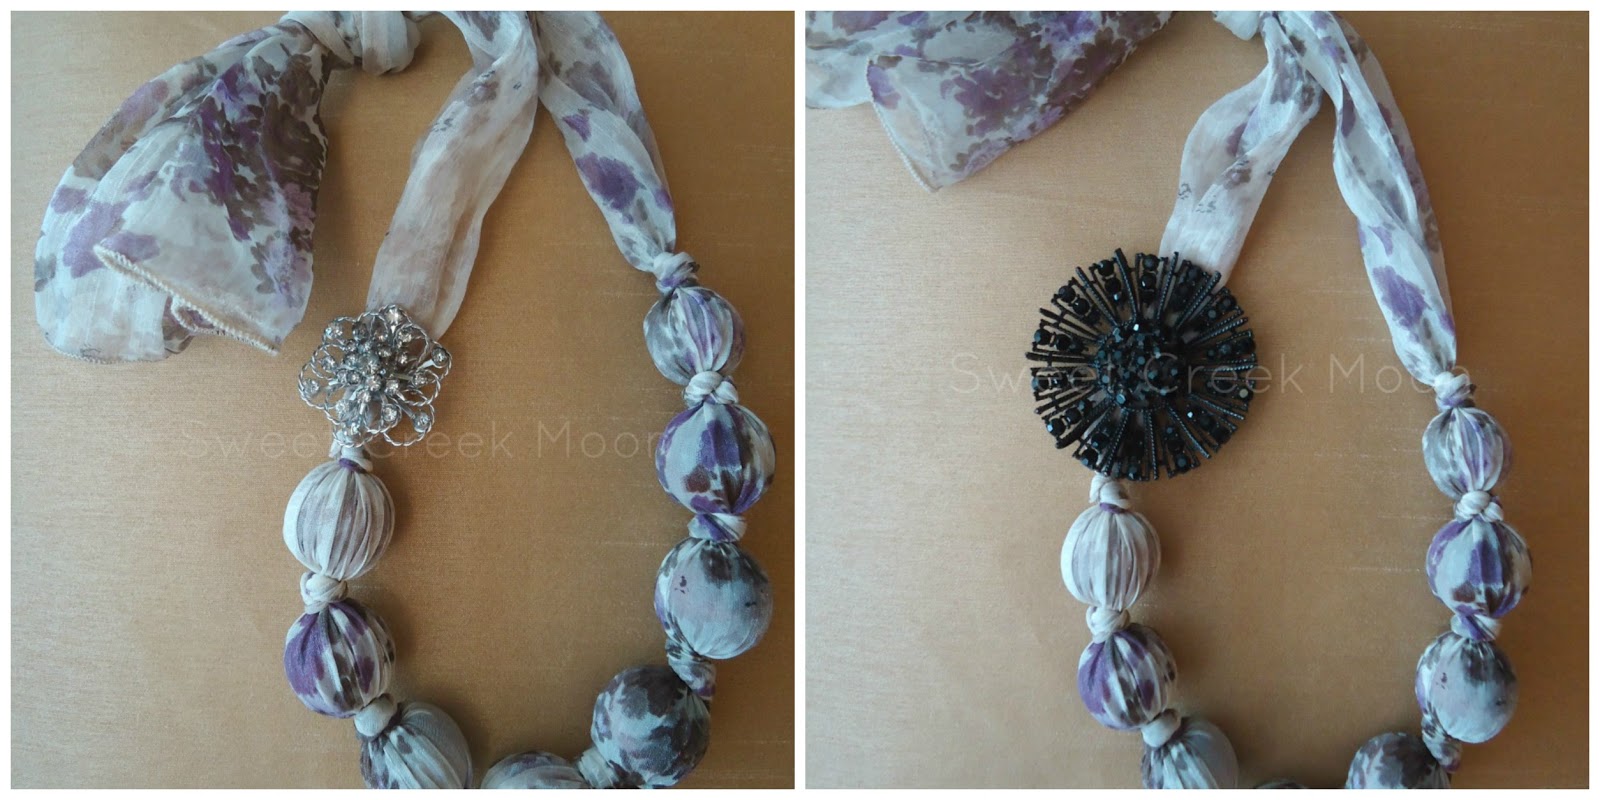
Here’s the original necklace.

Here’s what I did with it by simply following her directions in my first Fabric Beaded Necklace post:
Now comes the really fun part: here’s what Cathy did by making a few modifications.
She started with:
–three 1″ beads
–four 3/4″ beads
–a 3 1/2″ x 55″ piece of black silk burnout material
–8 little fancy-shmancy trinkets
–Metallic White paint
–a fabulous ring she found at Michael’s
–a sponge paint brush

Cathy painted the wooden beads with Metallic White to give them a little more snazz–they would definitely show through the material she chose and she wanted them to ‘add to’ and not ‘detract from’ the finished necklace.
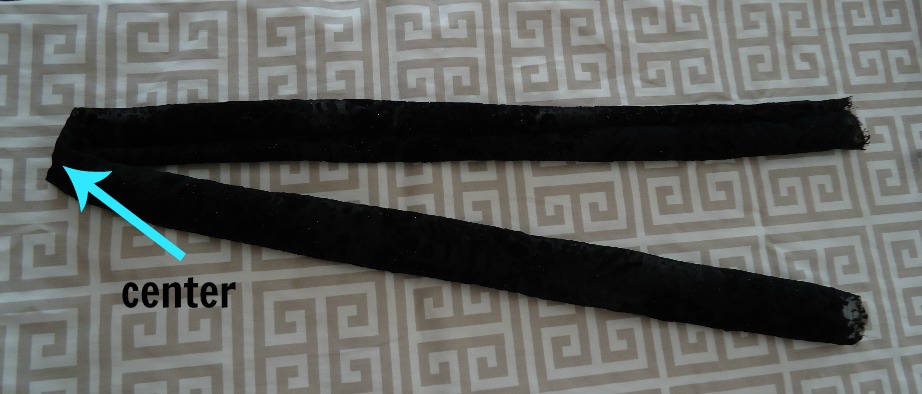
–cut the material
–sew a seam (making a material tube)
–turn the tube inside out (with a safety pin, your fingers, or magically)
–find the center point (simple-shmimple by folding the tube in half)
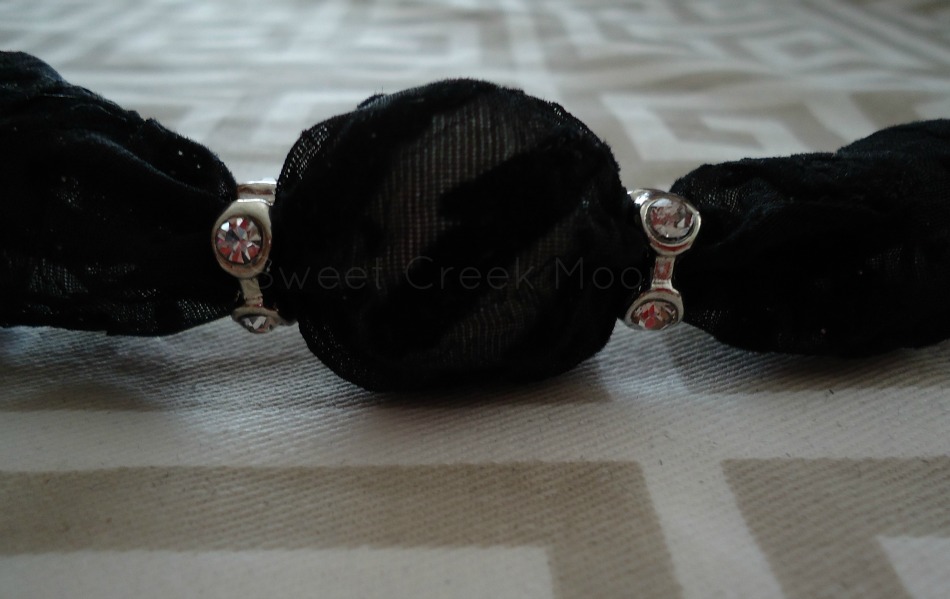
–grab your first 1″ bead and scootch it to the inside center of the tube
–place one of the fancy-shmancy trinkets on each side of the bead (on the outside)
[If your beads move around while you’re putting the necklace together, simply re-align the center bead.]
–add a 1″ bead to each side (on the inside) of the fancy trinkets
–add the fancy trinkets (to the outside)
–next come the 3/4″ beads (two on each side, separated by a fancy trinket–and ending with a fancy trinket)
[Remember to take a look at the photo for a reference.]
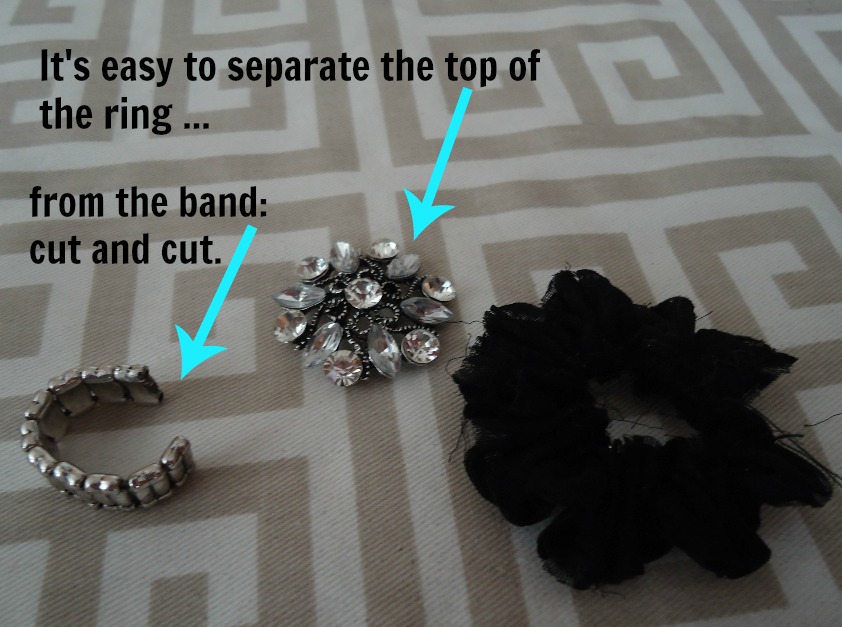
–separate the top of the ring from the bottom using scissors
[Do not run with the scissors or use them to cut paper.]
Cathy’s piece of material was originally 5″x 55″. She decided it was too thick and serged 1 1/2″ off–making the tube 3 1/2″ x 55″.
She cleverly used the 1 1/2″ to make a cute little flower to place the ring top on.
After making the flower, she simply sewed the ring top on.
[You don’t need to make it earthquake-proof. It needs to be secure–but not cemented. Which reminds me, she didn’t use any glue putting hers together. Well, neither one of us did, actually.]
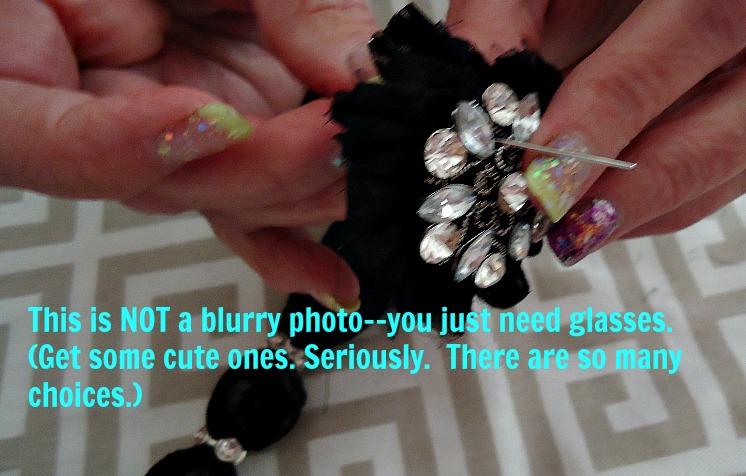
[~sigh~ But really–it’s blurry. I’m still a non-photog girl taking photos.]
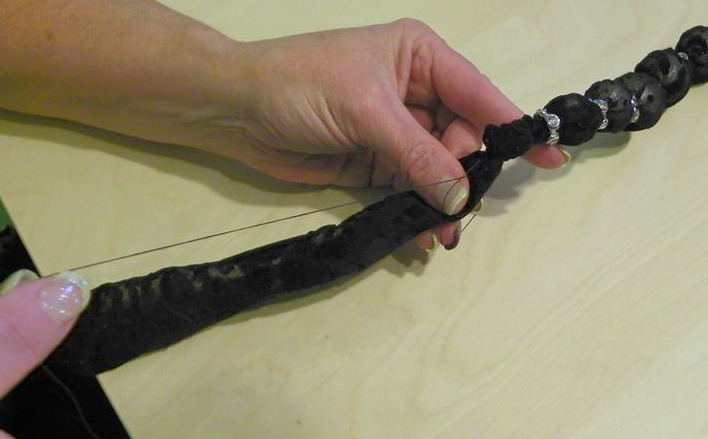
She decided that the bands of the necklace were too thick for the look she wanted. She quickly wrapped/sewed a very loose stitch around the band length on both sides.
–tie a knot at the end of each band
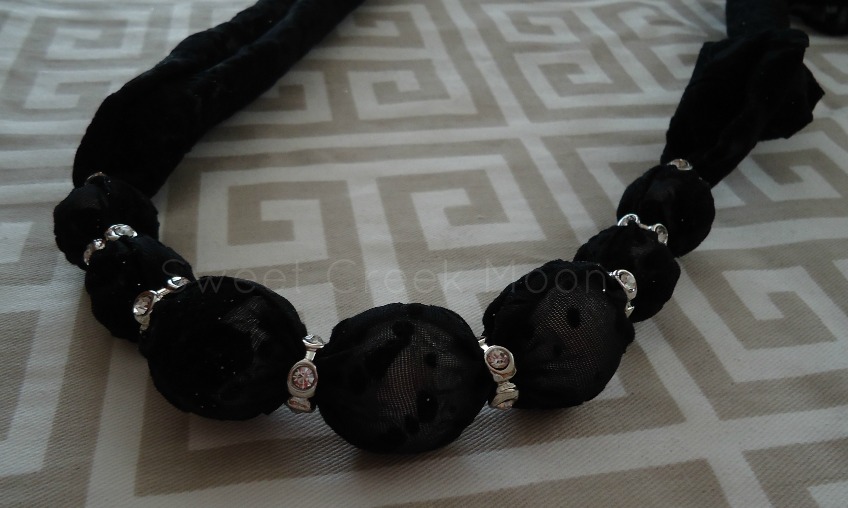
And this is the moment you’ve been waiting for–tun-tun-tun-tah–a picture of the fabulous necklace.
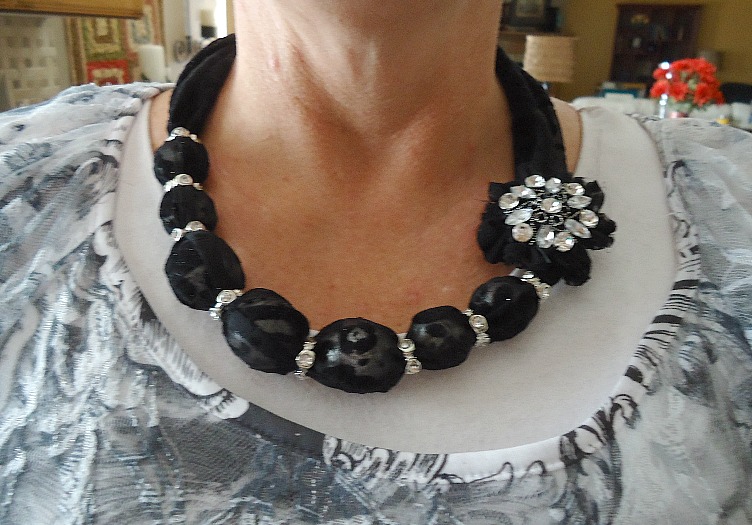
Beautiful, right?
It turned out so well.
[As a side note–the final picture was taken before the necklace was actually completed–which will explain why the bands aren’t smaller.]
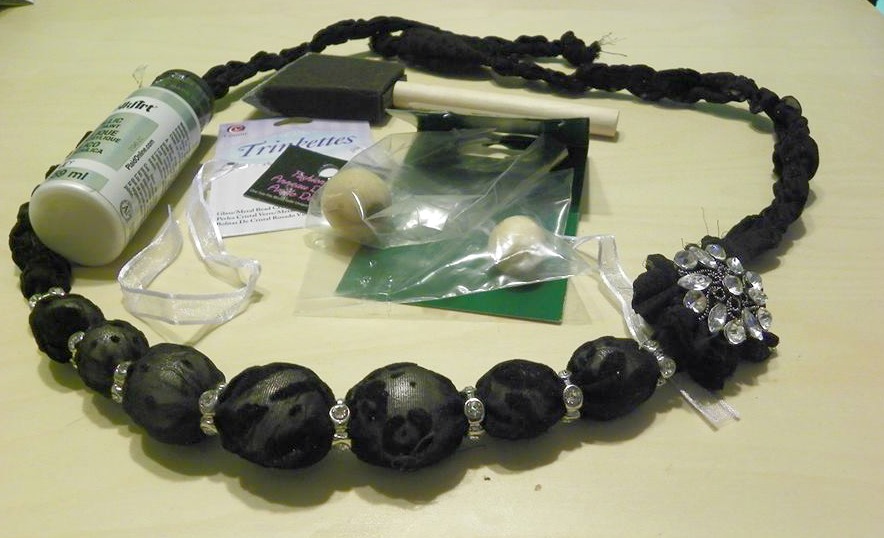
Here’s a pic of the finished necklace with the materials she used.
If you have any questions, please ask.
[Someone is bound to answer them. ~grin~]
Enjoy the day.

2 COMMENTS
sabina moon
11 years agoThis is a fantastic website, could you be interested in going through an interview concerning just how you made it? You can visit my site.
beaded necklace
Teresa Jones
11 years agoThat sounds like fun. I would love some details. Thanks for your interest in my blog!