Pinned ‘n’ Tested — Fabric Beaded Necklace
I’ve been trying and trying to get into some kind of crazy wonderful blogging rhythm.
[Still trying.]
I love the keep on trying part.
I also love that there are moments when I actually do something about the scads of pictures/ideas/recipes/projects/programs pinned on different boards on the island of Pinterest.
Pinned ‘n’ Tested.
This week’s pick for testing?
A fabric beaded necklace.

[And by “we” I don’t mean me and Handsome Dude–I mean me and my friend, Cathy. She has a lovely voice, a pleasant disposition, a generous heart, beautiful eyes, and is exceedingly creative.
More on the ‘exceedingly creative’ part in a later post.
Seriously.
You should see the necklace she came up with.
You will see the necklace she came up with because I’m posting it later. It’s beautiful.
“Later” as in a couple of days.]
Meanwhile–here’s the necklace I came up with following Unbeadlievable Designs instructions.
[Mostly following the instructions–I’ll tell you why and when I modified anything.]
It took 34 minutes to make the necklace.
Nice.
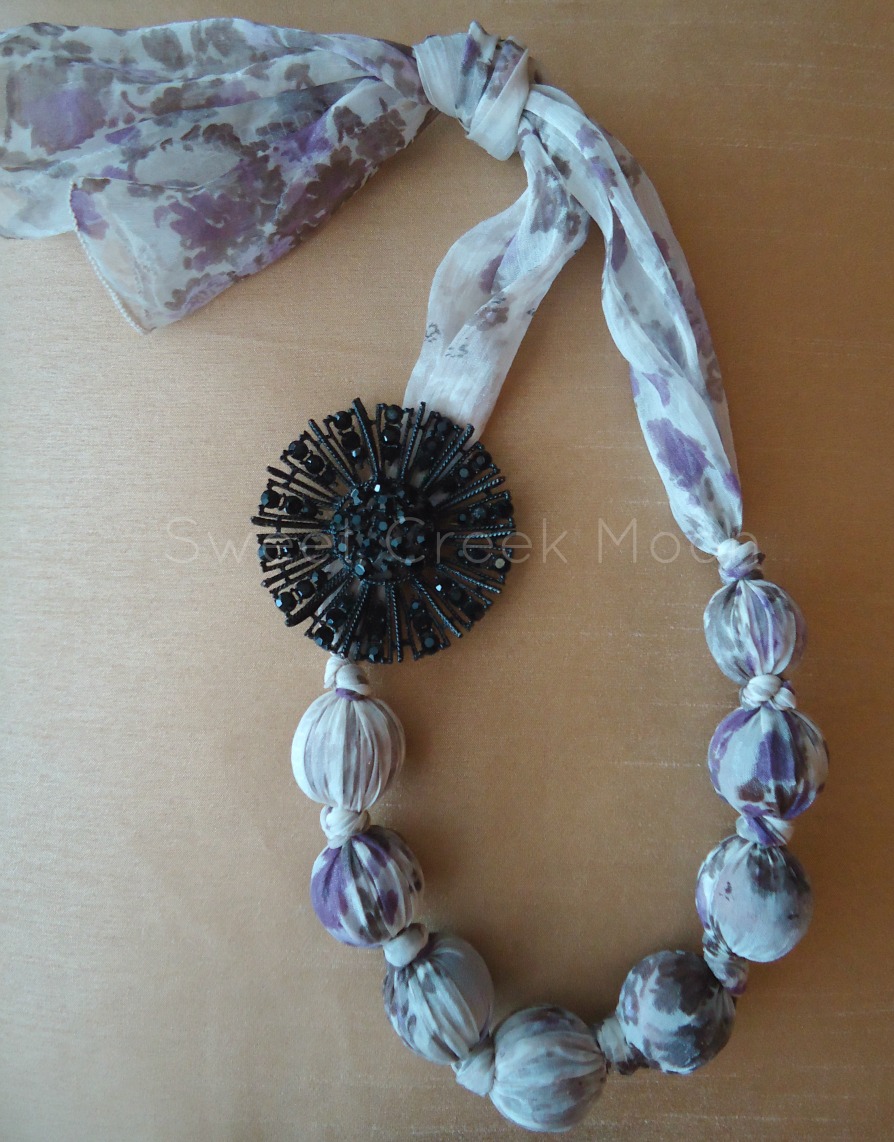
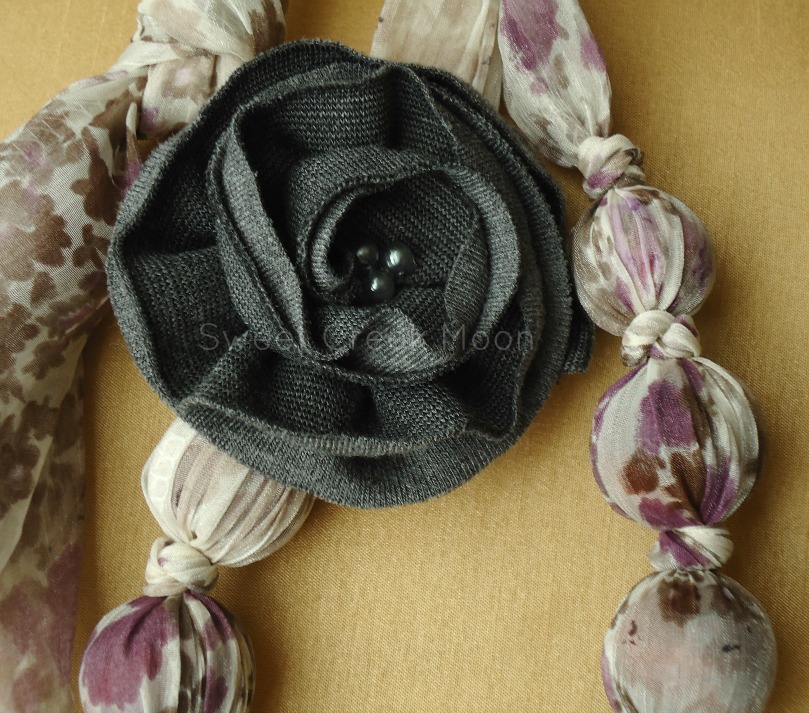
Here’s the necklace.
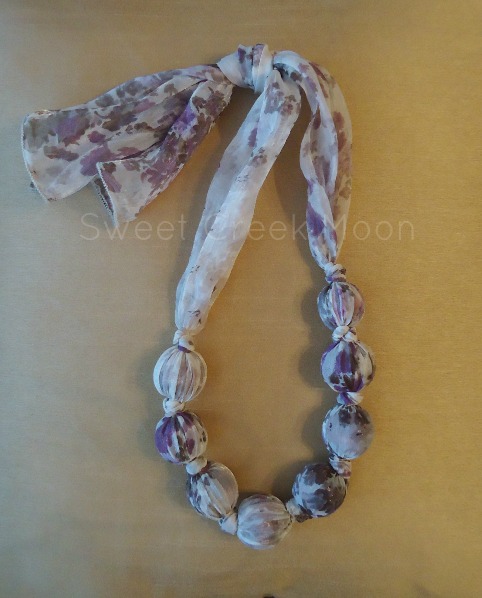
You’ll notice that there are an even number of beads–eight, to be exact.
Which doesn’t make sense when you remember that placing/setting things in odd numbers just generally seems more ‘balanced’–until you see the necklace with a brooch.
There are only three instructions I didn’t follow exactly.
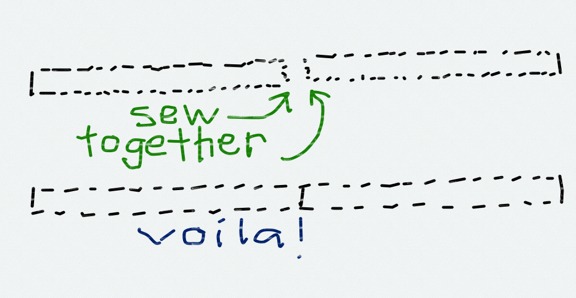
1–Instead of cutting one piece of fabric 55″ x 5″ I cut two pieces of fabric, each 27″ x 5″.
[The fabric come from a dress I had that I didn’t love any more.]
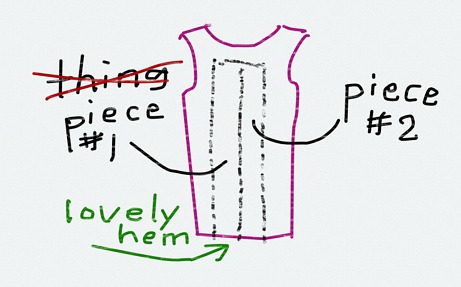
[That picture very cleary, astonishingly explains everything.]
2–The instruction to use a loop turner or a safety pin to turn the fabric inside out. Mostly because I don’t know what a loop turner is, and because my digits skillfully completed the task.
[My finger digits–NOT my toe digits. I would have posted pictures if that were the case.]
3–I didn’t sew the edges closed. I used the finished hem of the dress for the edge on both pieces. I sewed the raw edges together to form the center seam.
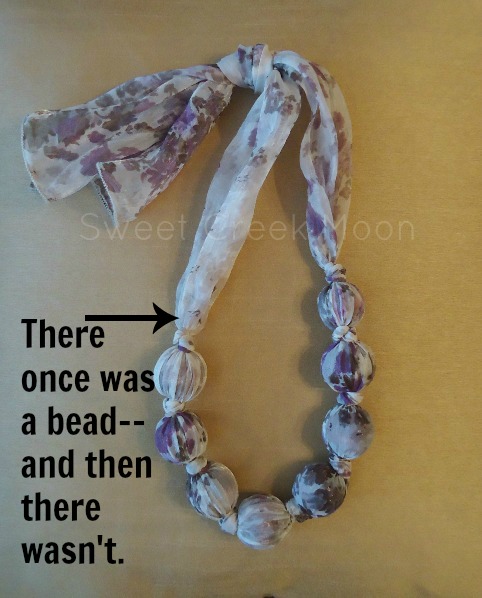
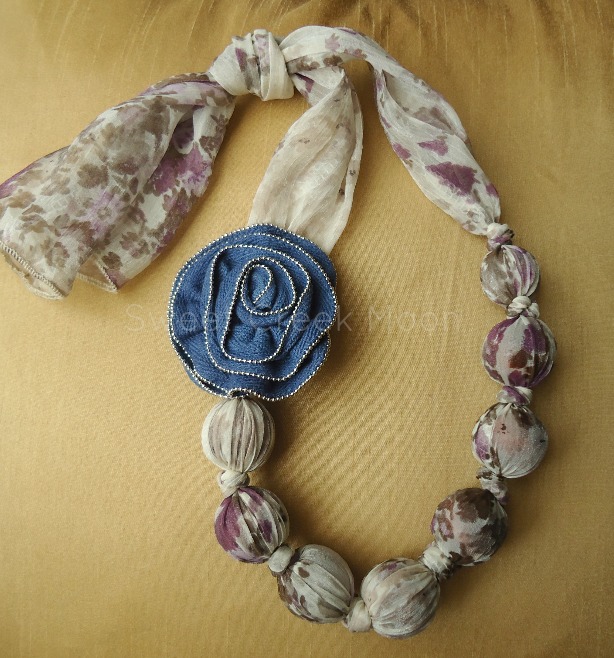
One of the fun things about this simple little accessory is that you can change the look with a little imagination.
Like this:
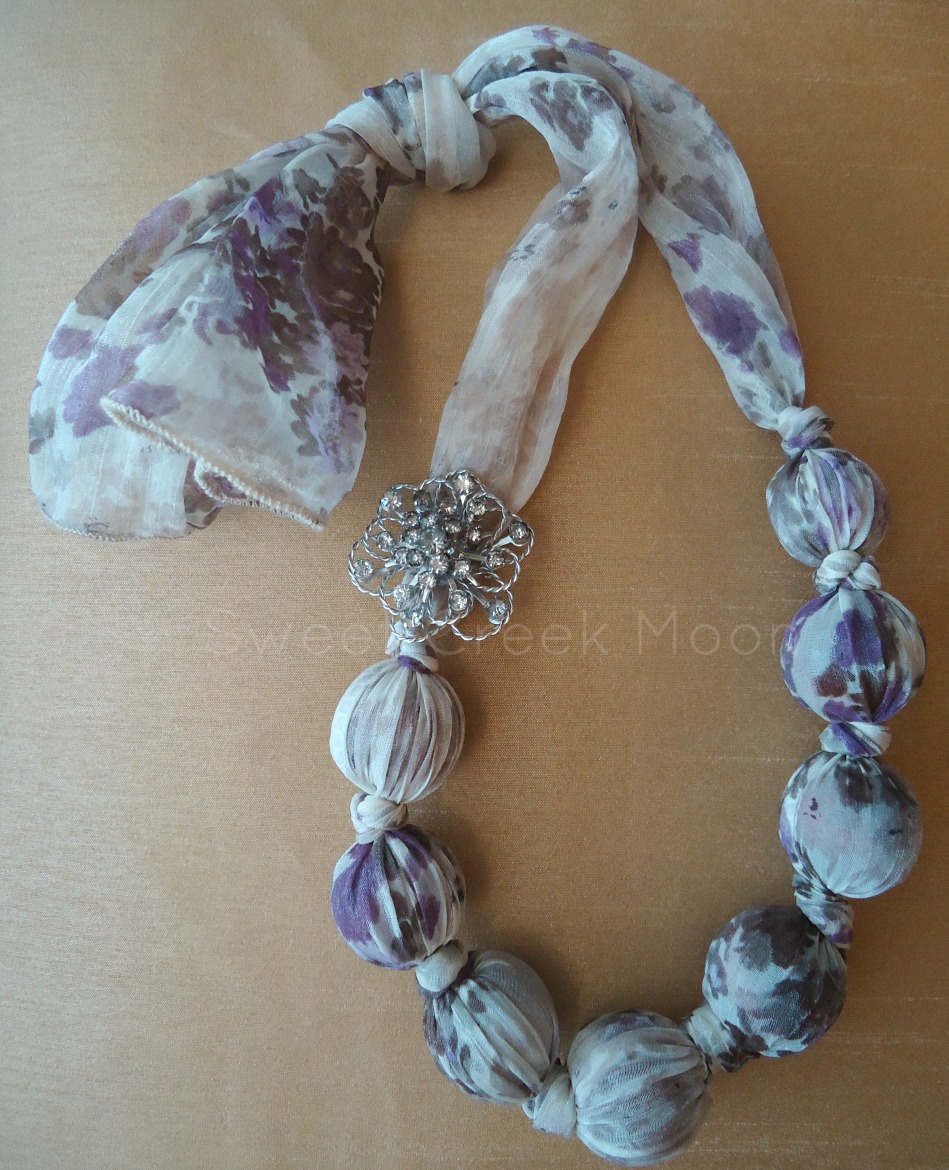
This:
And this:
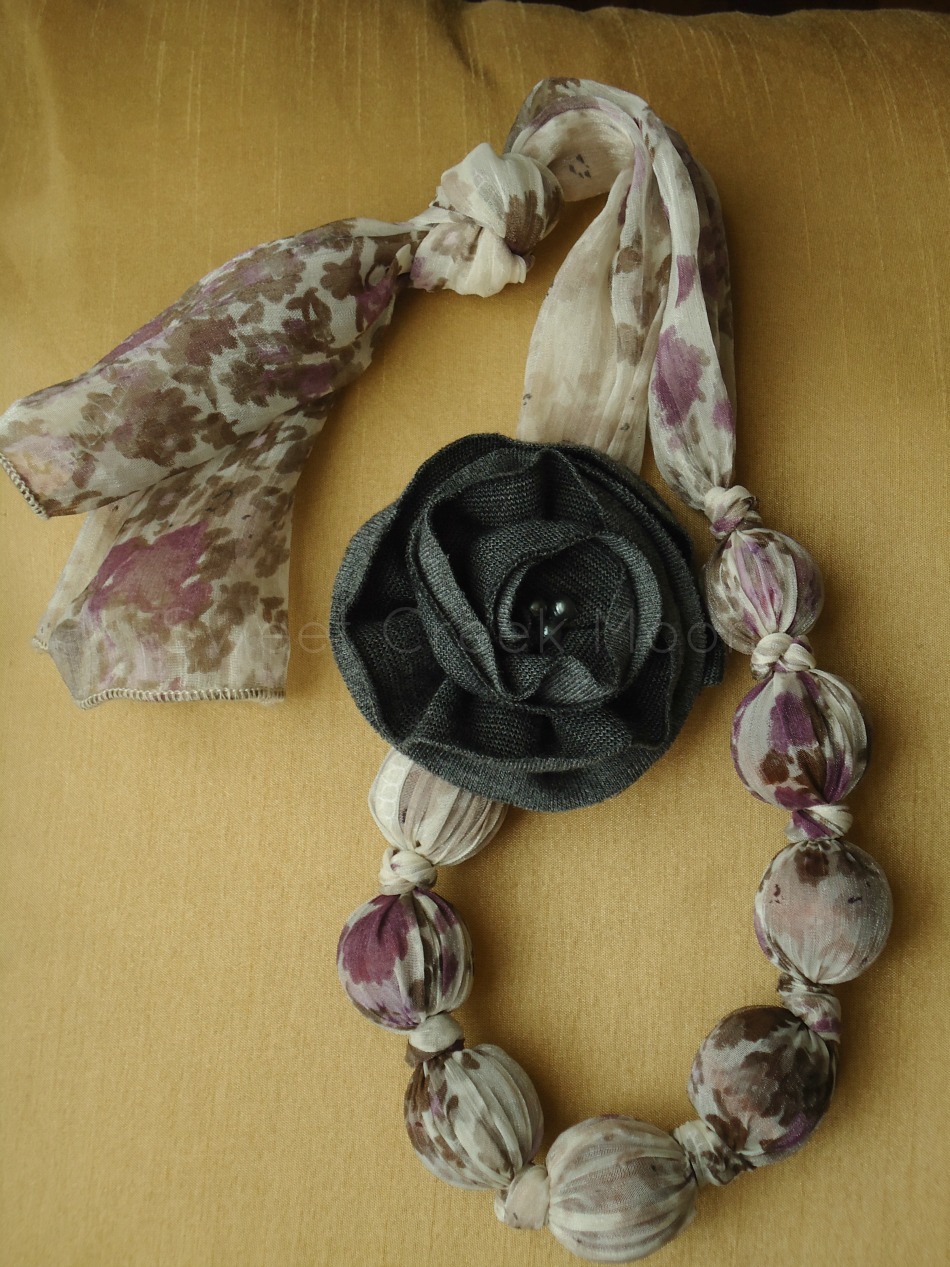
This flower is the only embellishment I had to come up with–everything else I had. Well–truth be known I didn’t have to come up with it–I just liked the idea of a gray flower so I made one.
[The flower took about 20 minutes to make–I love how it turned out.]
And there you have it–a really fun, simple accessory.
Any questions?

what do you think?